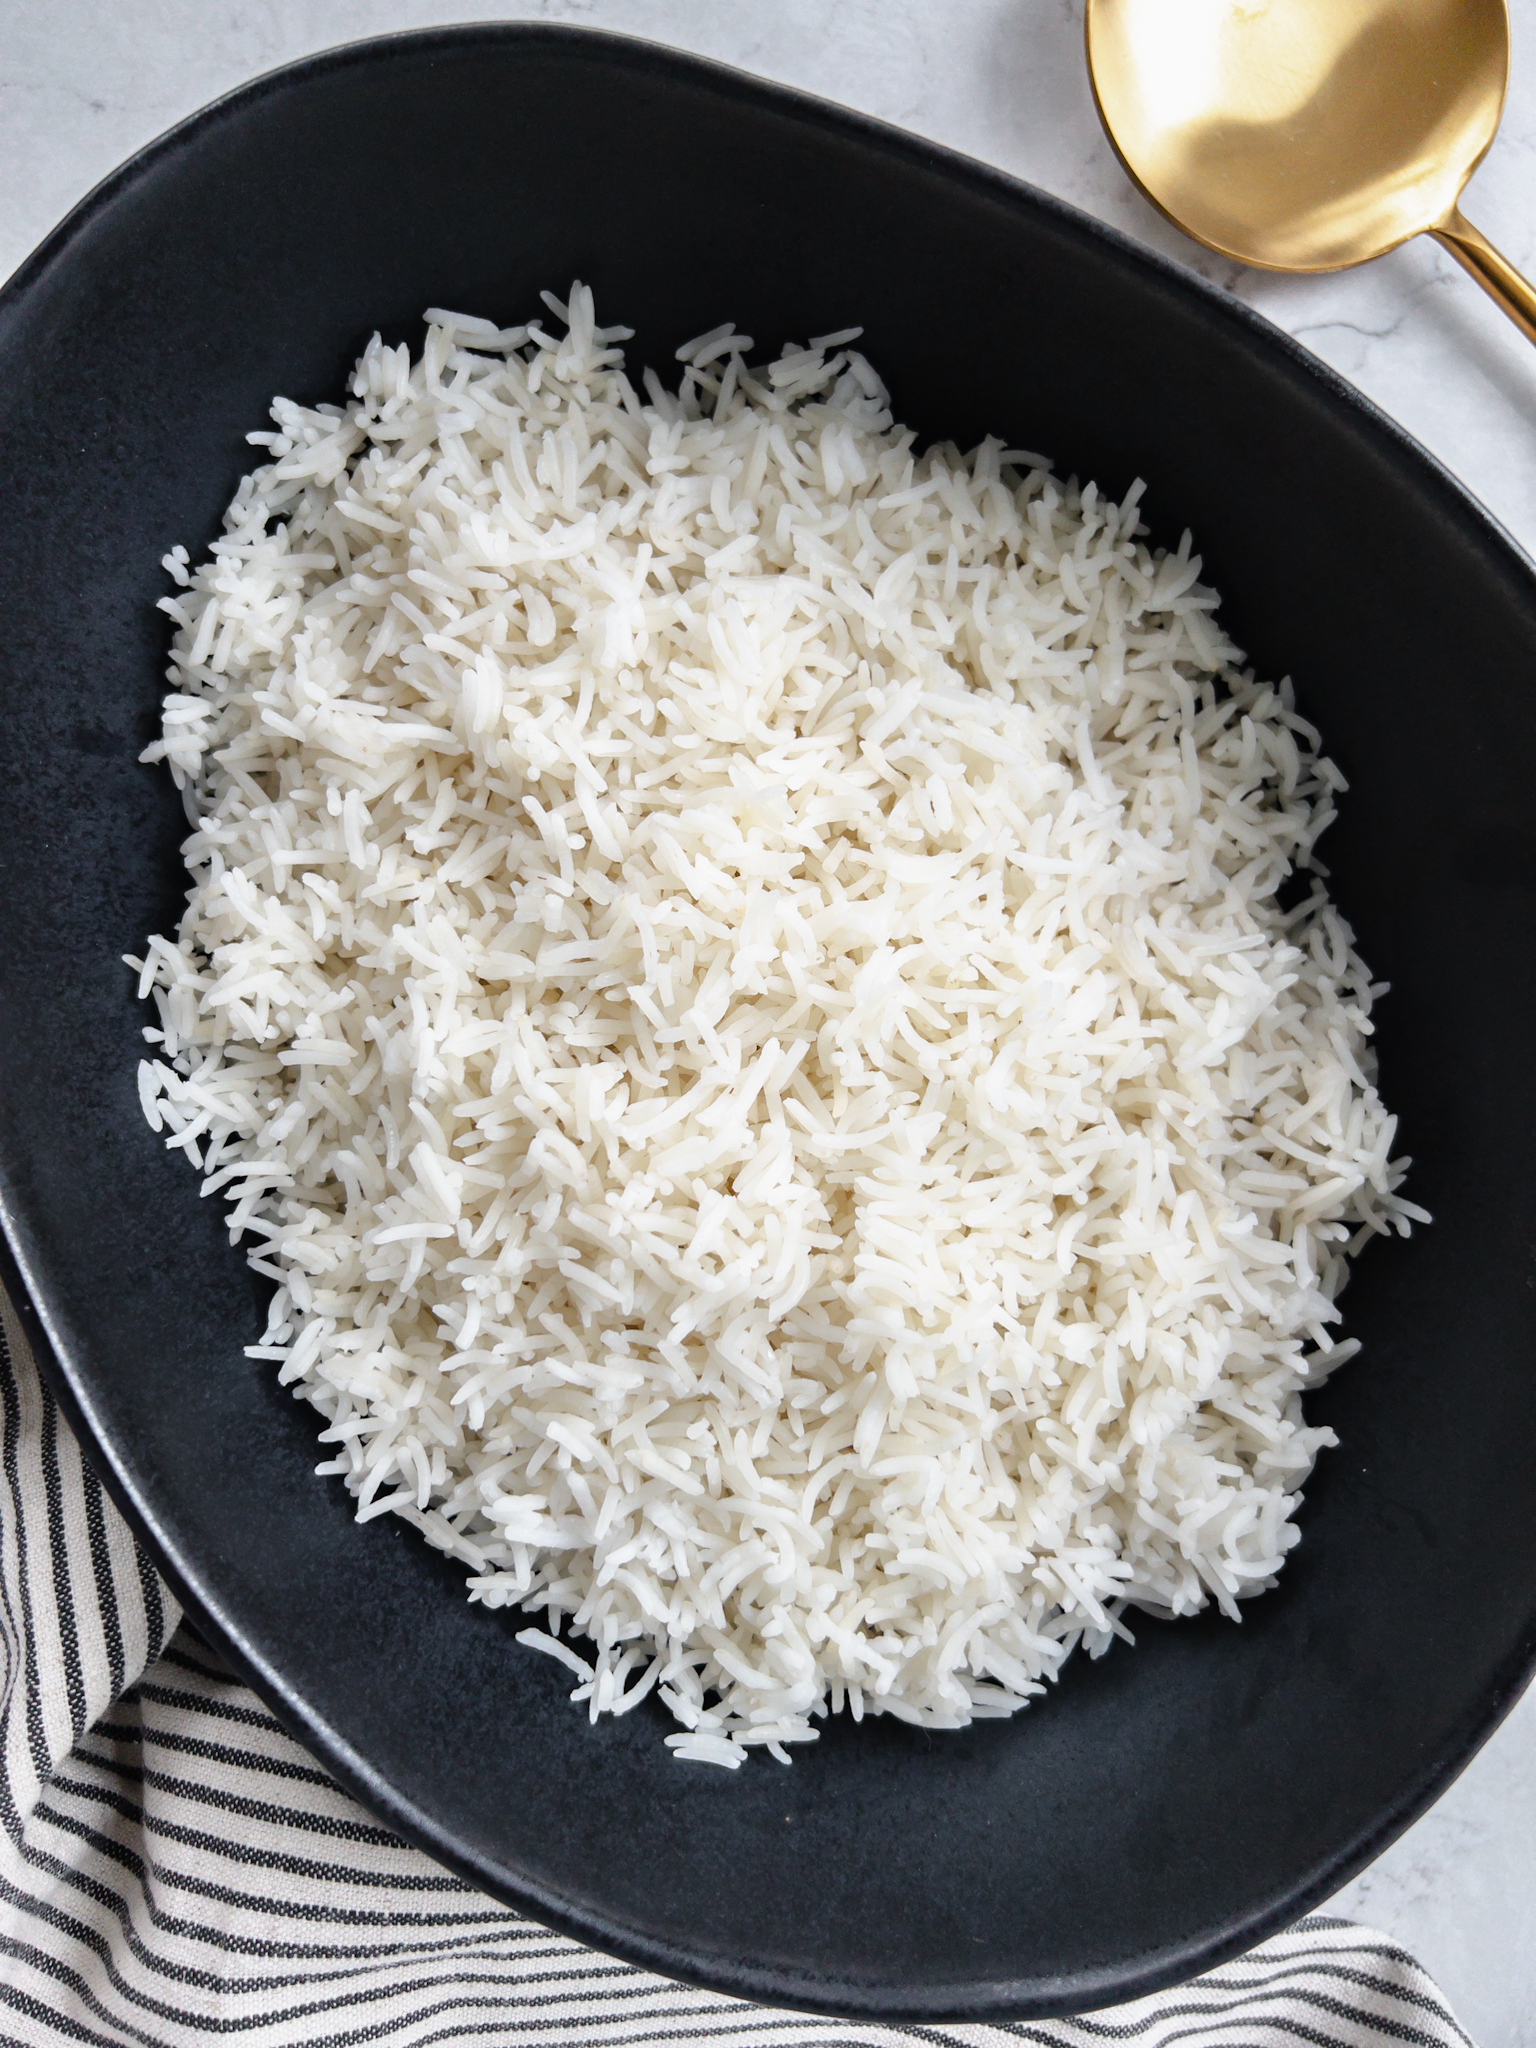
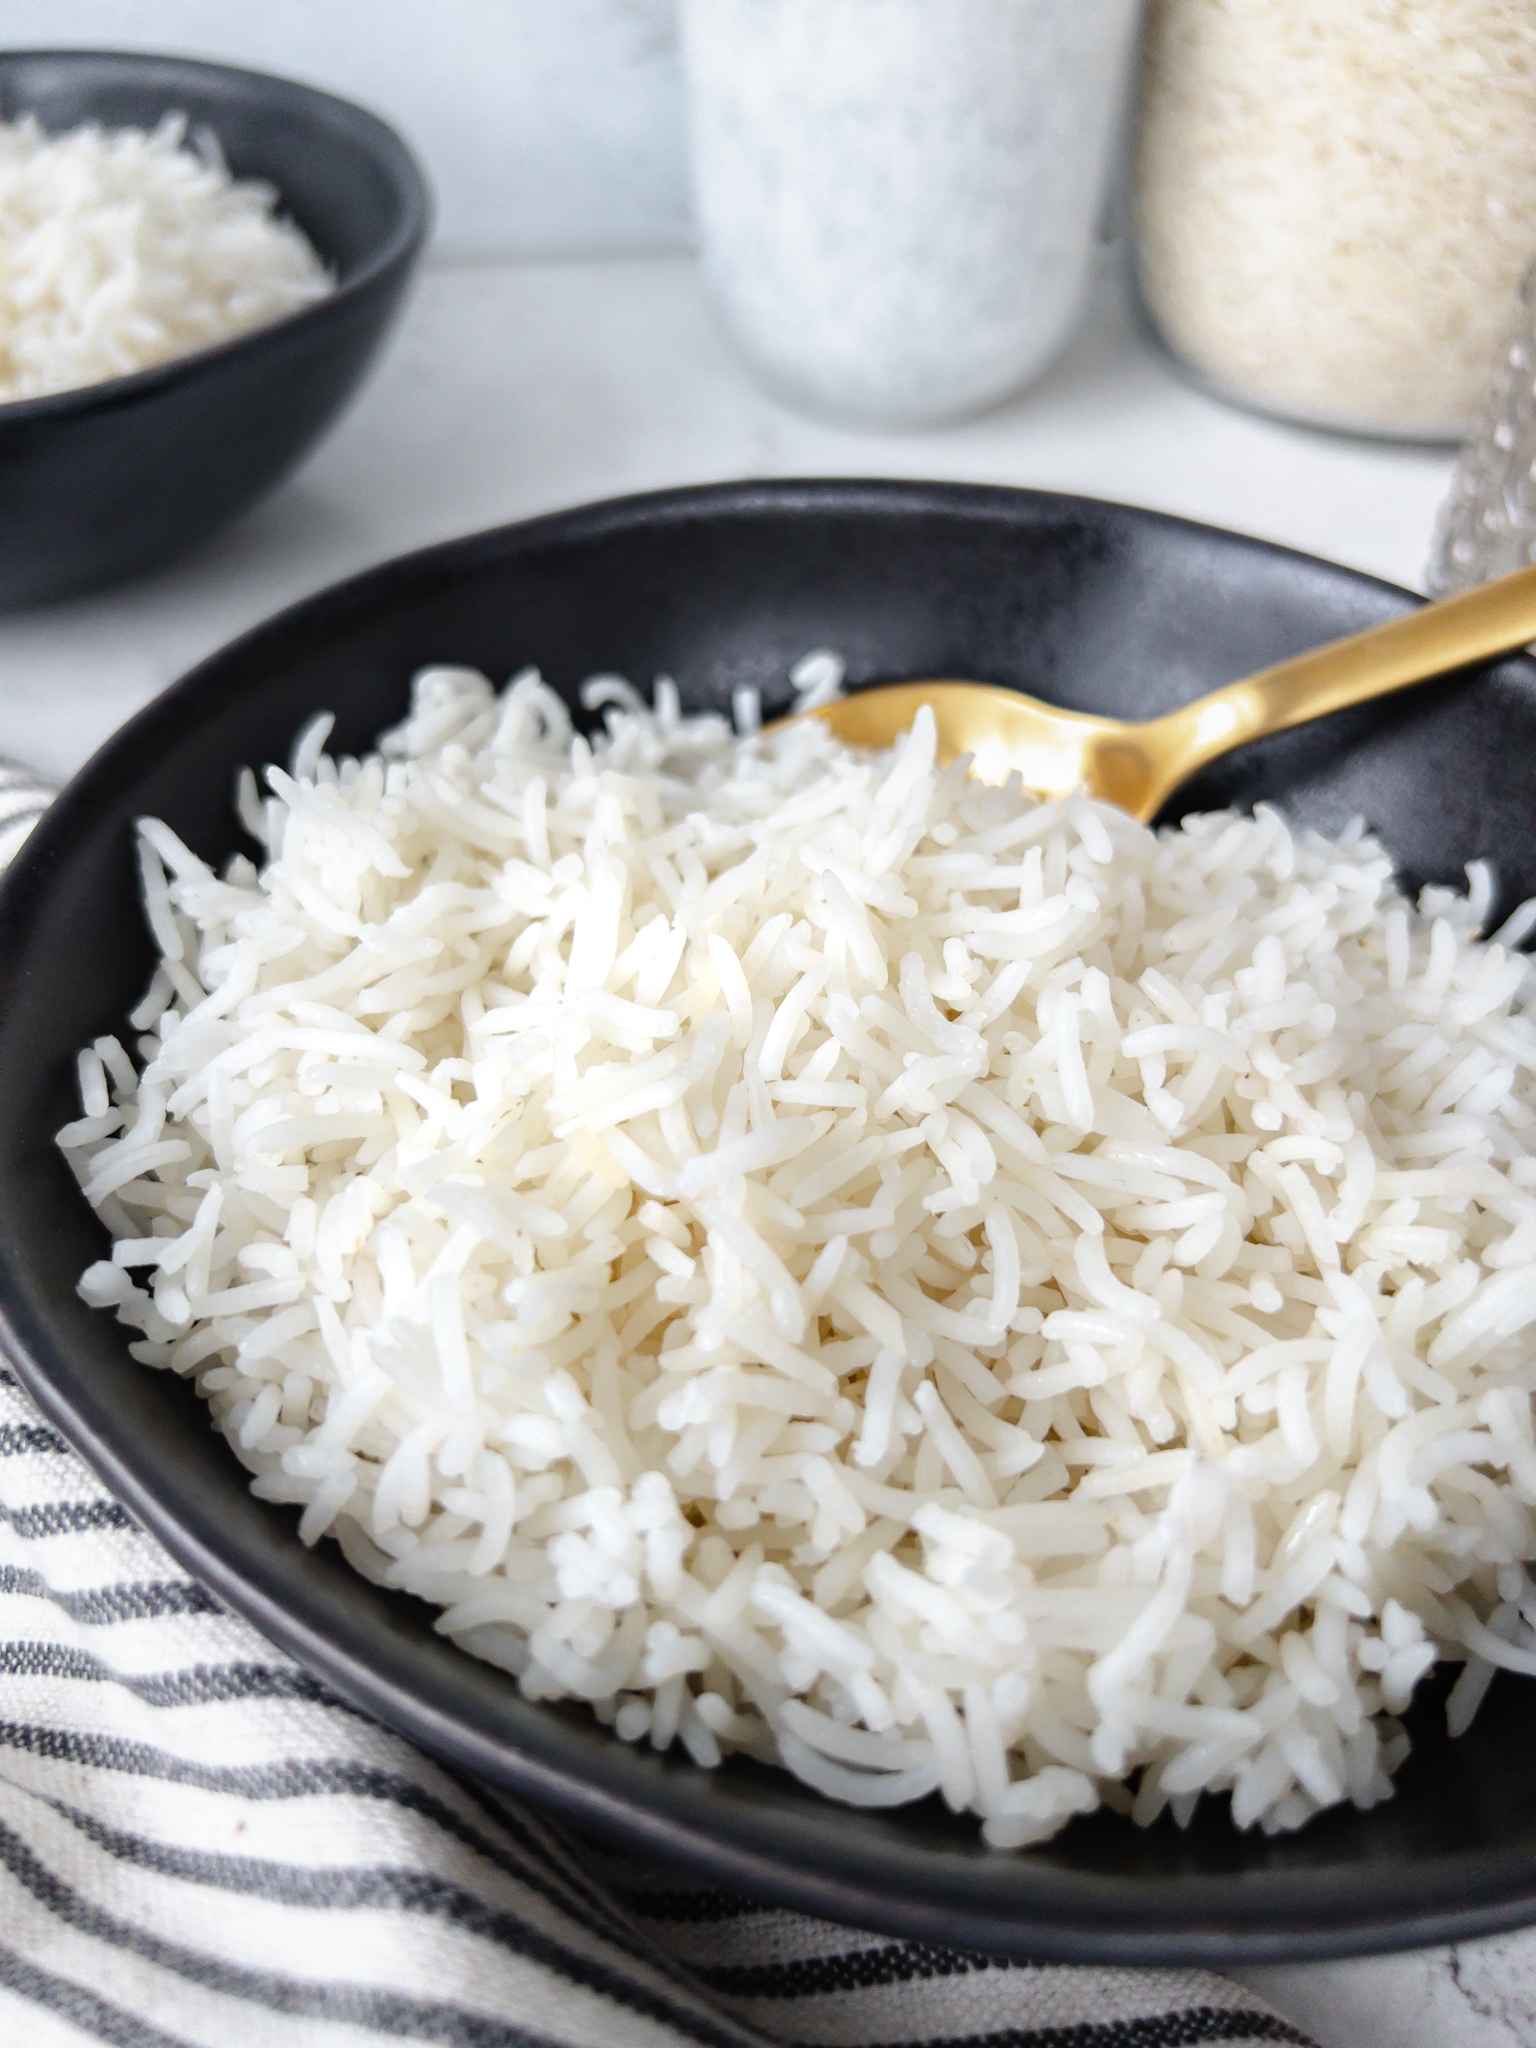
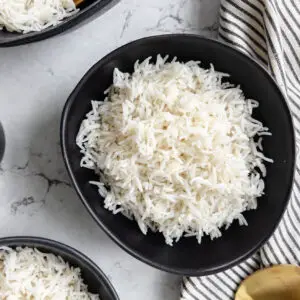
Yes I'm saying it! This is the best way to cook white rice. And not just to get those gorgeous individual grains of rice, but for health reasons too. Cooking rice this way actually reduces the amount of naturally occurring arsenic by up to 74%.
I'm actually half Persian and I grew up in a household where rice was the main carbohydrate. This is my parent's rice recipe, that to be honest, was a little long for impatient me, so I spent a lot of time testing and tweaking it to create a recipe that's as quick and fuss-free as possible but with the same unbeatable end result.
So why do I say this is the perfect rice? Well, for 3 reasons:
- You'll get lovely, individual grains of rice. Say goodbye to clumps!
- This is the healthiest way to cook rice for your family.
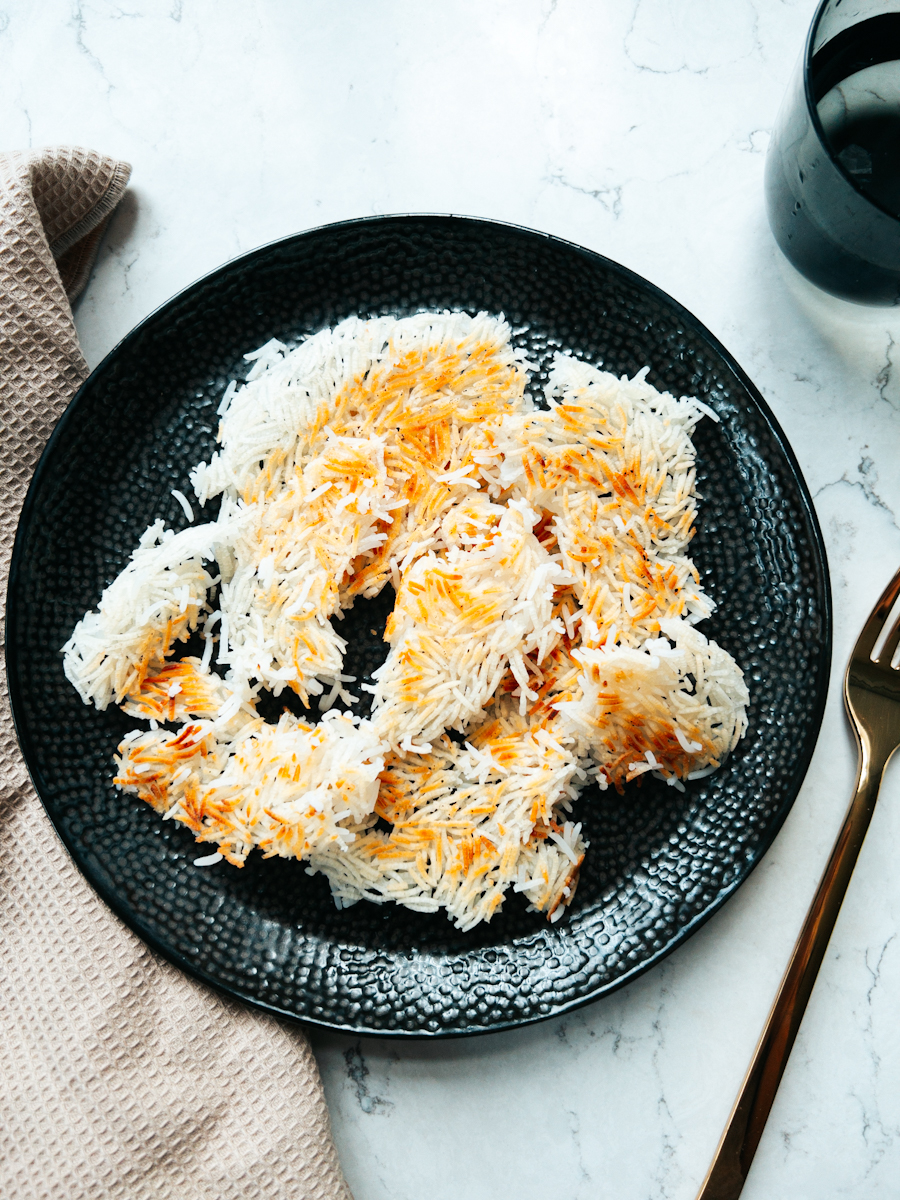
- You want a layer of super crispy layer (Persian Tahdig) at the bottom.
The Best Way to Cook Rice to Reduce Arsenic
As rice plants grow, the rice absorbs naturally occurring arsenic from the environment. You can't remove it completely, but you can minimise its presence through how you prepare and cook it. My method of cooking rice is probably different to what you are used to, but by doing it this way, you will be able to remove as much arsenic as possible. According to several studies, cooking white rice in this way lowers the arsenic levels by 74%.
So how do I make perfect rice I hear you say? Let me tell you…
The Best Way to Cook Rice Step by Step
Cooking white rice this way, is probably a bit different to what you are used to, so you need to wipe the slate clean. Forget the usual way of cooking it and embrace this new way!
Step 1
First, you'll soak the rice for around 2 hours. If you are pressed for time or you forgot to soak it ahead of time, just soak for as long as possible. Then you'll need to give it a really good rinse until the water runs almost clear. Next you will add it to a pan of boiling water on a medium stove burner ring over a high heat for 5 minutes, letting it bubble. It's important to use a medium ring. A small burner ring won't cook the rice enough in the time I've stated and a large burner ring will over-cook it and cause it to burn.
Step 2
After the 5 minutes, you'll drain the rice over the sink using the sieve, dumping all that cloudy water, arsenic and all. You'll drain it briefly, for about 30 seconds, to remove as much water as possible without the rice cooling down. Lifting the sieve up and down over the sink a few times actually helps get more water out quickly.
Step 3
Then you'll tip the rice back into the pan and put it back on the same medium burner ring. Over the lowest heat, you'll add the glug of olive oil and a little salt and give it a good stir with a fork. Then you'll cover the pan and leave to cook for 15-17 minutes or until not clumpy and wet towards the bottom (fork it up to see).
If after this time the rice is still wet and clumpy it could be because it wasn't drained long enough after boiling, or if you have used a small burner ring instead of a medium one. If it is still a little wet, you'll need to re-cover and leave it to steam cook itself for 5-10 minutes. There's no need to turn the heat back on, if you do, at some point the bottom layer could start to burn and that burnt flavour will seep up through the rest of the rice. If you do start to smell burning at any point and the rice is still a little wet, then turn the gas off and leave the pan covered to steam cook itself until dried out.
Step 4
When cooked, turn off the pan, leaving the lid on until you are ready to dish up the rest of the meal. The rice will keep hot for a good 30 minutes or so if left covered.
Wow, that's a lot of information I know! It's not hard to do, honestly, it's just a new process to learn and once you do, you'll be able to do it with ease.
Crispy Rice - Persian Tahdig
This is also the best way to cook rice if you want to make crispy Persian Tahdig. The amount of rice I say to use for a family of four may be more than you are used to. This is because when using this method, you'll end up with a hard, crunchy layer at the bottom of the pan which you may not want to eat. Persians would always eat it and you can too, just fork out all the soft fluffy rice and then wiggle your fork under the bottom hard layer. Then lever it up and break it into pieces. If you don't want to serve this hard layer, once you've dished up, just lift it out and discard. Anything left stuck to the pan you can easily remove by adding cold water and leaving it to soak for half an hour or so.
The Best Way to Cook Rice for a Crowd
You can cook more rice this way to feed more people, but keep in mind that you will need to allow more cook time and steam time with the stove off. You will also need a large, wide, lidded saucepan.
You'll still boil it for 5 minutes then drain, but the second part of the cook you will need to add on 5 minutes. Then you will need to turn off the heat and check it by fluffing up a patch. If it's clumpy and wet towards the bottom, you'll need to recover the pan and leave it to steam cook itself (heat still turned off). You can add a folded tea towel if you like, rested across the top of the pan and held in place by the lid. This will absorb the water created by the steam instead of it dripping back into the rice from the lid, and so it will be ready quicker.
It really depends how much more rice you cook, but keep checking it every 5-10 minutes until there are no more wet patches or clumps. Remember, the rice will stay hot in the covered pan with the heat off for at least 30 minutes. This means you can start cooking it earlier than you need it and will buy you some time to check and test it's done.
And the reason we aren't leaving the heat on longer than an extra 5 minutes, is that the bottom layer of rice will start to burn. This can then cause it all to taste a little burnt.
Storing & Reheating Rice
If you want to store or freeze cooked rice, be sure to cool it down as quickly as possible, and check it regularly. Dividing it into smaller portions is best, then once cooled, quickly cover and refrigerate or freeze it. And bear in mind, small amounts of rice can cool very quickly.
Rice contains spores of a type of harmful bacteria that doesn't always get killed through the reheating process. If you leave it out at room temperature, the spores can multiply and produce toxins that cause food poisoning and reheating will not kill these. Aim to cool it down within one hour, then chill or freeze. You should only keep rice for 24 hours in the fridge once cooked.
When you reheat it in the microwave, stir halfway through and ensure it is steaming hot before serving. You can read more about rice safety on the UK's government food website.
For more on safe food storage and reheating read here >
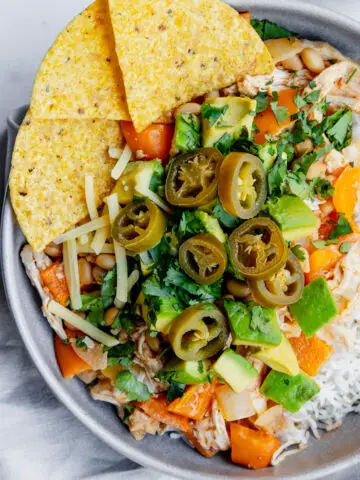
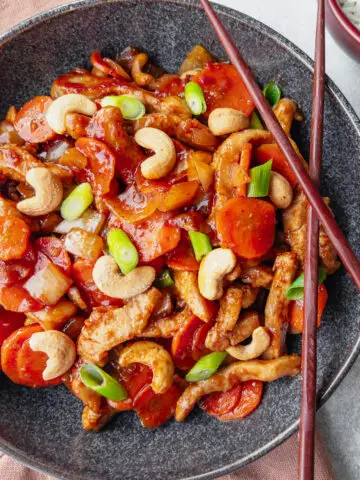
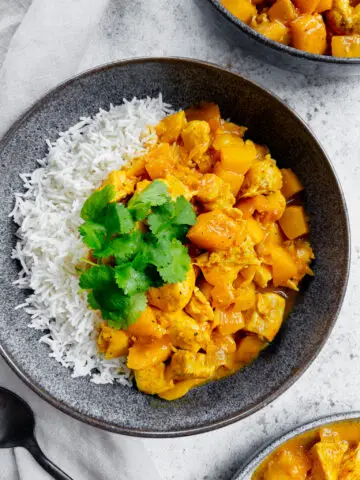
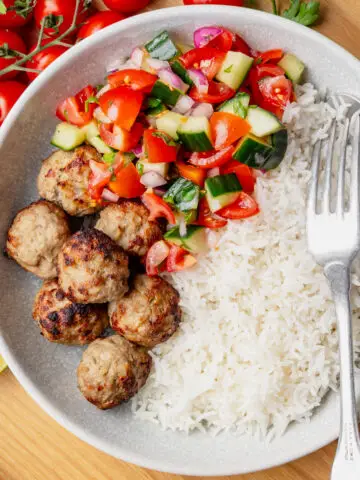
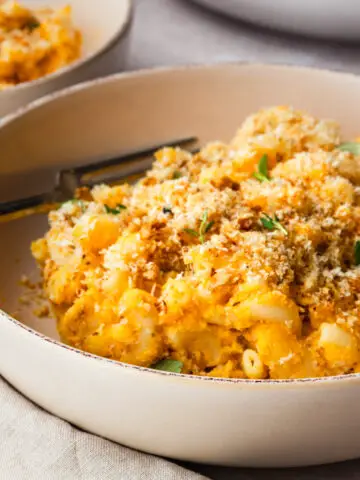
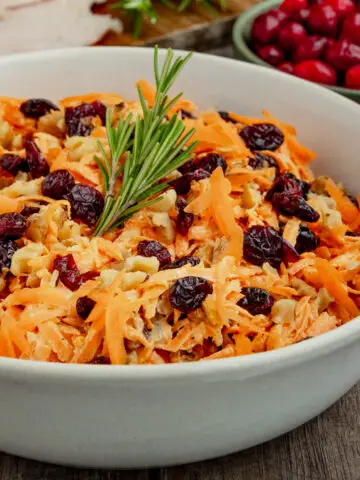
White Rice Pairs Perfectly With…
The Best Way to Cook Rice for Your Family
Eating together is beneficial for families of all ages and stages, for a multitude of reasons; nutritional, behavioural, psychological and for healthy family functioning. This section will show you how to tweak this white rice recipe for sharing with a weaning baby, toddler or a fussy eater, to help make it easier for you to eat together as a family.
Keeping Picky Eaters Happy
If your fussy eater has never had rice before, don't be deterred! Rice is very palatable and versatile, it will help you open the door to a whole range of new meals and cuisines to introduce your picky eater too.
See more from me on fussy eaters here >
The best way to cook rice for Baby & Toddler
The nature of rice being so soft makes it ideal for babies and toddlers. Soaking, rinsing and cooking rice my way eliminates as much arsenic as possible. The levels they could ingest if having rice as part of a balanced diet, would be very slight and harmless.
You can omit the salt to make it even healthier for them.
How to Serve to Babies & Toddlers
If you are doing baby-led weaning, little one will enjoy eating handfuls of this fluffy white stuff!
If you are spoon feeding, you can serve it as follows:
6 MONTHS
You can add a little rice to baby's protein and vegetable when you purée their serving. You may need to add a little of the meals sauce or some warm boiled water too.
7- 12 MONTHS
You can stir a little rice through baby's protein and vegetables that you've whizzed in the food chopper or mashed/shredded.
1 YEAR +
You can either serve the rice mixed in with their protein and vegetables, or serve it on the side.
I've also added these notes at the bottom of the recipe so you have them to hand when you come to cook.
See more on how I keep my family meals baby & toddler friendly here >
Together to Eat is reader-supported. I may earn a small commission from anything bought through links found here.
THE BEST WAY TO COOK RICE
Special Equipment
- Scales / measuring cups + measuring spoons
- Medium sieve
- Kettle
- Fork
Ingredients
- 300 - 400 g basmati rice
- 1 teaspoon olive oil
- Salt to taste
Instructions
- First, soak your rice for as long as you can, around 2 hours ideally. Next rinse it several times using a sieve and the bowl you've soaked it in, you want the water to run pretty clear.
- When you are ready to cook, fill and boil the kettle. Tip the rinsed, drained rice into a medium saucepan, over a medium stove burner ring, and fill with the just boiled water. Turn the heat up to maximum, give it a quick stir with a fork and cook for 5 minutes, allowing it to bubble.
- Then, pour the water and rice from the pan into the sieve over the sink. Leave the rice to drain for about 30 seconds. If you lift the sieve up and down a few times you'll get more water out. Then tip the rice back into the pan and return it to the stove. Turn the heat down to low and add in the oil and salt, then stir in using a fork. Cover with the lid and cook for 16-17 minutes, until the rice is no longer wet and is clump free.
- If after the 17 minutes the rice is still a little clumpy and wet near the bottom, re-cover and leave to steam for 5 minutes or so with the heat off (this shouldn't happen if the rice was drained properly and you've used a medium burner ring). If it smells like it is burning at any point, turn the gas off and leave the lid on for the rice to continue to steam cook itself. When done, fluff up the rice throughout the pan using a fork and scrape it off the hard bottom layer. Keep covered until ready to serve.
Notes
BABY & TODDLER SERVINGS
You can add just a pinch of salt.BABY-LED WEANING
Not much to say here, baby will just eat handfuls of this fluffy white stuff!SPOON FEEDING
6 MONTHS you can add a little rice to baby’s protein and vegetables when you purée their serving, along with a little of the sauce from the meal or some warm boiled water to loosen as needed. 7- 12 MONTHS you can stir through some of this rice into baby’s protein and vegetables after it’s been whizzed in the mini food chopper or been mashed/shredded. 1 YEAR + serve mixed in with their protein and vegetables or on the side.STORAGE
Nutrition


Comments
No Comments