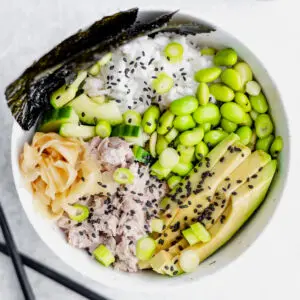
If you are a sushi loving family but don’t have the skills or time to make homemade sushi tuna rolls, then you need to try a Canned Tuna Sushi Bowl! We just love how customisable these bowls are for different family members, and they are so quick and easy to bring together - taking just 15 minutes to get on the table! You can of course make just one or two servings.
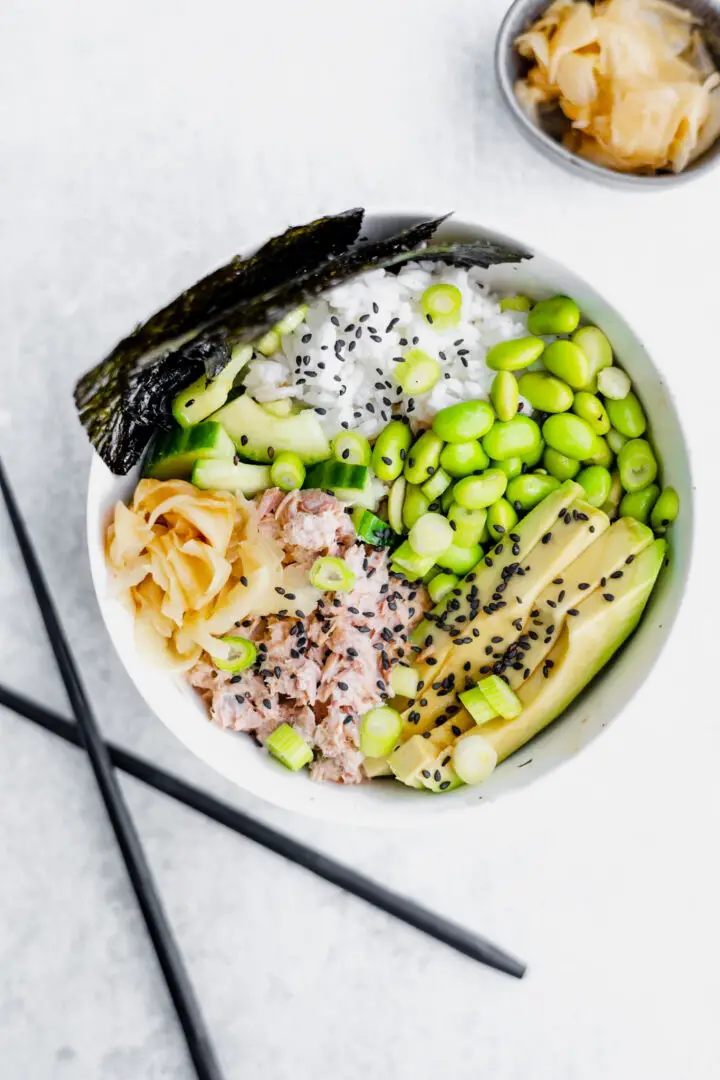
Here’s how these Canned Tuna Sushi Bowls can be customised for different family members:
- For a spicy tuna sushi bowl, along with the mayo, you can add sriracha to the canned tuna. You can also do half with half without if you are eating with children who won’t want it spicy.
- You can add wasabi to all or half of the soy-lemon dressing (again if you are eating with younger kids)
- Everyone can choose their favourite vegetables. I recommend avocado, cucumber and edamame but you could use grated carrot or canned sweetcorn as a non-green options (may be necessary for fussy eaters!)
- I strongly recommend topping your sushi bowls with sesame seeds and sliced spring onions (can leave off for younger children)
- Those who like them can add pickled ginger and seaweed thins to their servings
- You can even customise a plate for weaning babies! I’ll show you how here >
You could also SWAP the canned tuna for smoked salmon!
The Stars of my Canned Tuna Sushi Bowl
The Tuna
Go for tins of responsibly sourced tuna fish in spring water. You’ll want to drain it as soon as you start prepping your sushi bowls. Then add ⅓ cup of mayo, or less to taste. Now if you want spicy tuna sushi bowls, or for just the adults bowls to have spicy tuna, add sriracha (to taste) to all, or half of the tuna mayo mixture. You can even switch up the tuna for smoked salmon for adult bowls and do less tuna mixture for just the kids. I often have these sushi bowls on my own as a work lunch with smoked salmon.
The Dressing
It’s super simple and really brings the whole sushi bowl together. It’s just equal parts dark soy and lemon juice. Now if you usually have wasabi mixed into the soy sauce with your sushi, by all means go ahead and mix in some wasabi. If you are eating with younger children, you can halve the dressing, and add the wasabi to just one half for the adults only.
The Sticky Rice
I make these sushi bowls with a pack of sticky rice grains that I cook on the hob when I make these for the whole family. When I make it just for a work lunch for myself however, I will use a microwave pre-cooked pack of sticky rice. When you need a larger amount to feed a family, it will be cheaper to buy it as uncooked grain and cook it from scratch, but you can of course use microwaveable sticky rice to feed the whole family for speed and ease.
The Vegetables
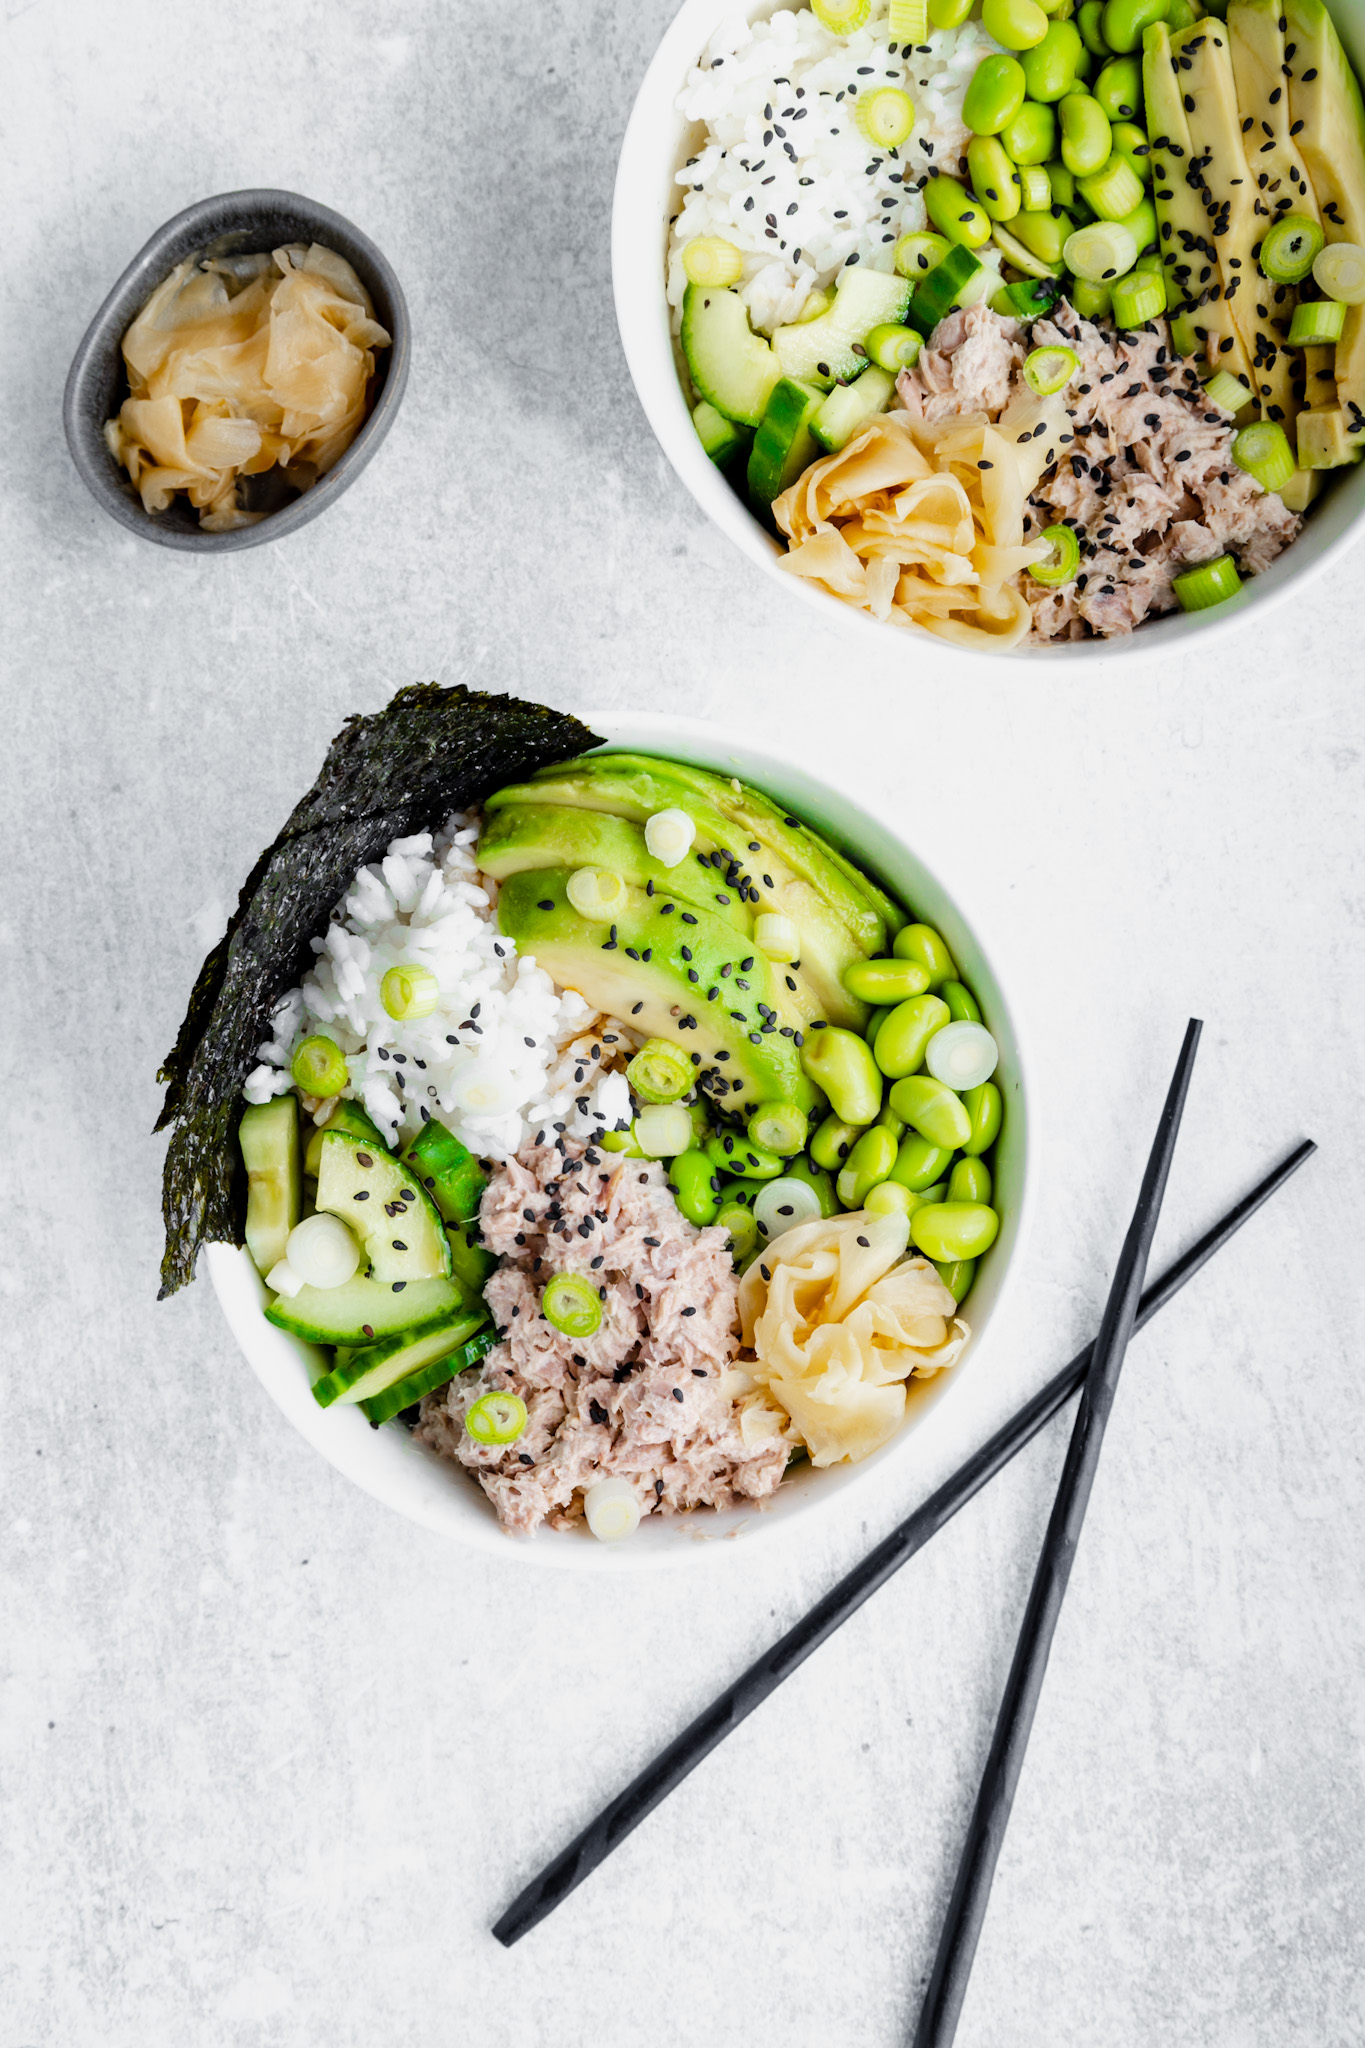
My absolutely must have in my own Canned Tuna Sushi Bowl is avocado. To be honest, when I have a sushi bowl for a work lunch I add one avocado and that’s it. When I make these bowls for the whole fam I’ll do more of a selection, serving cucumber and edamame for those who want it. You can also include grated carrot and canned tuna in the selection if you have a fussy eater who prefers non-green salad vegetables.
To Finish
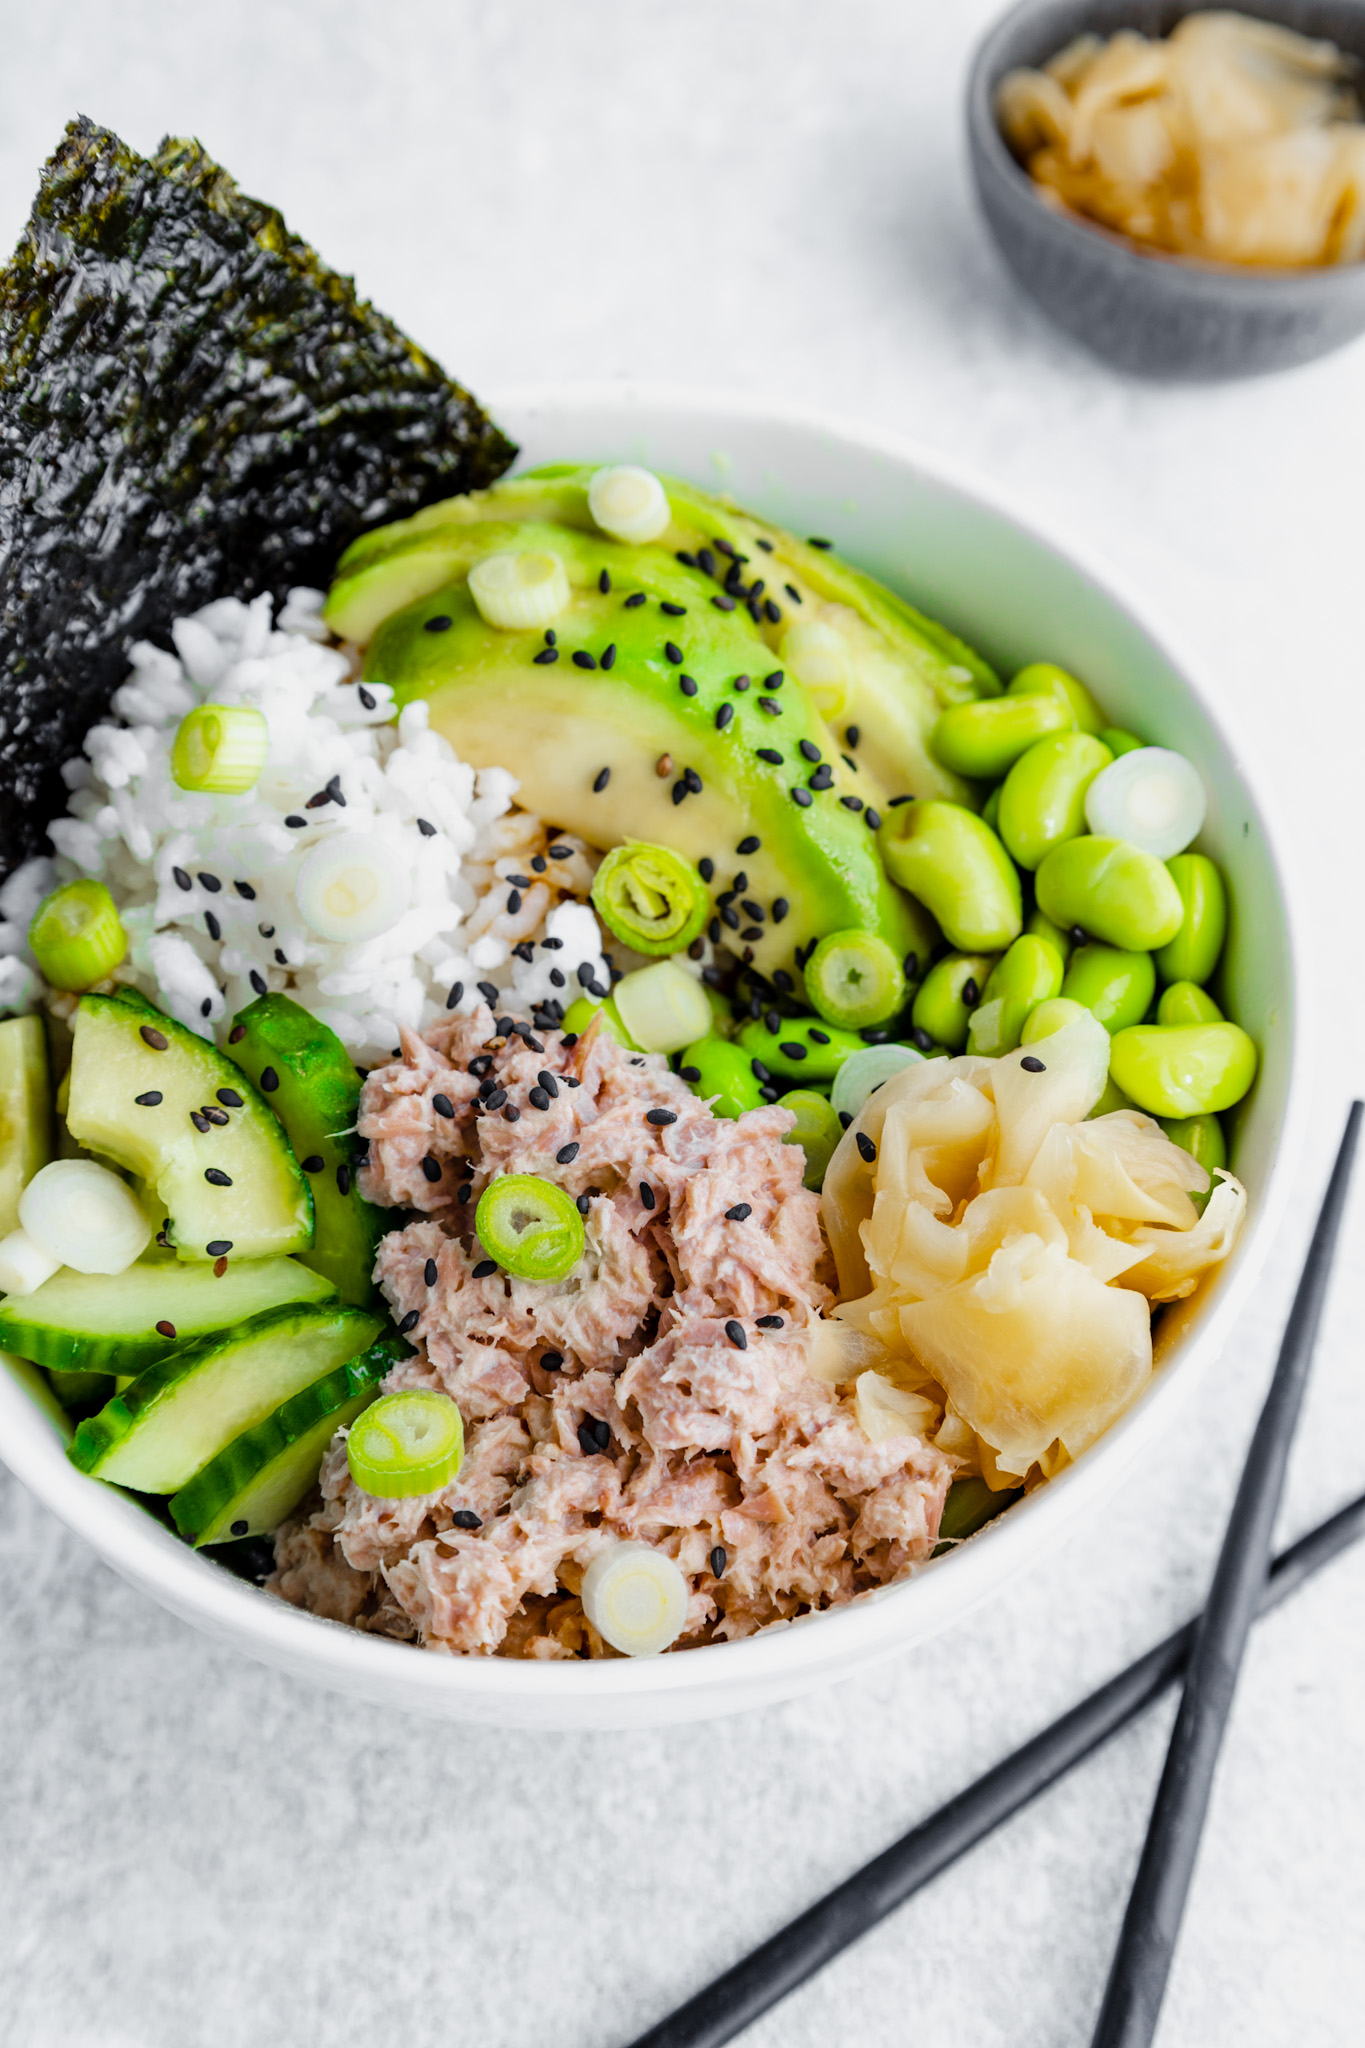
I will always add spring onions and sesame seeds to my serving (and I highly recommend you do too), and then sometimes I’ll have seaweed thins and pickled ginger. I have one child who loves spring onions and the other who doesn’t, same with the seaweed, and neither of them like pickled ginger so I let them customise their own bowls and they enjoy it!
FAQ’s For My Canned Tuna Sushi Bowls
Can I make these Canned Tuna Sushi Bowls for less people?
Yes you can, just halve the recipe for two people. When I do these sushi bowls just for myself as a work lunch, I will mix a small tin of tuna with mayo to taste (and sometimes sriracha). I use these individual portions of microwaveable sticky rice. Then I’ll do just one tablespoon of lemon juice and soy each and add in some wasabi. The only vegetable I’ll add into my bowl when I have it just for myself is a large avocado, sliced. Then I sprinkle over spring onions and sesame seeds and if I have some open, pickled ginger and seaweed thins too if I have them.
Can I prepare the bowls in advance?
You sure can, but once prepared, the bowls need covering and chilling in the fridge. Because sushi bowls contain rice, they must be consumed within 24 hours for food safety reasons.
Can I feed more people with this recipe?
Most definitely! You can use the scale up button just above the recipe ingredients list to help you.
How can younger children help make it?
Absolutely let them compile their own sushi bowls. Also, they can help you with things like mixing the dressing, and the tuna and mayo together.
Can I Store Canned Tuna Sushi Bowl leftovers?
You can store any Canned Tuna Sushi Bowls leftovers in an air-tight container or resealable food bag in the fridge for up to 24 hours. This is because the sushi bowls contain rice and for food safety reasons cooked rice should be consumed within 24 hours to avoid food poisoning.
For more on safe food storage and reheating read here >
What diets is this recipe suitable for?
My Canned Tuna Sushi Bowls are gluten, dairy and nut-free. You can make the sushi bowls dairy-free by using a plant based mayonnaise.
Adapting My Canned Tuna Sushi Bowls For Your Family
Eating together is beneficial for families of all ages and stages, for a multitude of reasons; nutritional, behavioural, psychological and for healthy family functioning. This section will show you how to tweak this Canned Tuna Sushi Bowls recipe for sharing with a weaning baby, toddler or a fussy eater, which will help make it easier to eat together as a family.
Keeping Picky Eaters Happy
The great thing about these canned tuna sushi bowls is that your fussy eater can customise their bowl themselves. I love to serve these sushi bowls with green veggies but if you have a fussy eater like one of my kids who doesn’t like green vegetables then you can offer grated carrot or canned sweetcorn as well.
Give your picky eater a little bowl with the dressing in and they can add as much or as little as they like. Also allow them to choose their finishing touches like sesame seeds, spring onions, seaweed thins and pickled onion. If they don’t choose any of those that’s ok.
See more from me on fussy eaters here >
Add On’s for Adults
As I covered above, if your preference is spicy tuna sushi rolls, then you’ll want to make some of the mayonnaise and tuna mix spicy. To do that simply add Sriracha to your liking.
Making My Canned Tuna Sushi Bowl Suitable for Baby Weaning
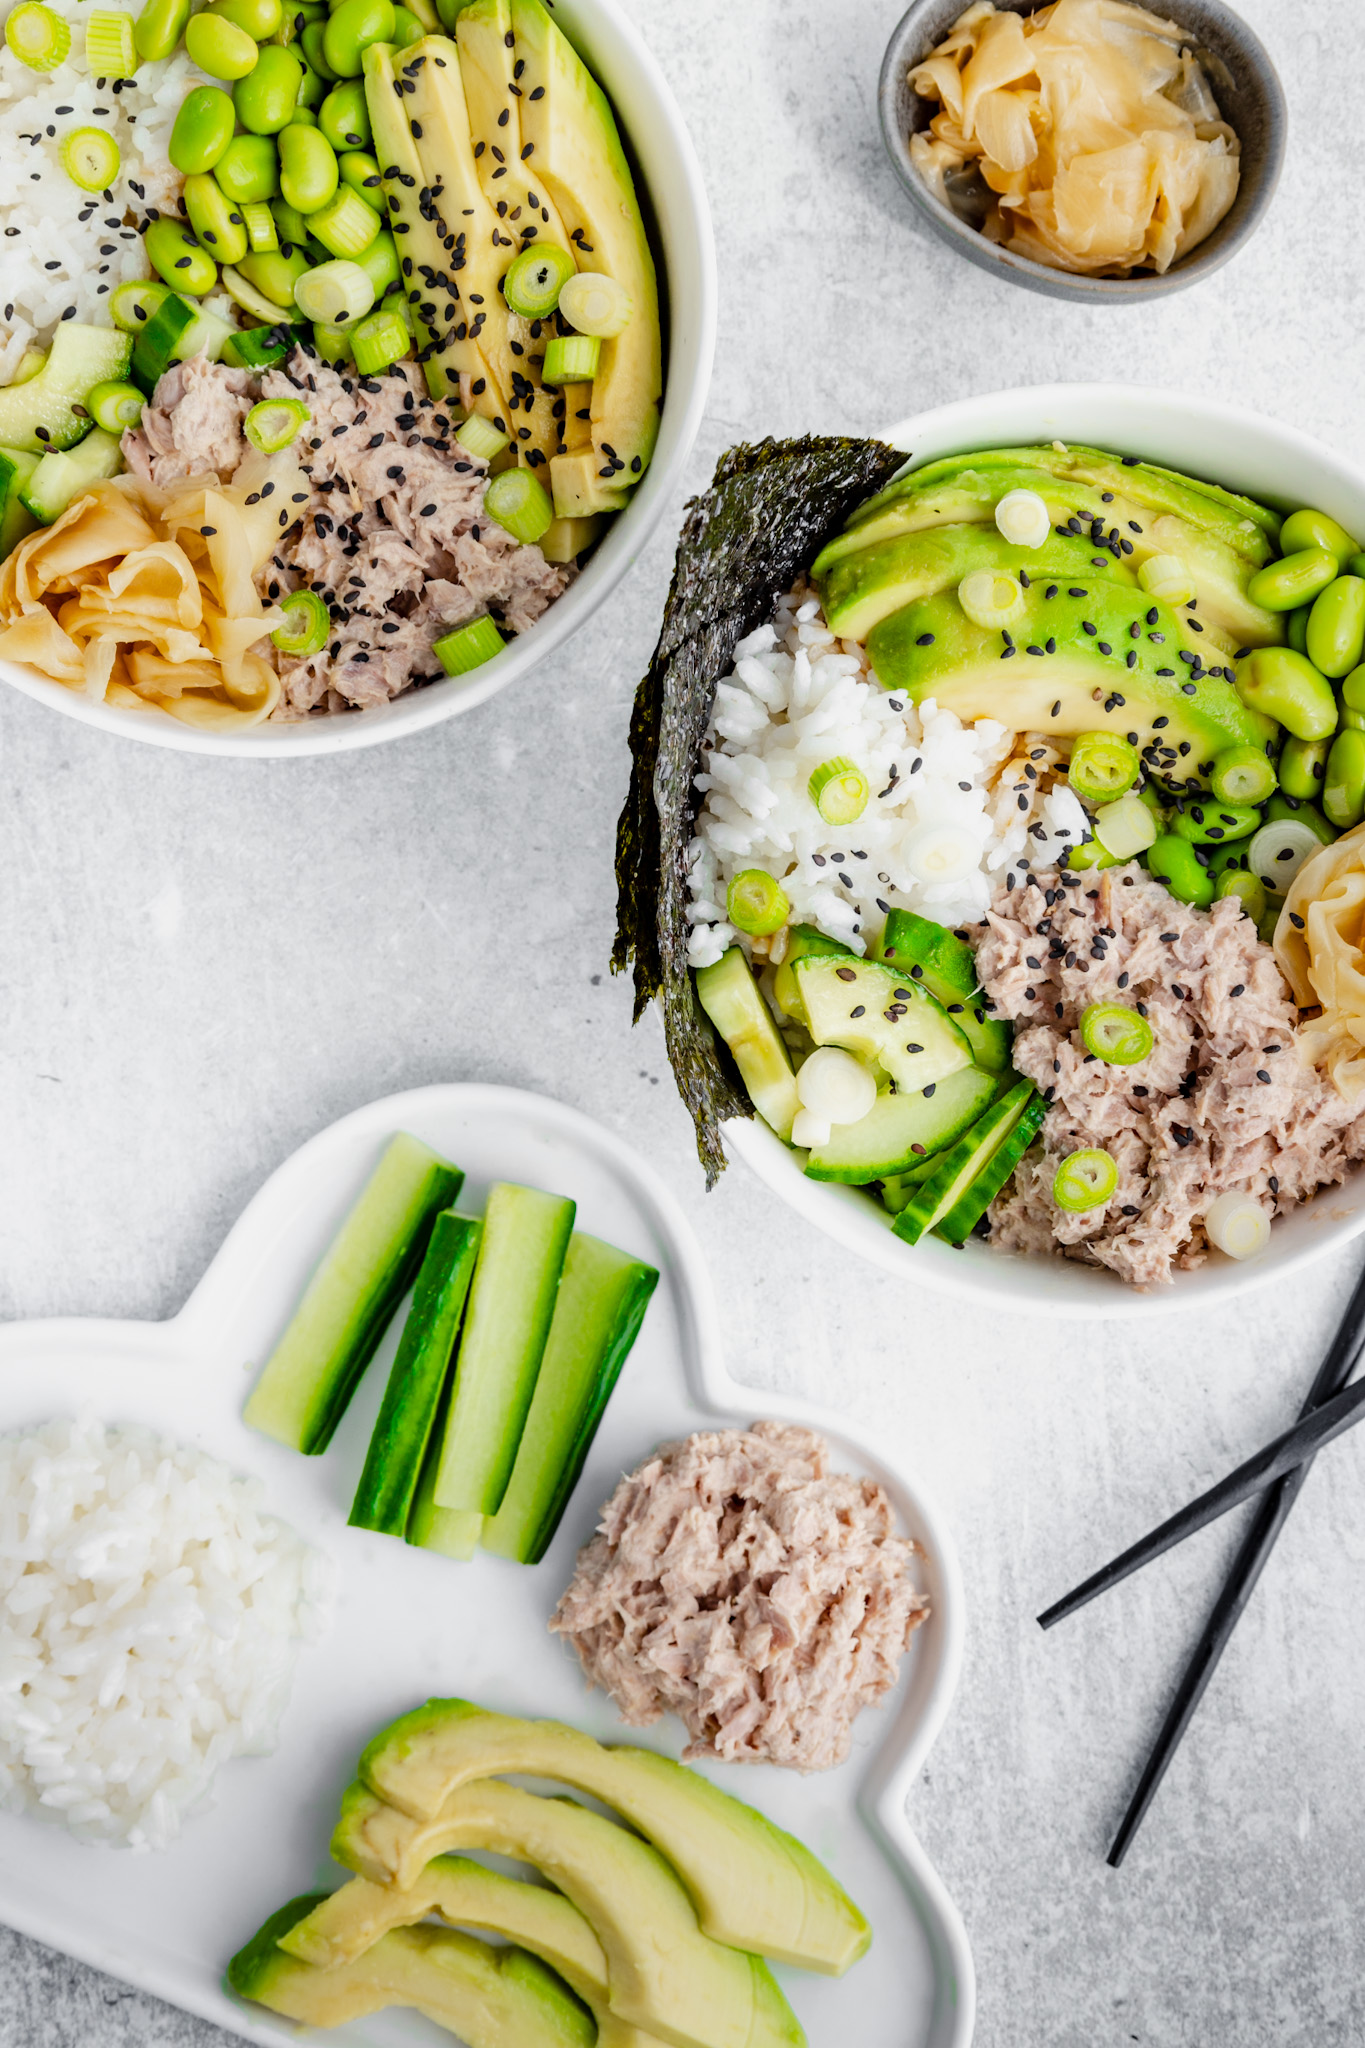
For weaning babies and toddlers, you can make a really simple deconstructed version of these tuna sushi bowls. My serving option recommendations for baby would be:
- some of the tuna mixture (use skipjack tuna as it’s lower in mercury)
- a pile of sticky rice
- finger-wide slices of avocado (can coat in sesame seeds for an easier grip)
- cucumber served according to their age and stage
- edamame beans, smashed down with the back of a teaspoon
- grated carrot
- canned sweetcorn
You don’t need to add any of the extras like the spring onions, pickled ginger, the seaweed thins and even the dressing can be left off, or just add a sprinkling.
I’ve also added these notes to the bottom of the recipe so you have them to hand when you come to cook. For more info on how I keep my family meals suitable for baby weaning, read here >
You Might Like…
Together to Eat is reader-supported. I may earn a small commission from anything bought through links found here.
Canned Tuna Sushi Bowl
Equipment
- Medium mixing bowl + spoon
- Measuring spoons + cups or scales
- Chopping board + knife
Ingredients
- 3 x 145g / 5oz tinned tuna in spring water, drained
- 70 g mayonnaise or to taste
- Sriracha to taste, optional for a spicy tuna sushi bowl
- 250 g sticky rice grains to boil OR 500g / 17.64oz pre-cooked microwave sticky rice
FOR THE DRESSING
- 3 tablespoons lemon juice
- 3 tablespoons soy sauce
- Wasabi to taste optional
TO SERVE RECOMMENDATIONS
- Avocado, sliced or diced
- Cucumber, quartered then sliced
- Edamame
- Grated / shredded carrot or canned sweetcorn for non-green veg options
- Pickled ginger slices
- Crispy seaweed thins
- Sliced spring onions
- Sesame seeds
See notes for baby & toddler
Instructions
THE RICE
- If you are using sticky rice grains, start cooking these on the hob now according to the packet instructions. If you are using microwaveable pre-cooked sticky rice, heat that according to packet instructions once you’ve finished your prep. You can eat this sushi bowl with fridge cold or warm sticky rice. Once the rice is cooked, for safety it needs either eating immediately or cooling down quickly and refrigerating until ready to serve.
THE DRESSING
- Mix the dressing ingredients together in a small bowl. Add optional wasabi to your liking and stir through with a mini wire hand whisk (can split into one with wasabi and one without if sharing with kids). Set aside.
THE VEGETABLES
- Prep your veggies now.
THE TUNA
- Mix the drained tuna with the mayonnaise and sriracha if making spicy tuna sushi bowl, to either half or all tuna, depending if you are sharing with younger kids. Add a little salt & pepper.
ASSEMBLE
- Add a heap of rice and tuna to your bowls. Then add in your other add-on choices or let the family compile their own bowls. Drizzle the dressing over all your chosen veggies. Sprinkle with spring onions (can leave off for younger children) and sesame seeds. Serve immediately.





Comments
No Comments