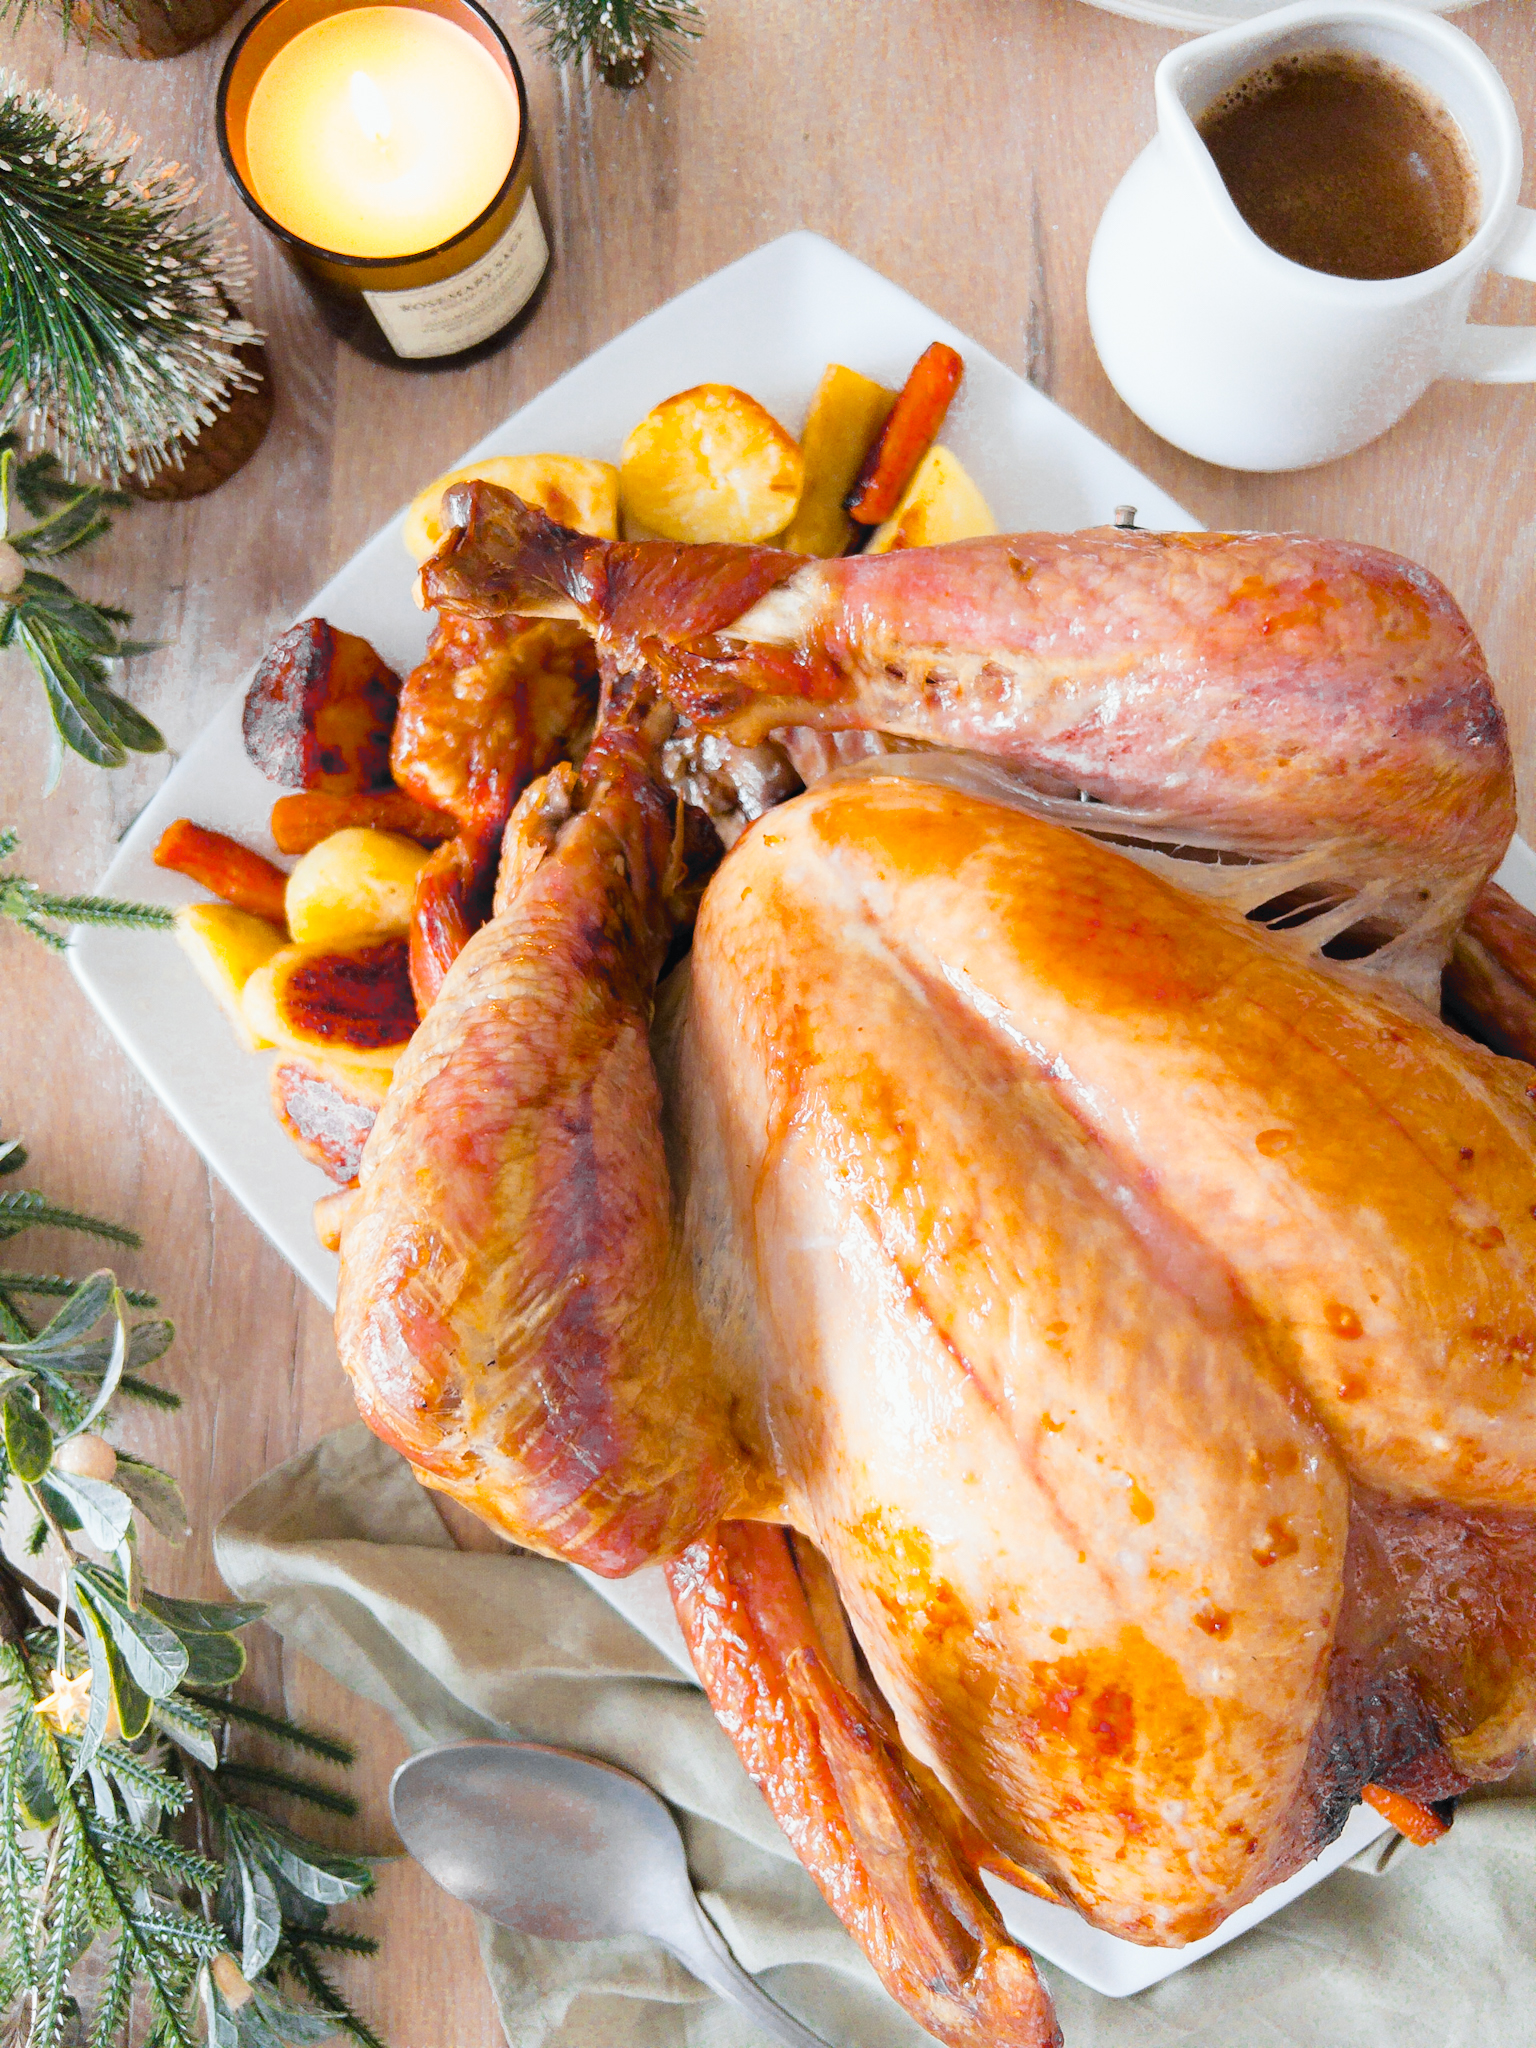
This is for all the mums out there who want to roast a juicy turkey the easy way on Christmas Day. I love to dress up a chicken or beef joint for roasting any other day of the year, but at Christmas, I want to spend the least amount of time humanly possible in the kitchen, so I can spend more time enjoying the day with my family.
I'm going to equip you with everything you need to about cooking a turkey. How to choose, defrost and roast a turkey as well as how to make gravy and store leftovers.
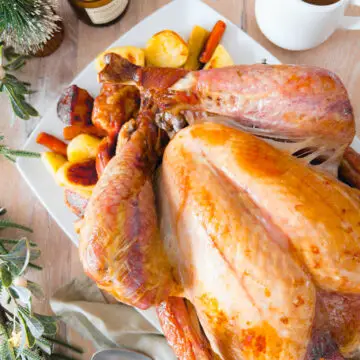
Making My Easy Roast Turkey
Essentially there are 6 easy steps to roasting a turkey my easy way. These are:
- Defrosting
- Prepping
- Roasting covered
- Roasting uncovered
- Resting
- Making the gravy
What Size Turkey to Get?
These are my servings / turkey weight recommendations:
To serve 4-7 people, get a small turkey, 2.6 - 3.8 kg / 5.7 - 8.4 lbs in weight
To serve 8-10 people, get a medium turkey, 3.9 - 5.2 kg / 8.6 - 11.5 lbs in weight
To serve 11-14 people, get a large turkey, 5.3 - 6.9 kg / 11 - 15.2 lbs in weight
To serve 15-18 people, get an extra large turkey, 7 - 8.8 kg / 15.4 - 19.4 lbs in weight
If you want to make a meal with the leftovers or would like turkey sandwiches all round later, go for a larger size turkey than you need for Christmas dinner. Typically you'd want an extra 600-700g poultry for a meal for 4 people, so choose a turkey weight that covers how much you need for Christmas dinner, plus the extra. Once cooked, that extra turkey will weight 400-450g.
How to Defrost a Turkey
The safest way to defrost a turkey is to allow it to defrost in the fridge for 12 hours per 1kg / 2.2 lbs. You'll need to defrost it on a tray or in a large container to catch all those raw juices. Once fully defrosted, you'll need to cook it within 24 hours. One hour before cook time, you'll want to bring it out of the fridge to bring it up closer to room temperature. If you skip this step, your turkey will take longer to cook so bear that in mind.
How Long to Roast a Turkey for?
Roasting a turkey is similar to roasting a chicken, in fact some people use the same exact timings. I like to use this following calculation for a whole, defrosted turkey:
15 mins x 500 g / 1.1 lbs = turkey roasting time
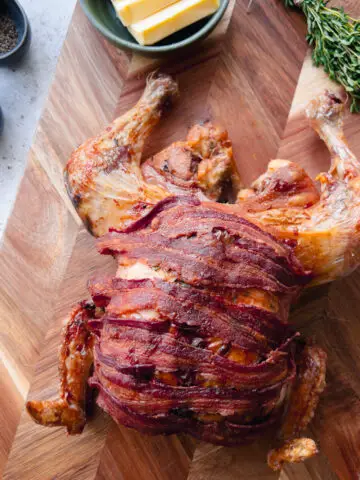
Cooking Covered and Uncovered
I recommend you roast the turkey for the first largest chunk of time covered in foil, then uncovered for the last 30 minutes. Covering the turkey loosely with foil will help to keep the moisture in, and at the same time allows the skin to start crisping up. Uncovering the turkey for the last 30 minutes will then allow the skin to brown and crisp up further, without drying out the turkey. You'll want to use extra wide foil if you have it so the foil covers more of the turkey.
How to Check the Turkey is Cooked?
The best way to do that is to check its temperature when you take it out the oven, in a few different places. You want to put your food thermometer in the thickest, meatiest parts of the turkey. The juices should also run clear when you cut into it. You can use a cooking thermometer, inserted into a thick part of the turkey while it cooks and it will alert you when it's reached the desired cooked temperature, but you still need to check a couple of other places when you take it out to ensure its cooked to temp throughout.
How to Rest a Turkey
Once you take the turkey out of the oven, it will continue to cook for up to 45 minutes. So you should rest it for at least 20 minutes and up to 45 minutes uncovered. And don't worry, it won't go cold! The internal temperature is still rising during this time. Once the 45 minutes is up, if you aren't ready to serve then you can recover with the foil and add on a couple tea towels or newspaper sheets if you like.
How to Fit Everything in the Oven
The trick to this is roasting the turkey first, then cooking anything else you could't fit in the oven, after the turkey has been taken out and resting (as above).
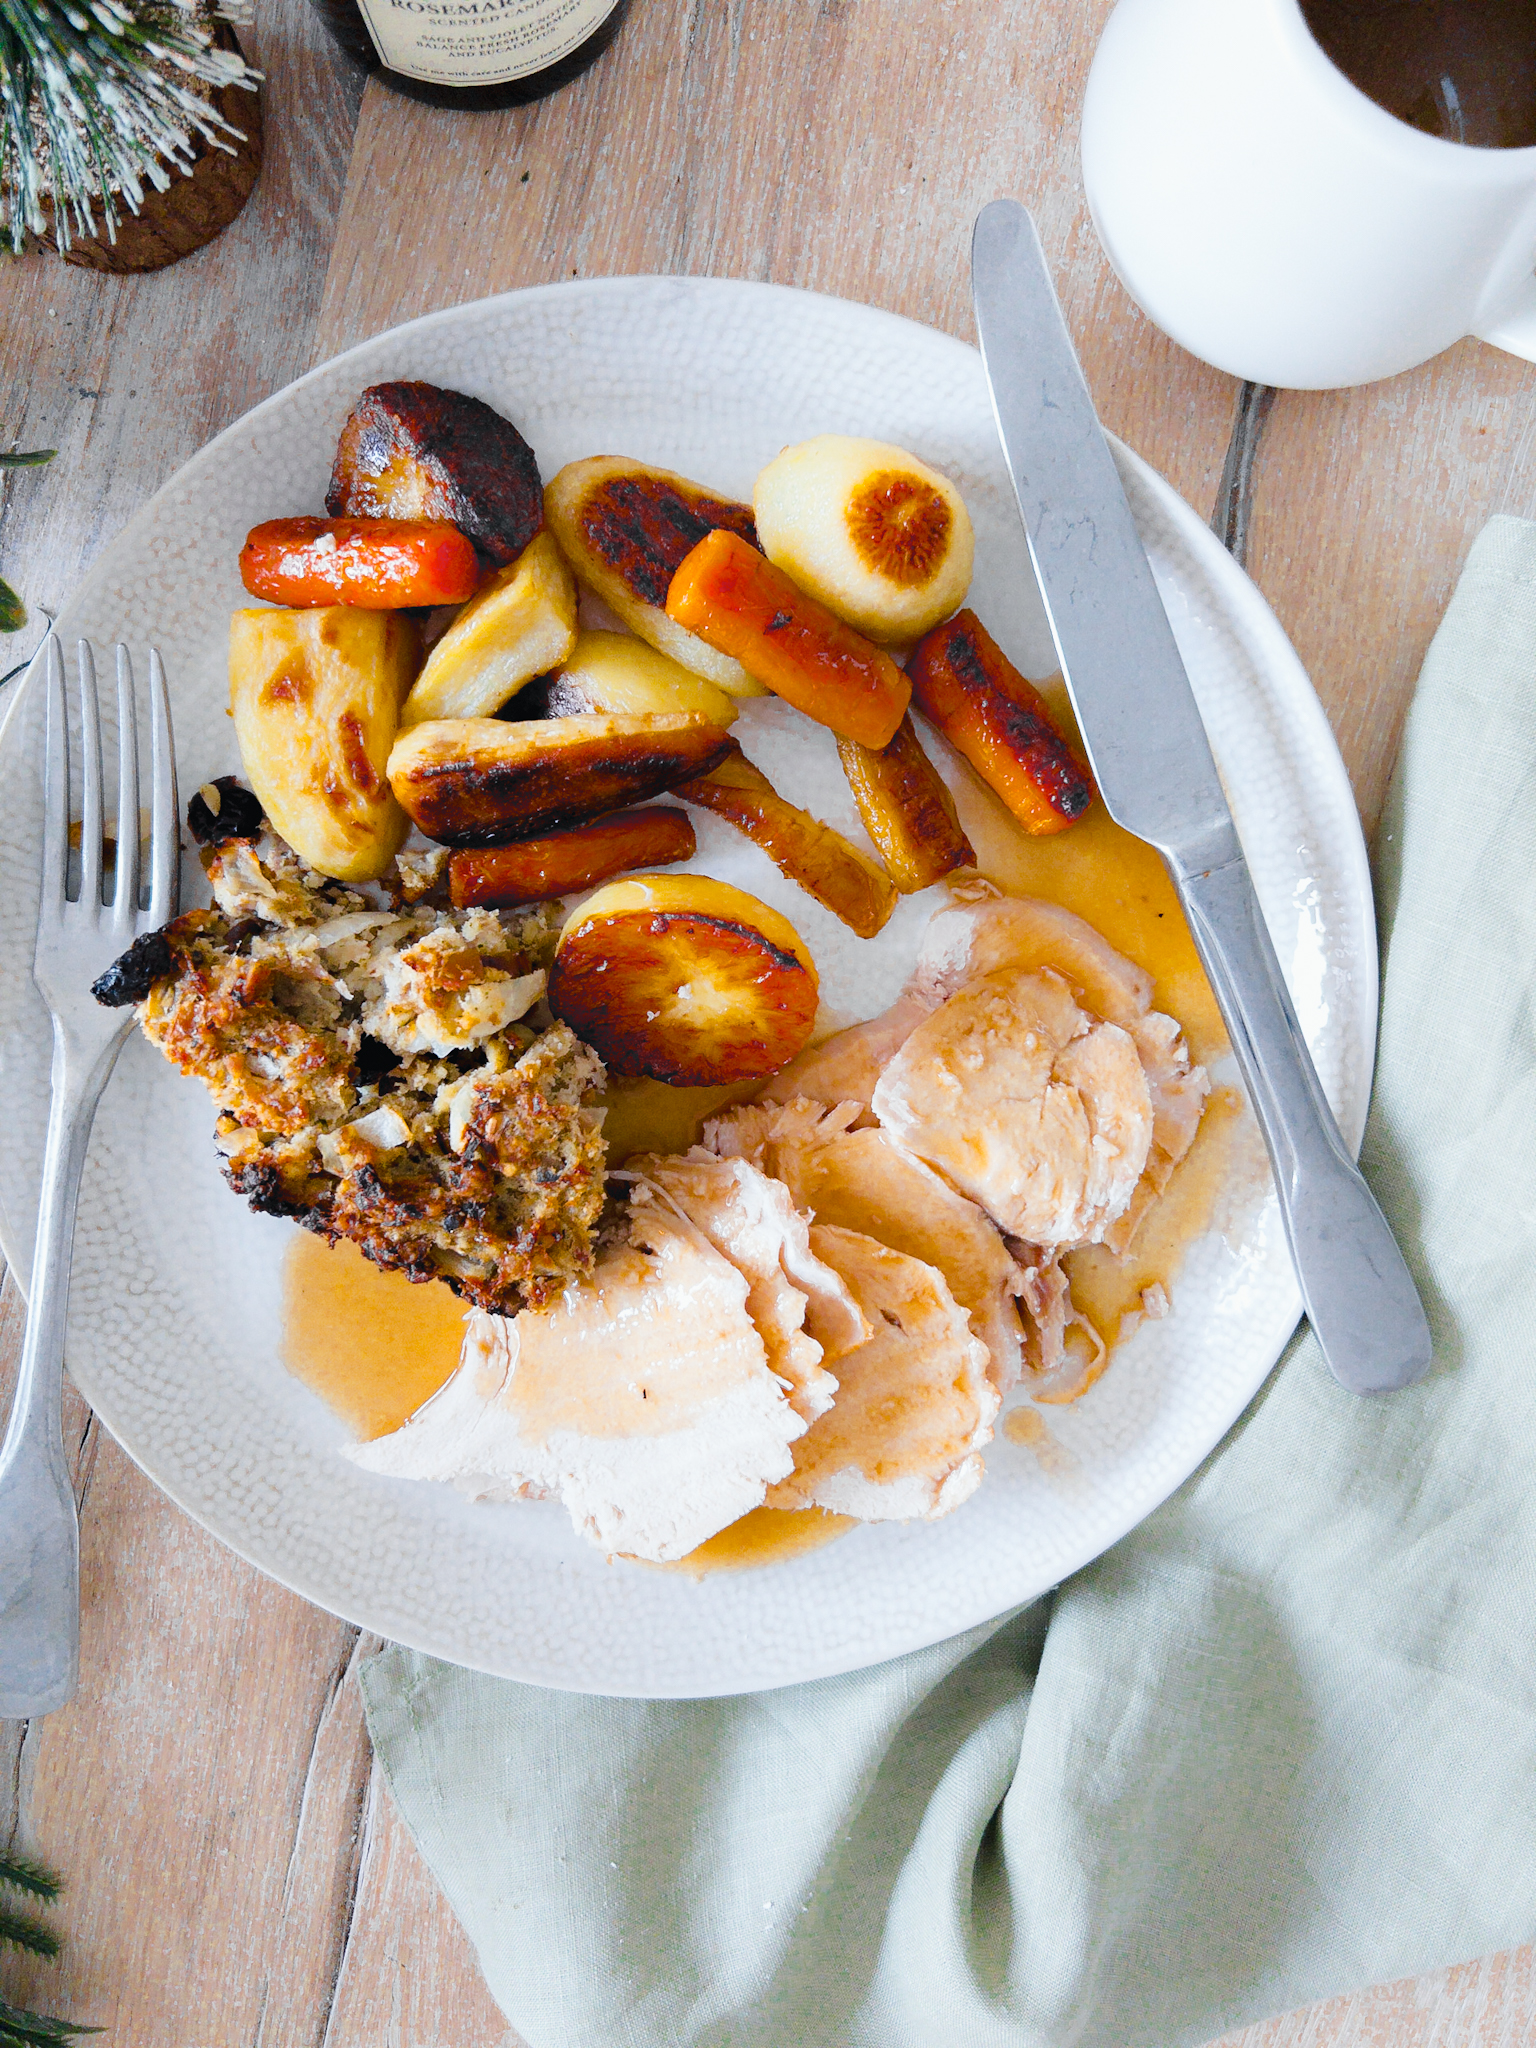
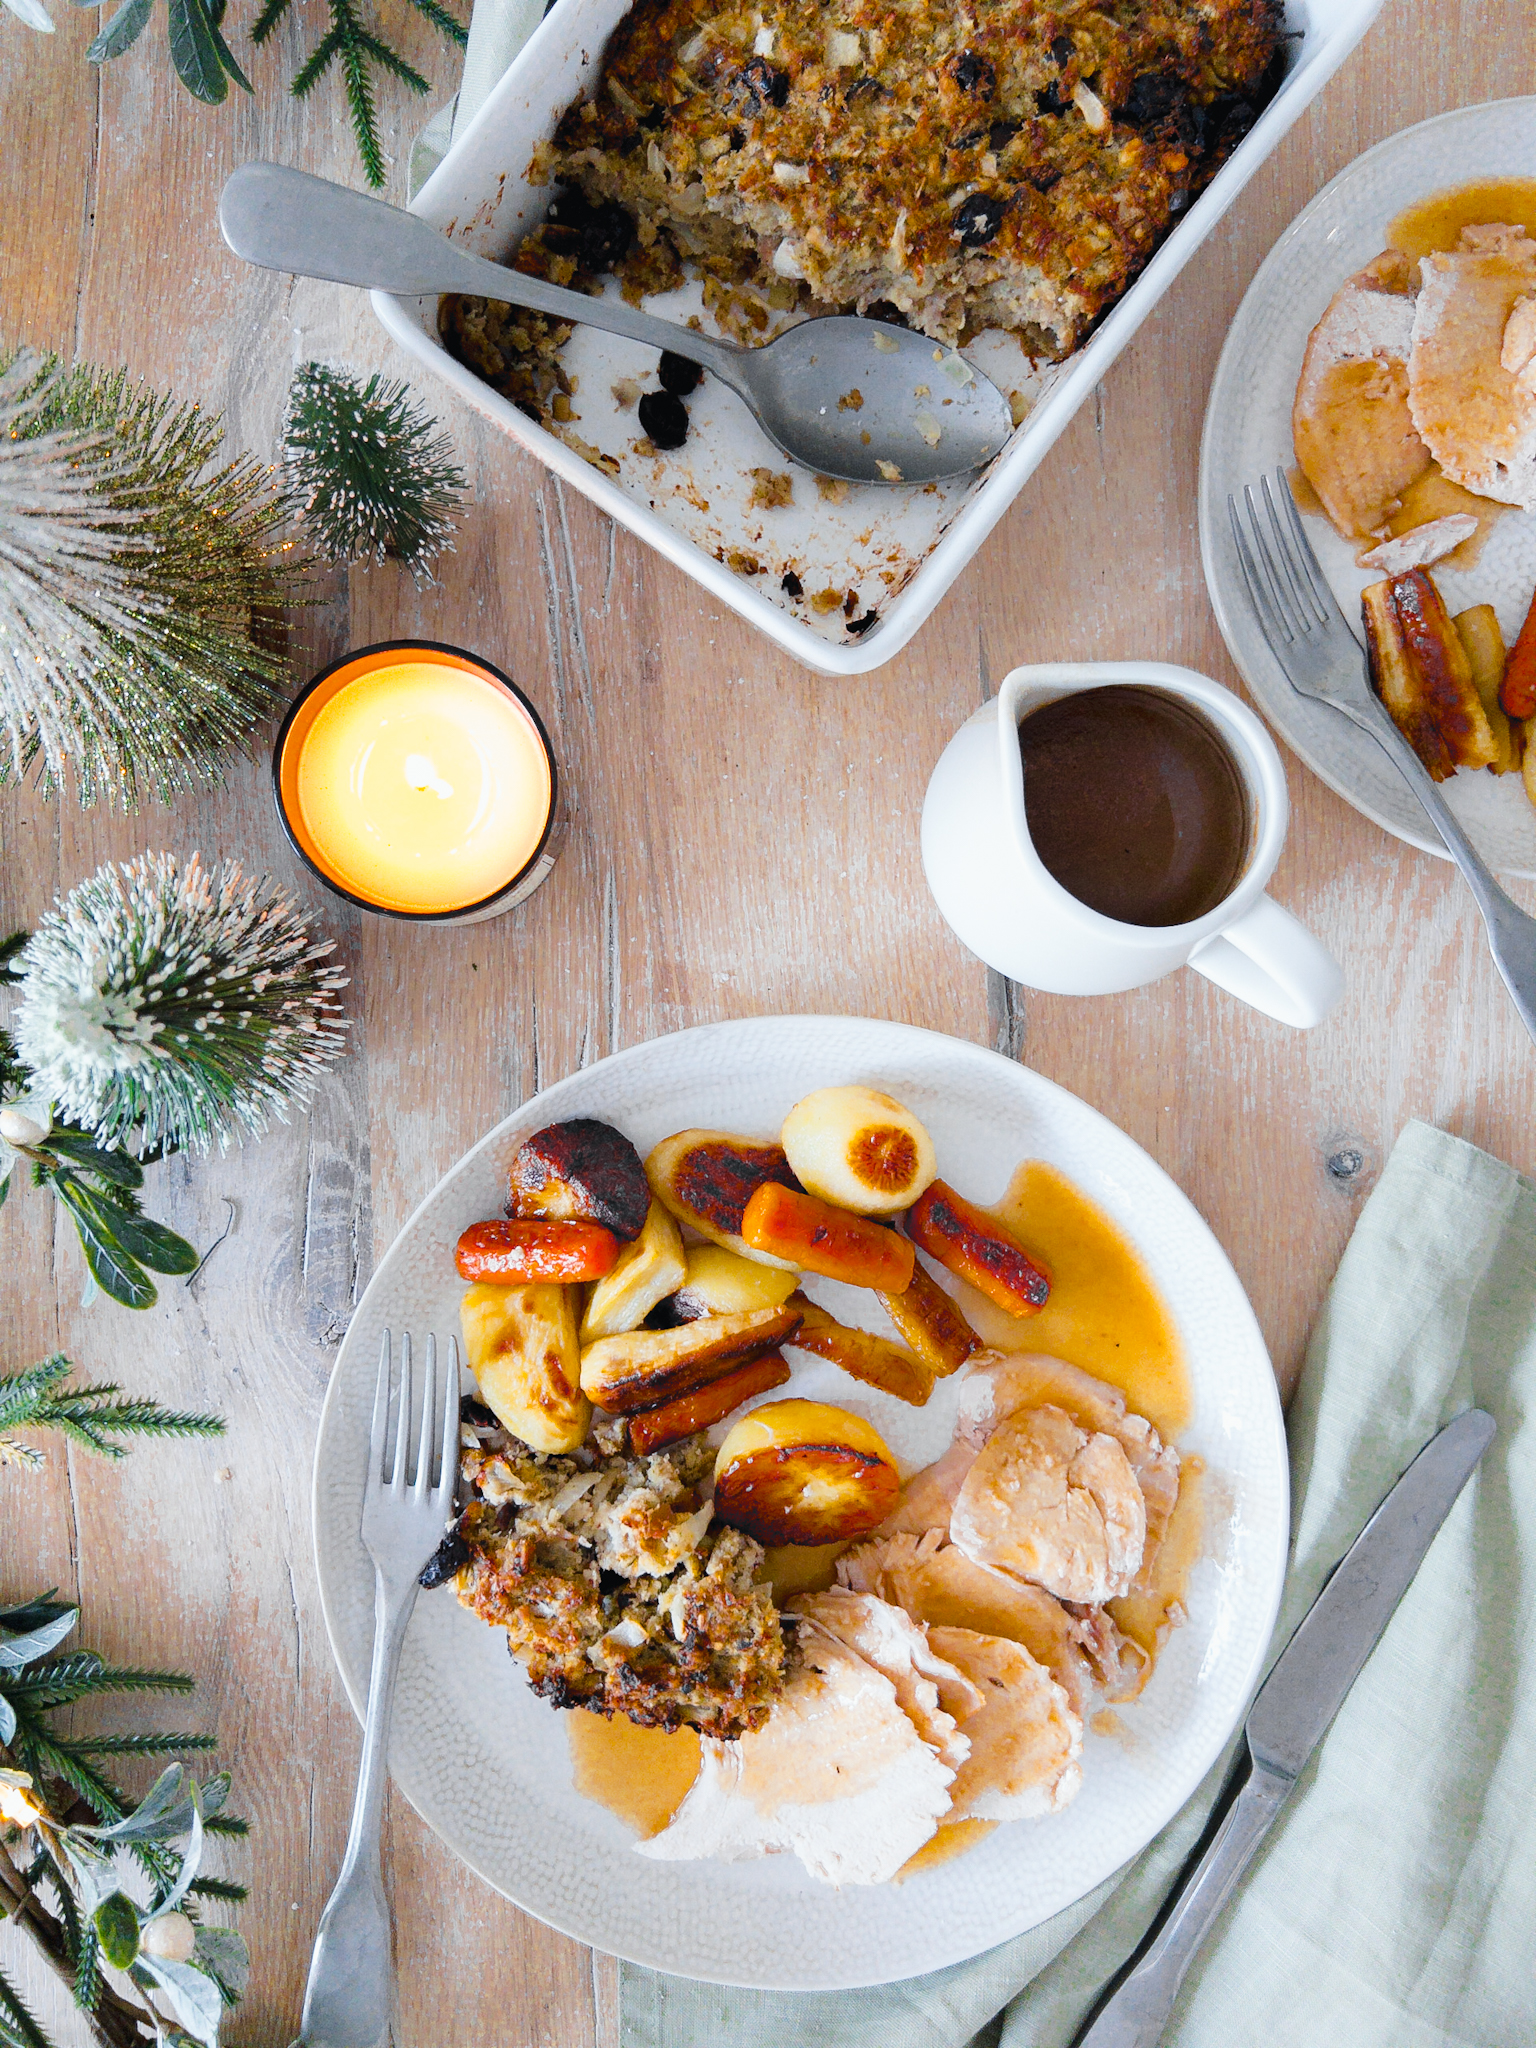
Making the Gravy
I know many people make their gravy using the meat or poultry juices, adding water and flour and even vegetables, but I prefer to use gravy granules and skip on the flour, and here's why:
- You'll get a stronger flavour
- You don't have to worry about the flour clumping together
- When you are making a large roast like turkey for lots of family at Christmas, the juices and high volume of water alone will give you a diluted gravy
So instead, I pour the juices through a sieve into a small-medium saucepan. Then I put the pan over a medium heat and add in some gravy granules. Stir that until dissolved and then add some boiling water and give it a good stir. Then I allow it to come to a boil, bubble and thicken for 5 minutes. To work out how much gravy granules and hot water to use alongside the poultry or meat juices I use this equation:
3 heaped teaspoons* + 500 ml / 2 cups hot water = 4 person serving
*use a cutlery teaspoon not a measuring teaspoon.
Once the gravy is done, best thing to do is to add it to a fat separator jug or use a turkey baster to suck up the gravy from under the layer of fat, and then transfer it to a jug.
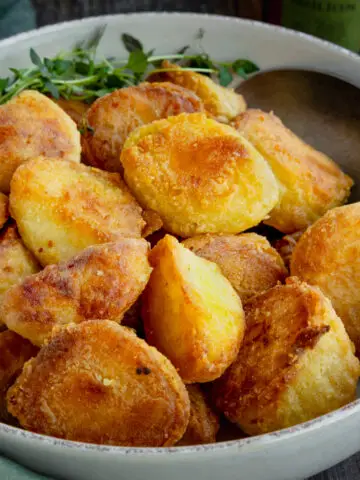
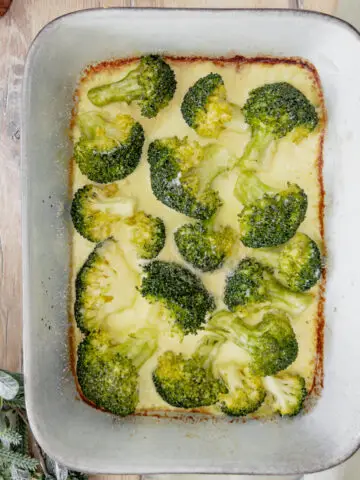
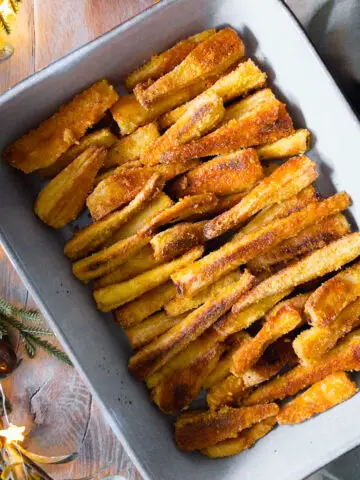
My Easy Roast Turkey Pairs Perfectly With…

Storing Roast Turkey
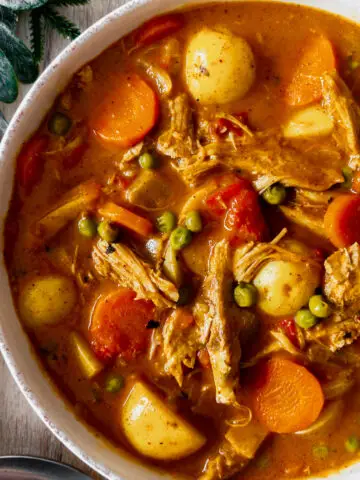
Don't waste those leftovers! Turkey sandwiches are delicious, especially with a little leftover gravy on the turkey and stuffing if you have any leftover. You'll also be able to find recipes online using leftover turkey so you can make a second meal for you and your family over the Christmas break.
You can store turkey leftovers in an air-tight container or resealable food bag in the fridge for up to 4 days (cook day + 3). You can also freeze them, just defrost for 24 hours in the fridge and reheat until steaming hot all the way through.
For more on safe food storage and reheating read here >
Diet Details
My Easy Roast Turkey is egg, diary, nut and gluten-free.
Adapting My Easy Roast Turkey For Your Family
Eating together is beneficial for families of all ages and stages, for a multitude of reasons; nutritional, behavioural, psychological and for healthy family functioning. This section will show you how to tweak this Easy Roast Turkey recipe for sharing with a weaning baby, toddler or a fussy eater, to help make it easier for you to eat together as a family.
Keeping Picky Eaters Happy
Give your fussy eater the meat they usually prefer for chicken - so leg if they usually prefer leg, or breast if that's what they prefer.
See more from me on fussy eaters here >
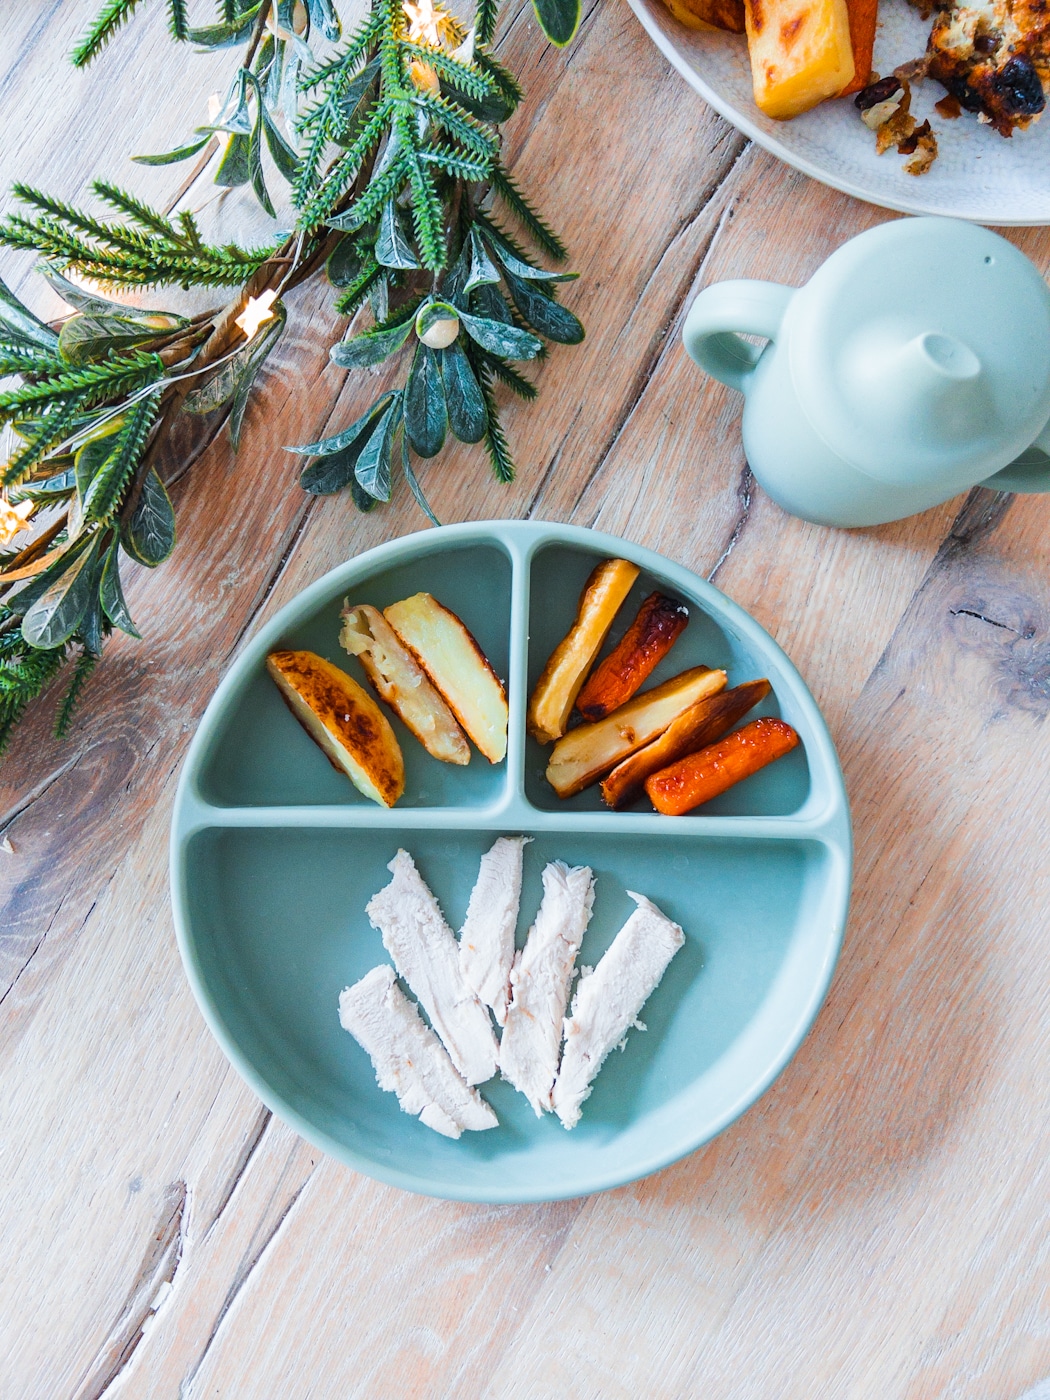
How to Serve to Babies & Toddlers
It's always best to give babies and young children leg meat over breast as there is more iron in chicken and turkey leg meat.
When you are carving up children's portions, keep a close eye out for bones.
BABY-LED WEANING
Slice some of the turkey into finger size strips.
SPOON FEEDING
6 months
Put some turkey for baby into your stick blender pot or food chopper (if you have that one that purées), along with some roast potato (scoop out the inside) and vegetables and purée. Add a little gravy and warm boiled water to loosen.
7-9 months
Transfer baby's turkey into your food chopper along with potato (scooping out the inside) and vegetables. Pulse slowly until finely chopped. Add a little gravy and warm boiled water or stock to loosen.
10-12 months
Gradually pulse baby's turkey, along with potato (scoop out inside) and some vegetables in your food chopper, until you reach a lumpy, chopped consistency. Add a little gravy and warm boiled water or stock as needed.
12 month + Transitioning Period
Shred some turkey using forks and mash the inside of a couple roast potatoes with the back of a fork. Mash any other root veg you are serving - fine for them to be lumpy. Other veg that can't be mashed should be chopped through well with a sharp knife and fork.
1 Year +
Chop the turkey into small bitesize pieces using a sharp knife and a fork. Serve with sides also chopped bitesize and drizzle with a little gravy.
I've also added these notes to the bottom of the recipe so you have them to hand when you come to cook. For more info on how I keep my family meals baby & toddler friendly, read here >
You Might Like…


Together to Eat is reader-supported. I may earn a small commission from anything bought through links found here.
EASY ROAST TURKEY
Special Equipment
- Cooking thermometer , optional
- Small saucepan
- Sieve
- Fat separator jug or baster, optional
Ingredients
- 1 turkey size you need (see above post for advice)
- 2 tablespoons vegetable oil
- Turkey or chicken gravy granules
- Hot water
Instructions
- Defrost your turkey 12hrs for every 12kg. Then remove the turkey from the fridge about 1 hour before cook time to come up to room temperature. When ready to cook, pre-heat the oven to 180ºc/160ºc/350ºf/gas 4.
- Lay a large piece of foil the bottom of an extra large roasting pan with plenty of foil left over on both sides. Add the turkey into the roasting tin, breast side up. Check the turkey cavity and pull out the innards. Rub the oil all over the turkey crown and legs.
- Then fold the foil up and over the turkey so it's all covered, but not tightly. Watch the video below for help. Transfer to the oven and cook for the calculated time for the size of your turkey (15 mins x each 500g / 1.1lb).
- For the last 30 minutes, uncover the turkey to brown it, leaving the foil in place underneath the turkey. All ovens are different, so check the temperature of the turkey with a food thermometer in a few places, including the thickest parts of the breast and thigh. If its not reached 75º in those places, put it back in for 10 minutes and check again.
- Leave the turkey out to rest for a minimum of 20 minutes and up to 45 minutes, uncovered. After 45 minutes you can cover it loosely with foil and then a couple tea towels if you like until ready to serve.
TO MAKE THE GRAVY
- Pour the turkey juices from the pan through a sieve into a medium-small saucepan over a medium heat (large turkey's are heavy, you may need a helper!). Add in your gravy granules - 3 heaped teaspoons (cutlery) of per 4 people. Stir using a balloon whisk until dissolved. Then add in your boiling water - 500ml per 4 people. Taste and add more gravy granules for a stronger flavour if needed. Allow to come to the boil and bubble for 5 minutes, until thickened. Ideally use a fat separator when you come to serve, or a turkey baster to suck up the gravy from the bottom, leaving the fat behind on the top.
Baby & Toddler
BABY-LED WEANING
Slice some of the turkey into finger size strips.SPOON FEEDING
6 months - Put some turkey for baby into your stick blender pot or food chopper (if you have that one that purées), along with some roast potato (scoop out the inside) and vegetables and purée. Add a little gravy and warm boiled water to loosen. 7-9 months -Transfer baby’s turkey into your food chopper along with potato (scooping out the inside) and vegetables. Pulse slowly until finely chopped. Add a little gravy and warm boiled water or stock to loosen. 10-12 months - Gradually pulse baby’s turkey, along with potato (scoop out inside) and some vegetables in your food chopper, until you reach a lumpy, chopped consistency. Add a little gravy and warm boiled water or stock as needed. 12 month + Transitioning Period - Shred some turkey using forks and mash the inside of a couple roast potatoes with the back of a fork. Mash any other root veg you are serving - fine for them to be lumpy. Other veg that can’t be mashed should be chopped through well with a sharp knife and fork. 1 Year + Chop the turkey into small bitesize pieces using a sharp knife and a fork. Serve with sides also chopped bitesize and drizzle with a little gravy.


Comments
No Comments