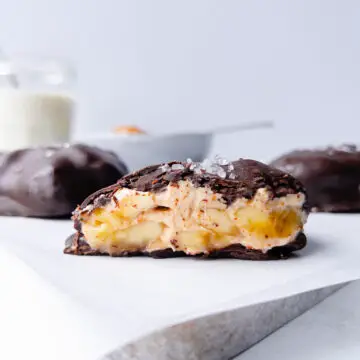
These Banana Peanut Butter Yogurt Clusters are totally giving Chunky Monkey vibes with their banana + peanut butter + chocolate combo. You can even add some chopped peanuts or walnuts too if you like!
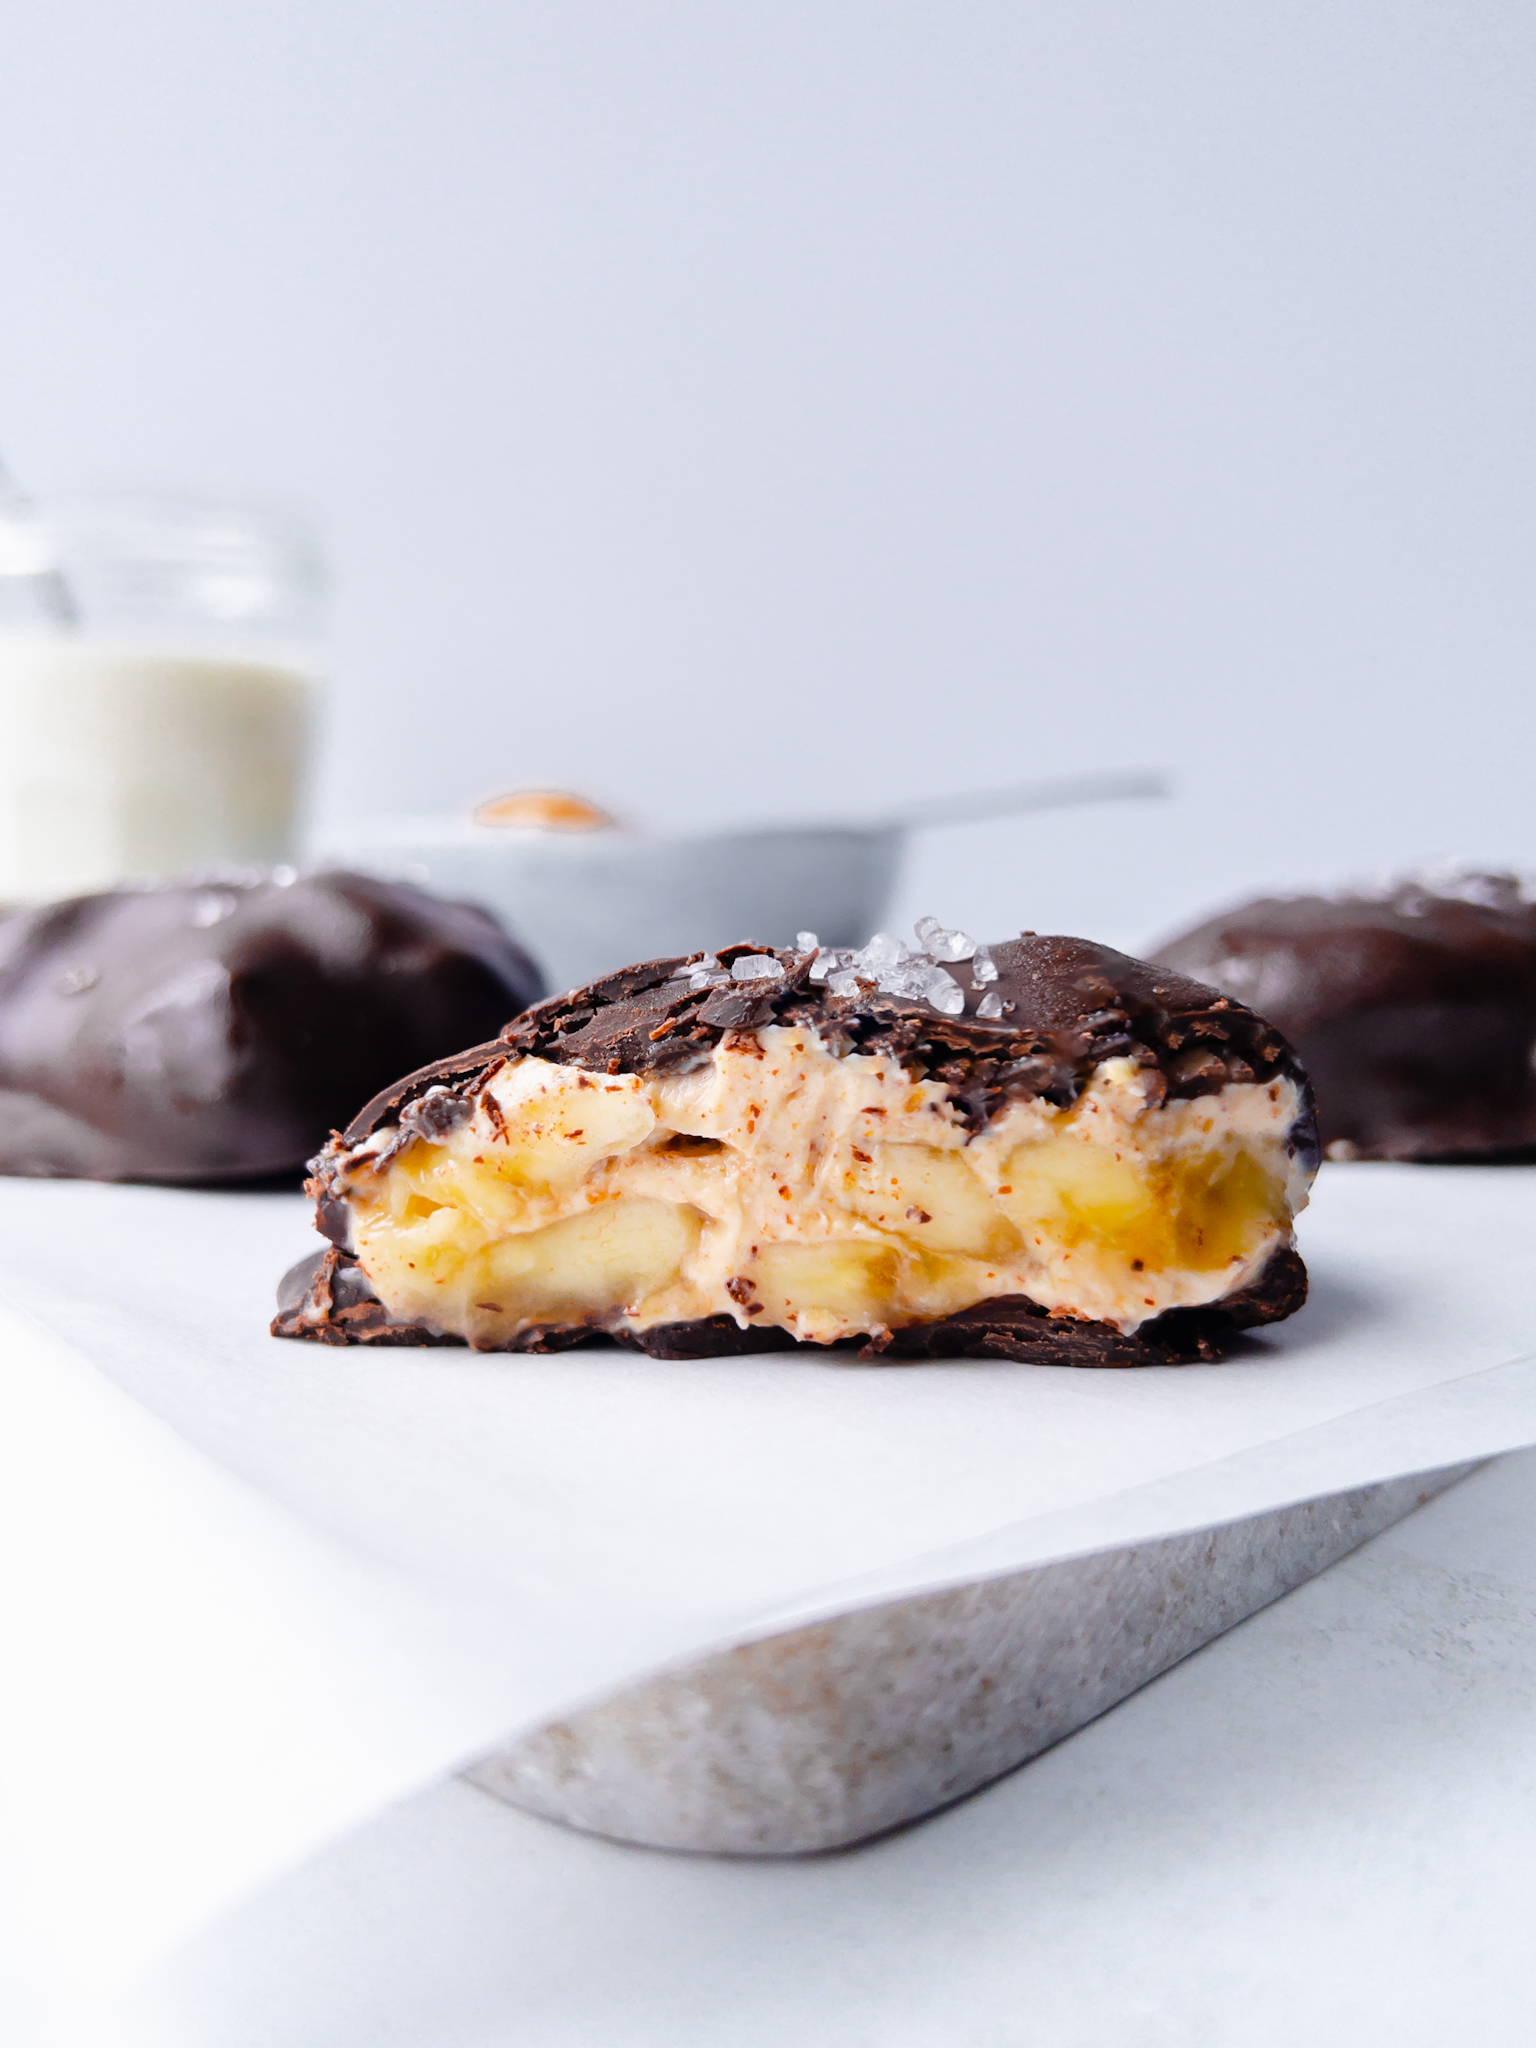
The contrast of the hard, dark chocolate snap to the creamy, dreamy, soft centre is just the best. And I love when I find a snack that is healthy AND delicious, and these certainly are that.
Oh and did I mention they only have four ingredients?! Plus, they are a good snack option for kids, giving them essential nutrients and protein for an energy kick mid-afternoon. Just be sure to leave some clusters without the sea salt sprinkle for them. You can even make these baby-friendly! See how here >
The Stars of my Banana Peanut Butter Yogurt Clusters
The Bananas
You’ll need to thinly slice two ripe or just-ripe medium bananas for this recipe.
The Yogurt
We are going to use Greek yogurt as it’s thick and creamy. If you use plain yogurt the clusters won’t hold their shape as well and you’ll get flatter clusters and they won’t be quite as creamy.
The Peanut Butter
For these Banana Peanut Butter Yogurt Clusters, you want to go for a good quality smooth peanut butter without added sugar. And you can make these as peanut buttery as you like, just add more if you want a really strong peanut butter flavour. If you aren’t so keep on a strong peanut butter flavour, go for the minimum amount in the recipe.
The Chocolate
It has to be dark chocolate for these clusters! You can go for a dark chocolate with either 54% or a 72% cocoa solids. A 54% dark chocolate will be a little sweeter and a less bitter than the 72% - just depends on your preference. Use an all natural dark chocolate to keep this snack super healthy. While you are dipping the frozen clusters in, if the chocolate starts to seize, pop it back in the microwave for 20 seconds and stir. Alternatively, add a tablespoon of coconut oil to the chocolate when you melt it.
Making these Chunky Monkey Yogurt Clusters
You can add the optional walnuts to turn these Banana Peanut Butter Yogurt Clusters into fan favourite Chunky Monkey Yogurt Clusters. Just add the optional chopped walnuts in the recipe. This will also give amp up the protein content - win win!
Making my Banana Peanut Butter Yogurt Clusters
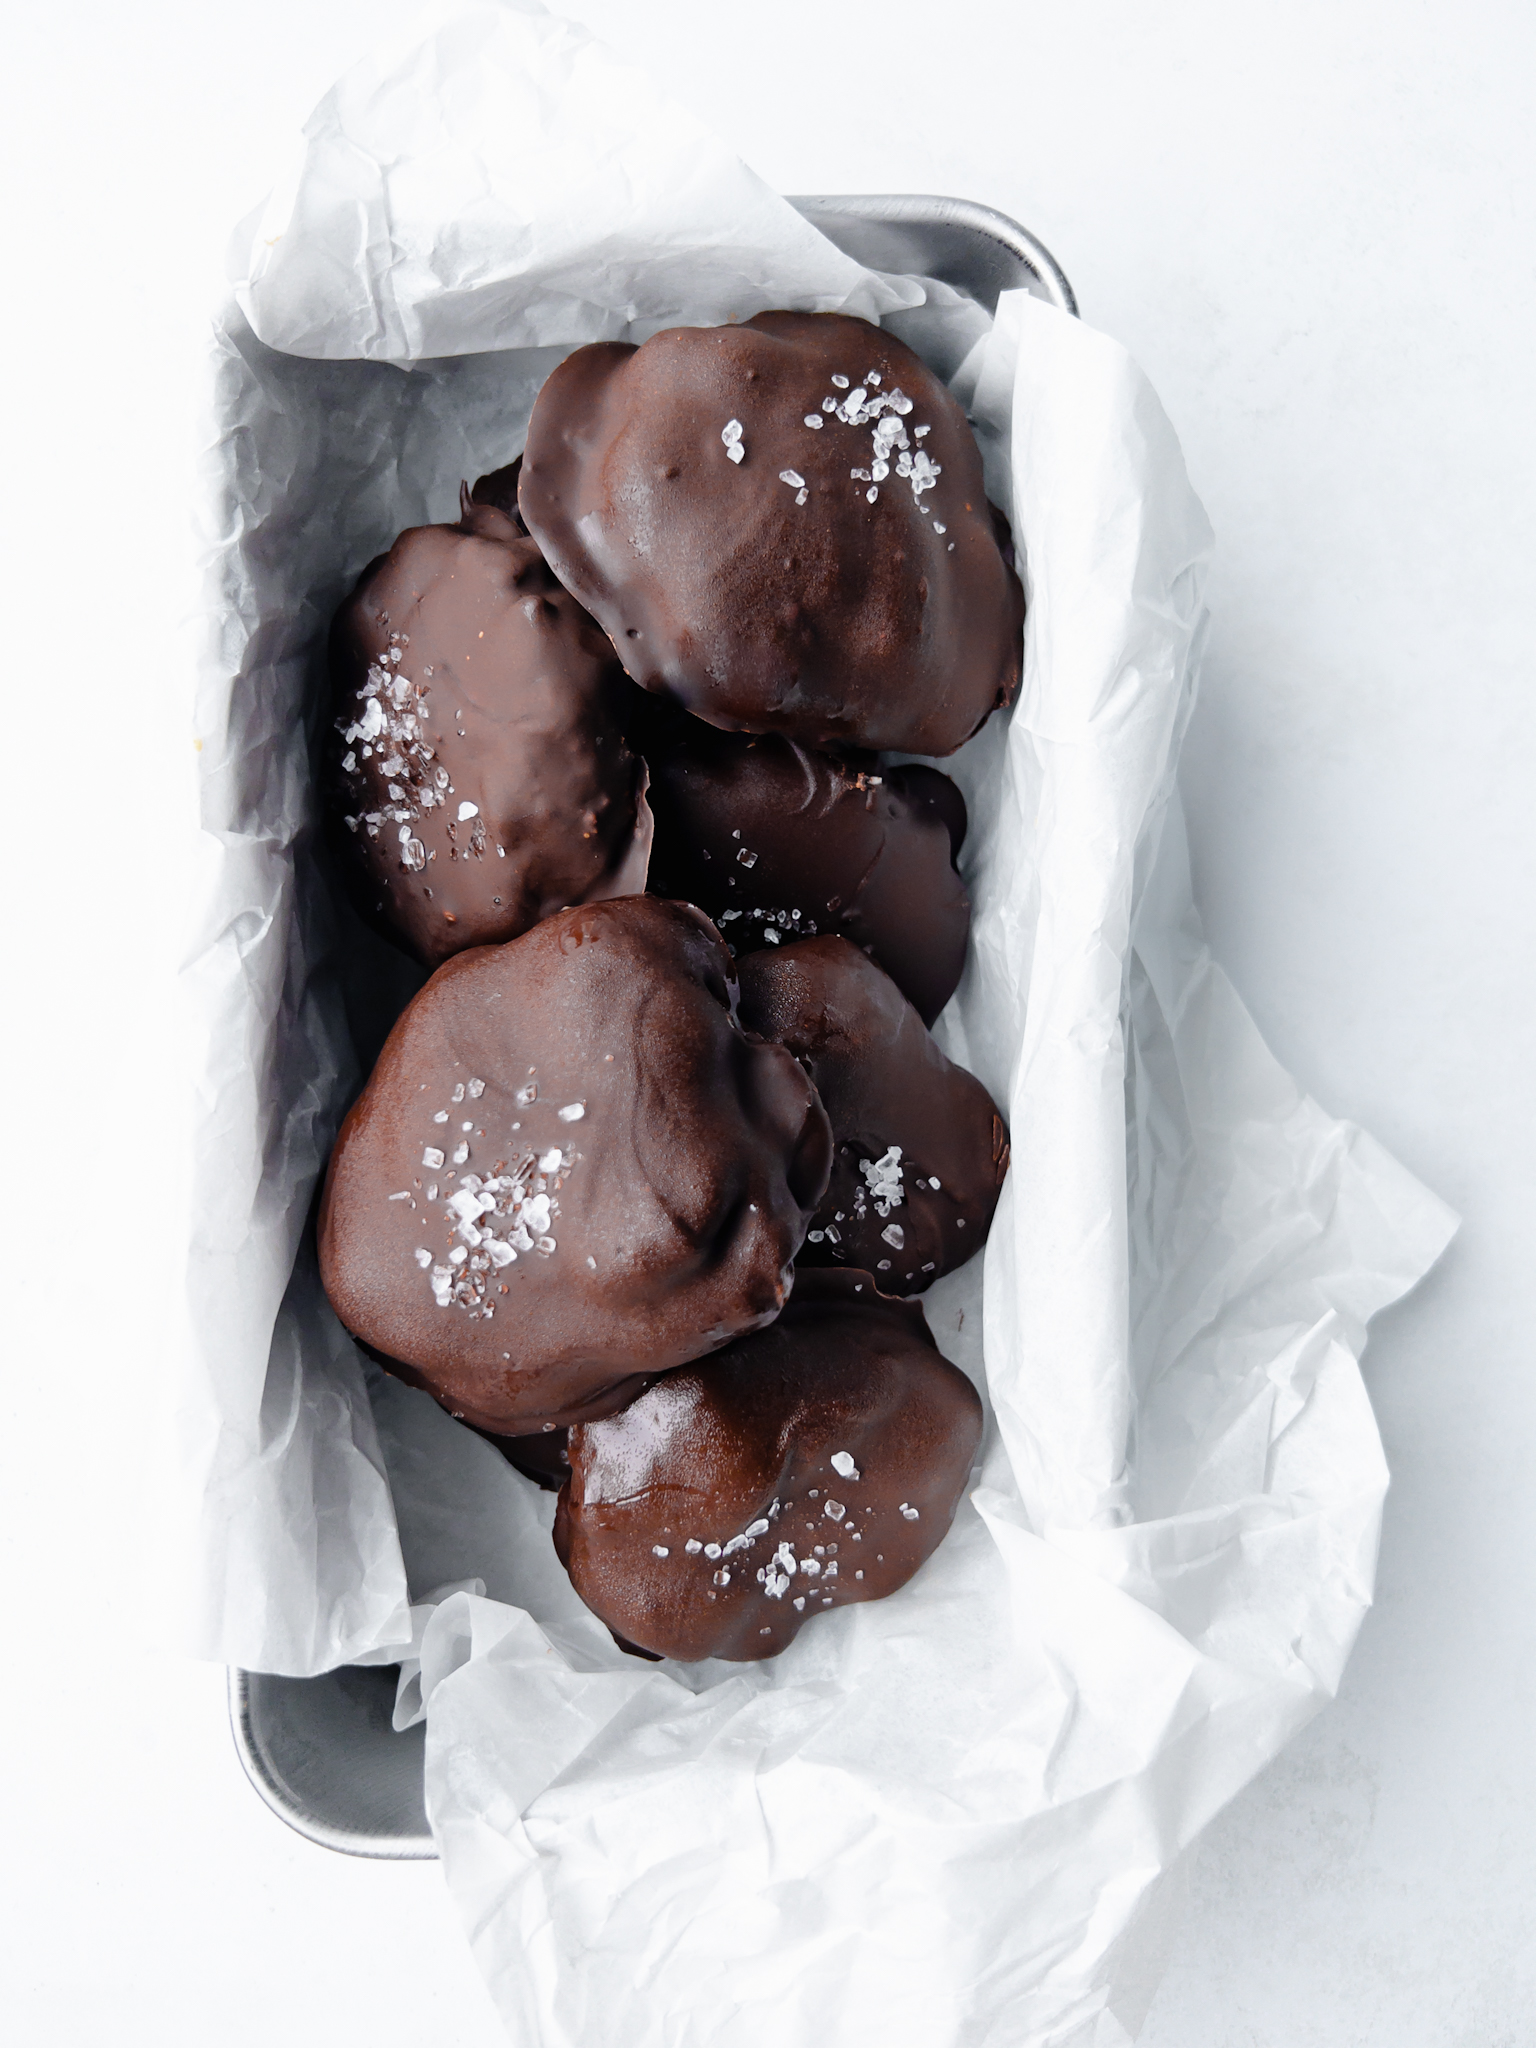
My Banana Peanut Butter Yogurt Clusters are quick and easy to make. To start, you’ll thinly slice your bananas, then mix with some Greek yogurt and smooth peanut butter until well combined. Next, add spoonfuls of the mixture to a lined baking tray and freeze for one hour. Then melt some dark chocolate in the microwave, dip the clusters in, turning them around until well coated and adding them back on your baking tray as you go. If you fancy it for the adult’s clusters, sprinkle the tops with sea salt just before the chocolate sets. Then freeze for a further 15 minutes before eating.
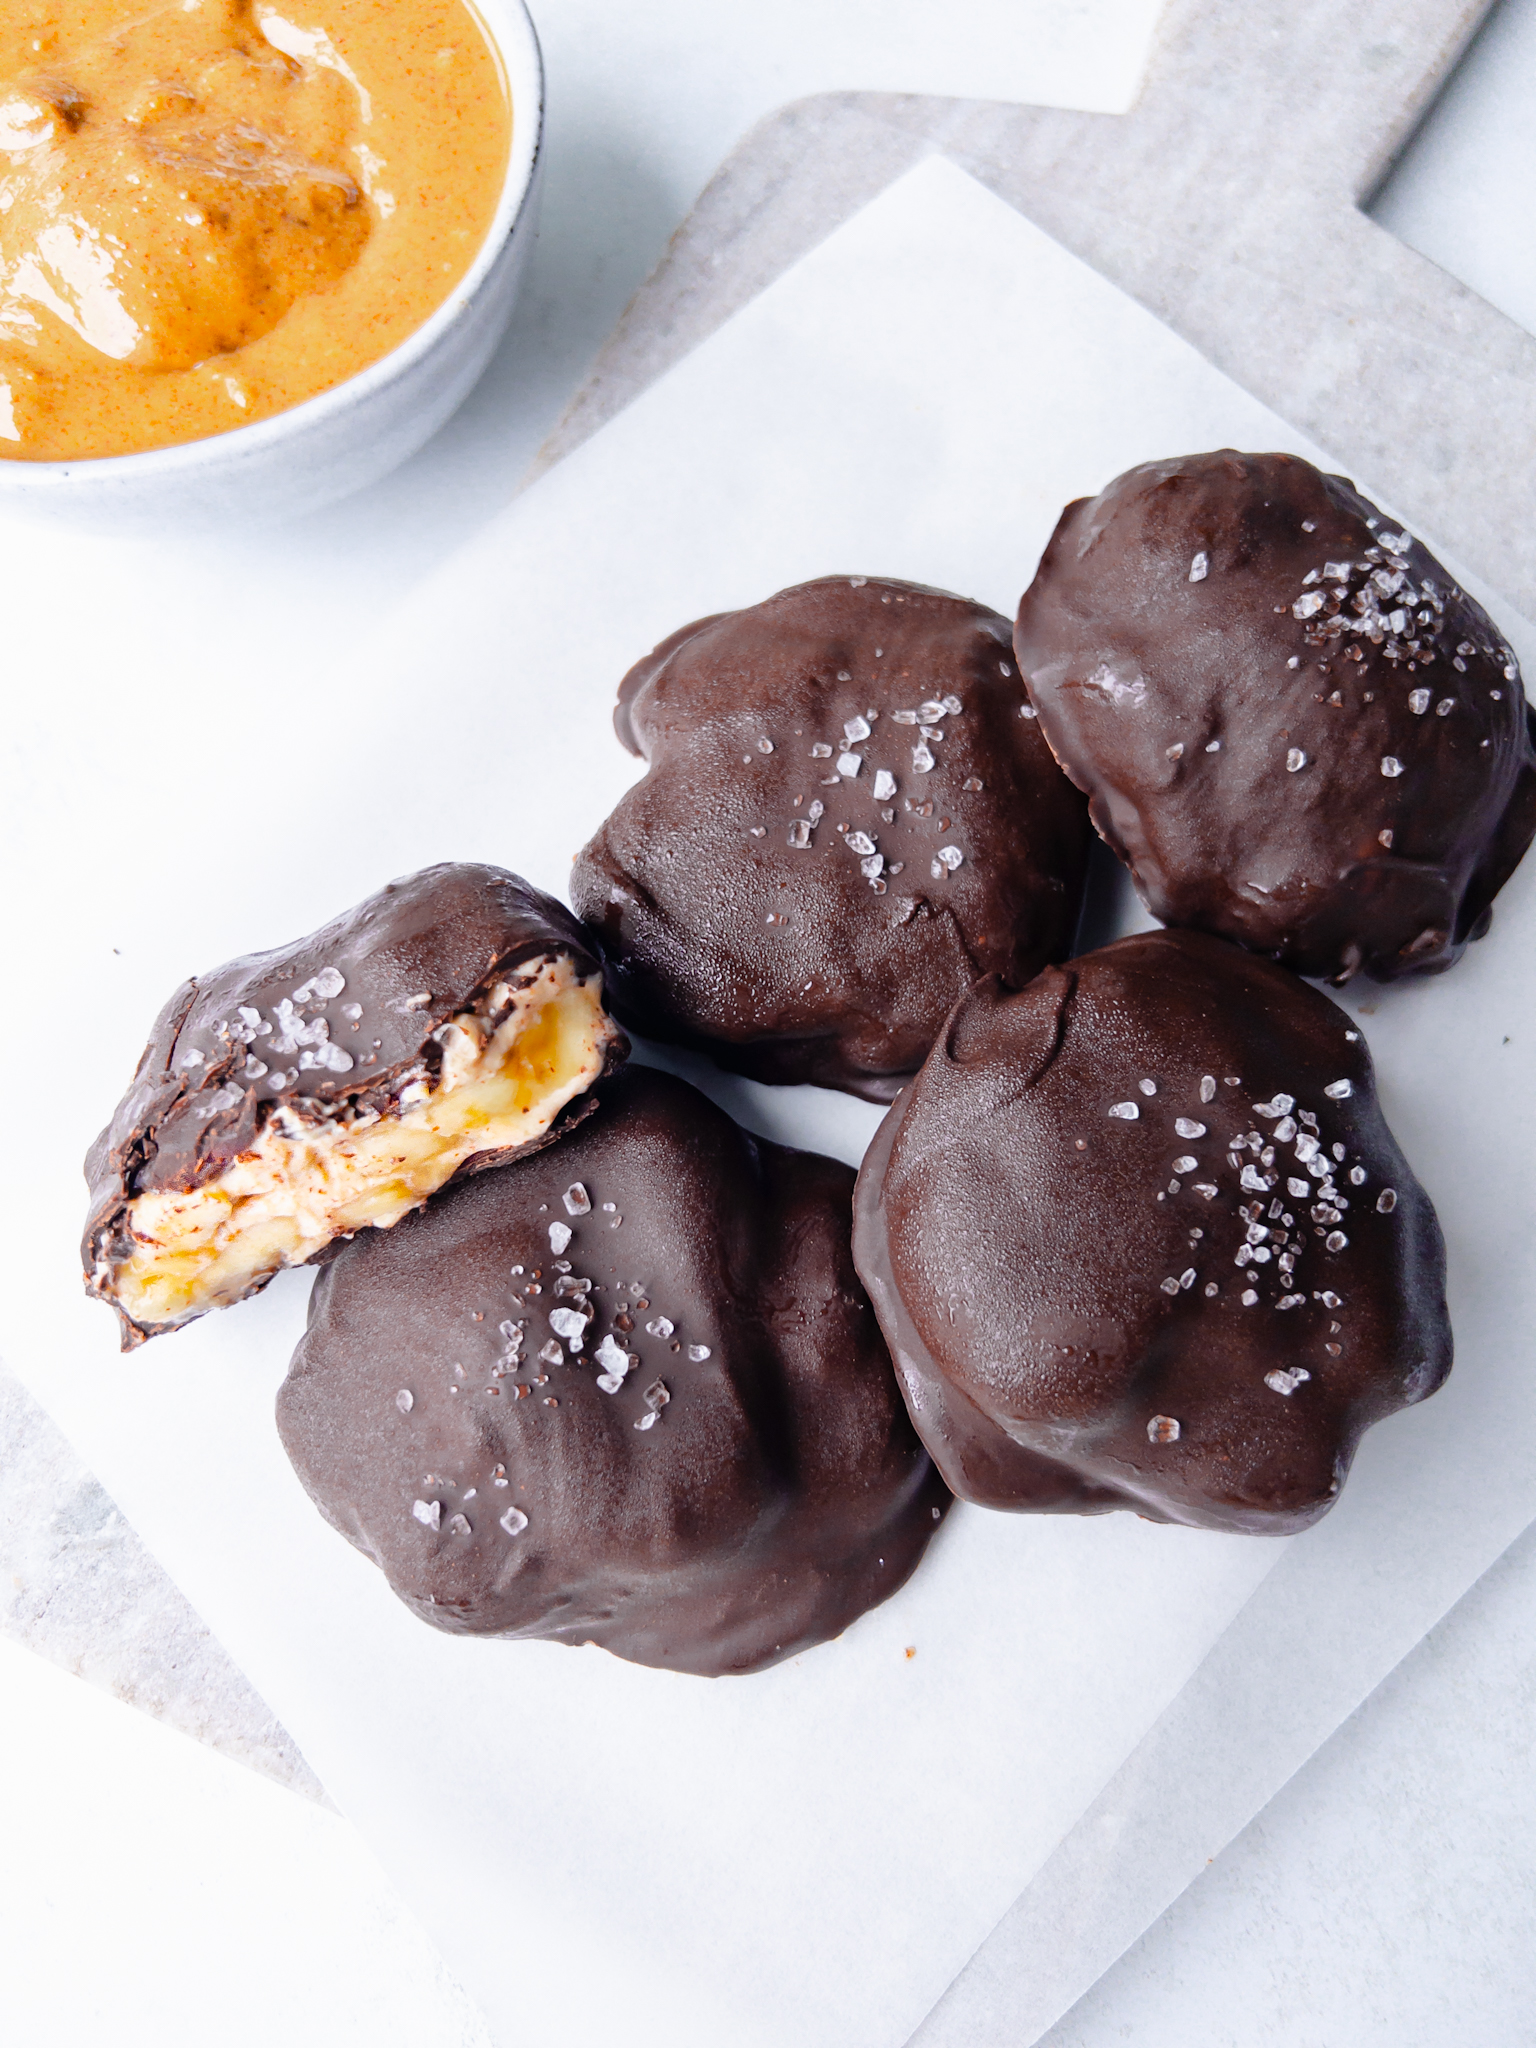
If you aren’t going to be eating them all straightaway, you’ll need to take them out of the freezer 30 minutes before you are ready to eat (5-10 minutes little less if it’s a hot day) so they can defrost a little on the inside. You want them to be just-frozen and easily bitten into instead of being ice-block hard.
Kids Bake Too
These Banana Peanut Butter Yogurt Clusters are a great recipe to get the kids involved in the kitchen. They can help to measure out the yogurt and peanut butter and mix it with the sliced banana. They can spoon the mixture onto the baking tray and stir the chocolate as it melts. They’ll especially love to help you coat the clusters in the chocolate.
Feed a Crowd
This recipe is easily doubled if you want to feed more people, or you just want a freezer stash for the family.
Storing My Banana Peanut Butter Yogurt Clusters
Once set, you can store my yogurt clusters in a resealable food bag or air-tight container in the freezer for up to 3 months. If you don’t eat them all 15 minutes after the second freeze (once you’ve coated them in chocolate), then you’ll need to take them out 30 minutes before you are ready to eat so they can soften on the inside. If its a hot day 20-25 minutes will be fine.
For more on safe food storage read here >
Diet Details
My Banana Peanut Butter Yogurt Clusters are egg and gluten-free and suitable for vegetarians.
Adapting My Banana Peanut Butter Yogurt Clusters For Your Family
If you will be sharing these with young children, leave the sea salt sprinkle off some or all the yogurt clusters. If you have a weaning baby you can make them a few smaller, flatter clusters and leave them uncoated. If you want to add chopped walnuts, you’ll need to crush them up until all in very small pieces so as to not be a choking hazard. Baby will enjoy these when teething or is if it’s a hot day!
I’ve also added these notes to the bottom of the recipe so you have them to hand when you come to cook. For more info on how I keep my family meals suitable for baby weaning, read here >
You Might Like…
Together to Eat is reader-supported. I may earn a small commission from anything bought through links found here.
Banana Peanut Butter Yogurt Clusters
Equipment
- Chef’s knife + chopping board
- Medium baking tray / sheet needs to fit in freezer
- Baking paper
- Medium mixing bowl + large spoon
- Shallow dish + large spoon
Ingredients
- 2 ripe bananas thinly sliced
- 120 g Greek yogurt
- 80 g smooth peanut butter (for a stronger PB flavour, add a little more)
- 65 g chopped peanuts or walnuts, optional for a Chunky Monkey version
- 300 g dark chocolate, see notes
- 2 tbsps coconut oil, optional (helps chocolate stop seizing)
- Coarse sea salt for sprinkling, optional
Instructions
- Add the sliced banana, Greek yogurt, peanut butter and nuts if using, to a medium mixing bowl. Stir until well combined.
- Using a serving spoon, add 6 spoonfuls of the banana mixture to a lined baking tray, ensuring it will fit in the freezer first. Leave a little gap in between each spoonful. Transfer to the freezer and leave for one hour.
- Once that time is up, add the chocolate to a shallow bowl, breaking it into squares as you go. Add in the coconut oil if using. Microwave for 45 seconds and then stir. Continue to microwave in 20 second bursts, stirring after each one, until the chocolate has melted.
- Remove the baking tray from the freezer. Working quickly, one by one add the clusters to the melted chocolate. Use a serving spoon to turn it around in the chocolate until fully coated (see notes). Lay each one back on the lined tray. If you are sprinkling salt on the top, add this when the chocolate is almost set - keep an eye out as you go as the chocolate will harden quickly. When done, return to the freezer immediately. If you want to eat them as soon as possible, just freeze for 15 minutes, remove and enjoy! To have another time, you’ll need to take them out of the freezer 15-30 mins before you are ready to eat (15 mins if its a hot day!).


Eadaoin says
Going to try these but wondering calories per serving please? 416?
togethertoeat says
Yep that’s per cluster 😊