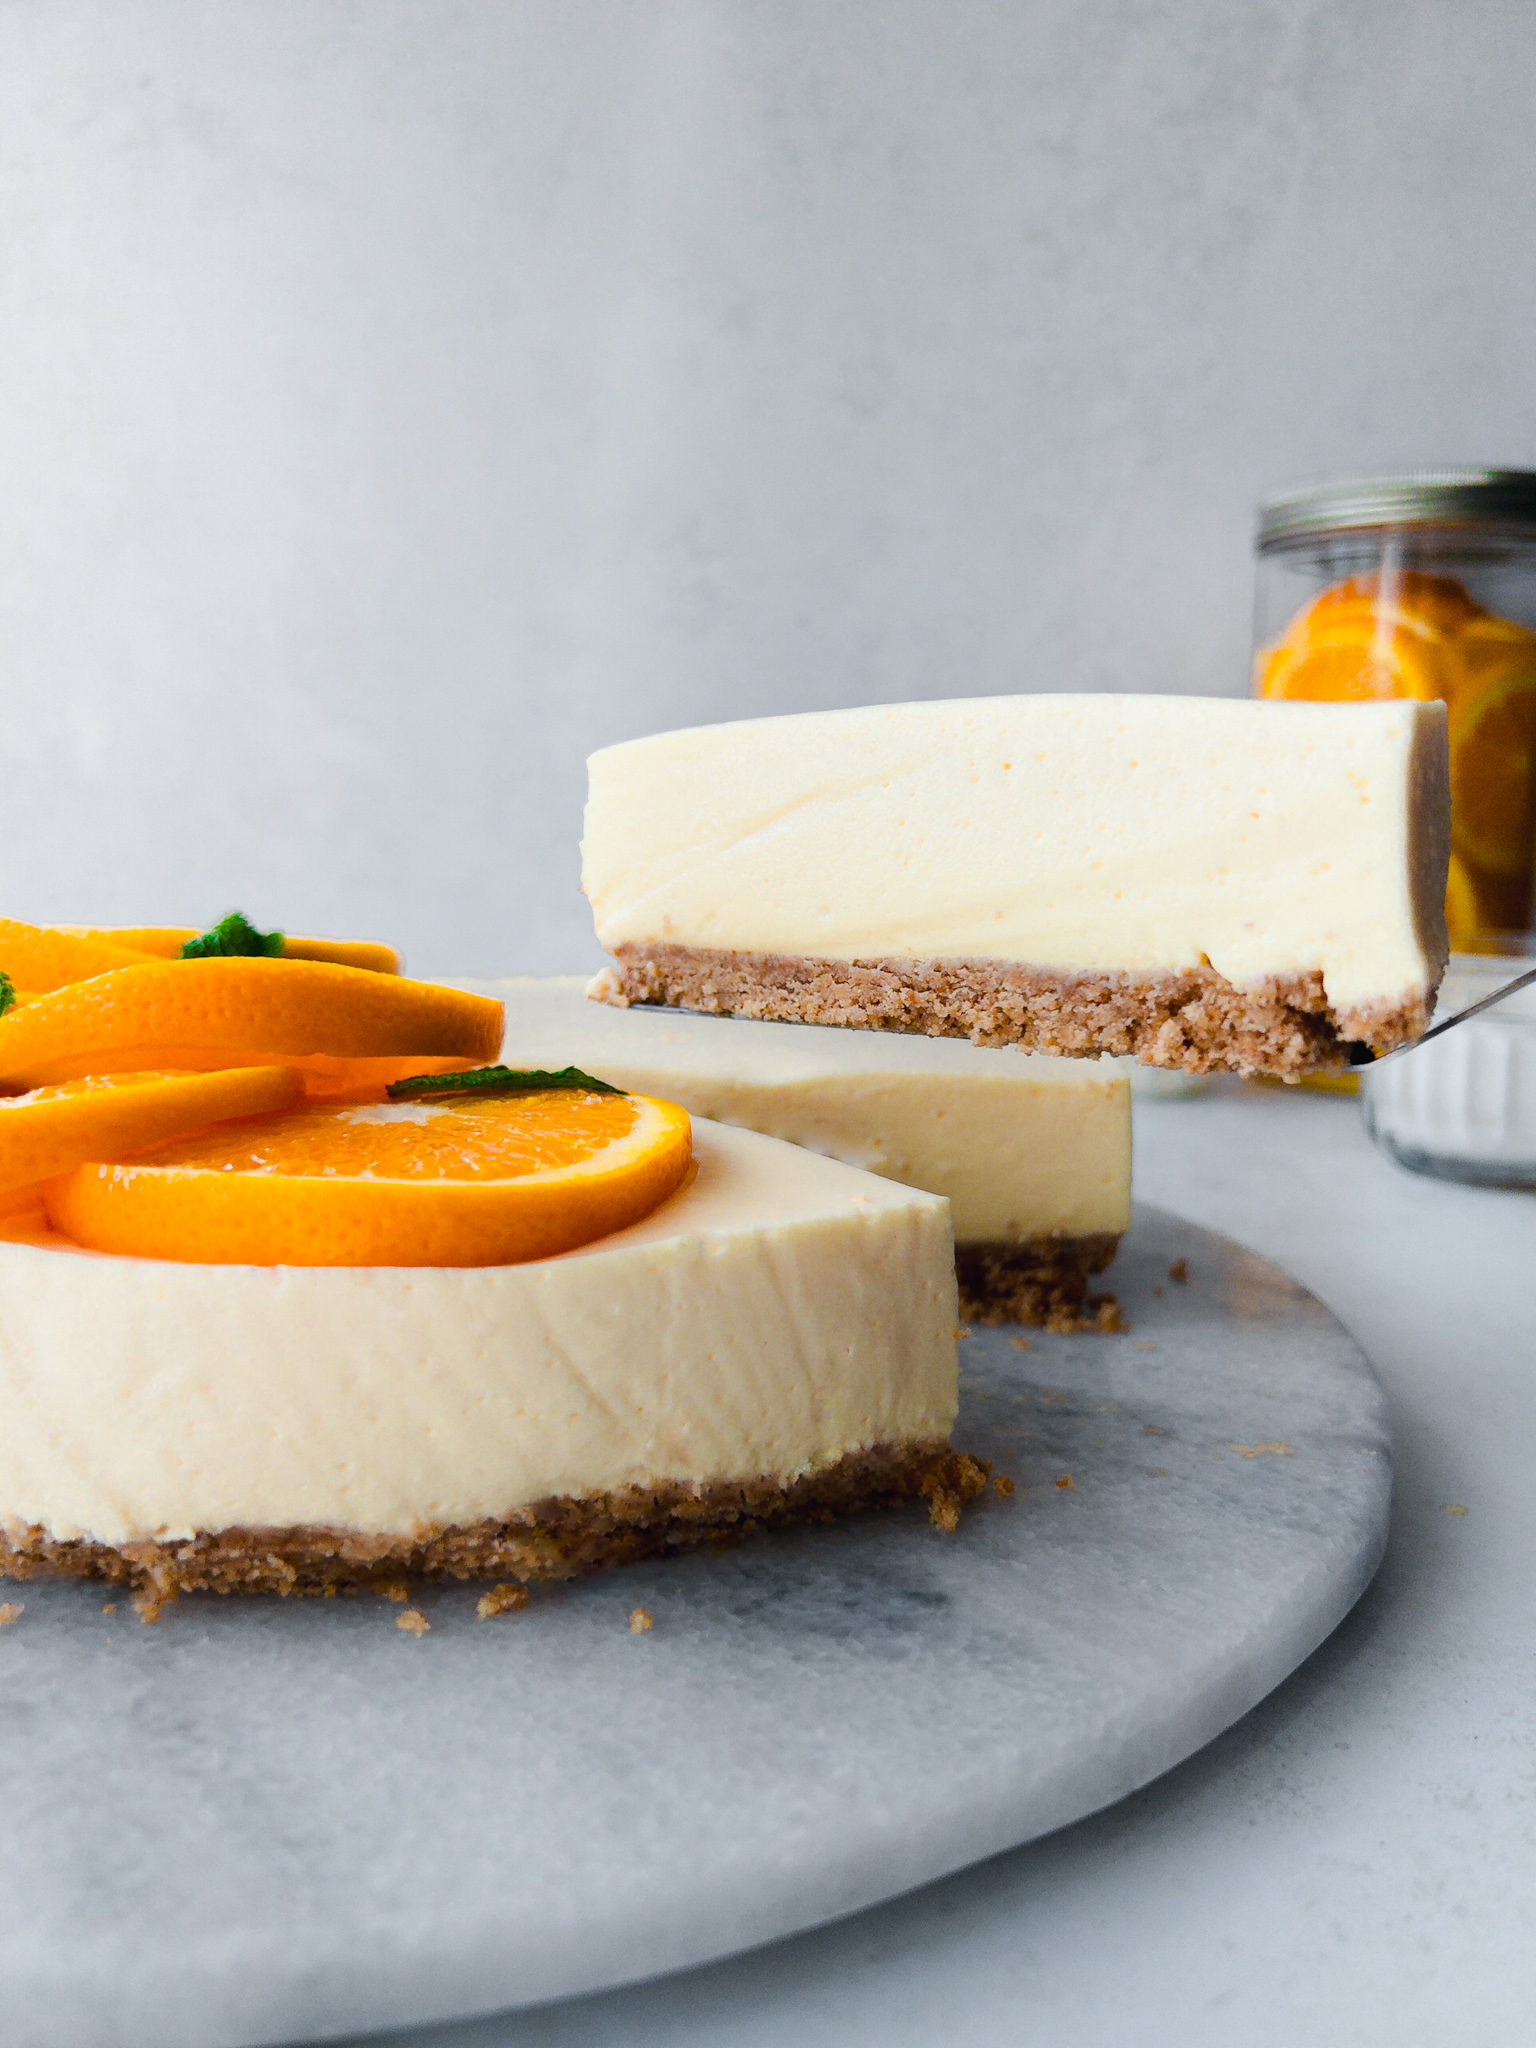
I fell in love with this no-bake Orange Cheesecake made with orange jelly the first moment I tasted it many years ago. It was unlike any cheesecake I'd ever had before and that's because of the special ingredient duo. It has orange jelly (or Jell-o) PLUS sour cream, as well as cream cheese and whipping cream in the filling. This combo gives the cheesecake a gentle wobble and a texture that is silky, creamy, light and reminiscent of a panna cotta. Flavour-wise, think orange creamsicle.
And the crumb that it's perched on is buttery and slightly salty, offsetting the sweetness of the filling in the best way. And it only takes 25 minutes to make. I'm telling you, if you and your family love fruity desserts, make this as soon as you can!
Tips for Making my No-Bake Orange Cheesecake
The make of this cheesecake is pretty easy with no tips required. The removing of the cheesecake from the spring-form pan is the tricker part. But, follow these tips and you should be fine:
- Leave the cheesecake in the cake tin until it's time to serve, and if you are going to decorate it, leave that until serve time too.
- When ready to serve, take a sharp knife and carefully work your way round the edge of the cheesecake filling to separate it from the spring-form tin.
- Then release the catch slowly.
- Next, slide the cheesecake off the tin base carefully, try to grab hold of the baking paper bottom (cut out a circle a bit bigger than the base when you line the tin). If you can't do that then use two cake spatulas or one and a knife to wedge under the baking paper on the bottom a few inches apart from each other and then slide it off the cake tin base. Check the biscuit base, if it seems totally solid, carefully remove the baking paper. If not, it's better to leave the baking paper, so as not to disrupt and break the base which will then lead to the cheesecake filling becoming a bit misshapen.
Decorating my No Bake Orange Cheesecake
With Piped Cream
You definitely don't HAVE to decorate this cheesecake, but if you plan to, there are a couple of ways you can do that. One way is how you'll see I did it in the recipe video above. I piped on cream and then topped it with tinned mandarin segments. You'll need a large star nozzle and piping bags for that.
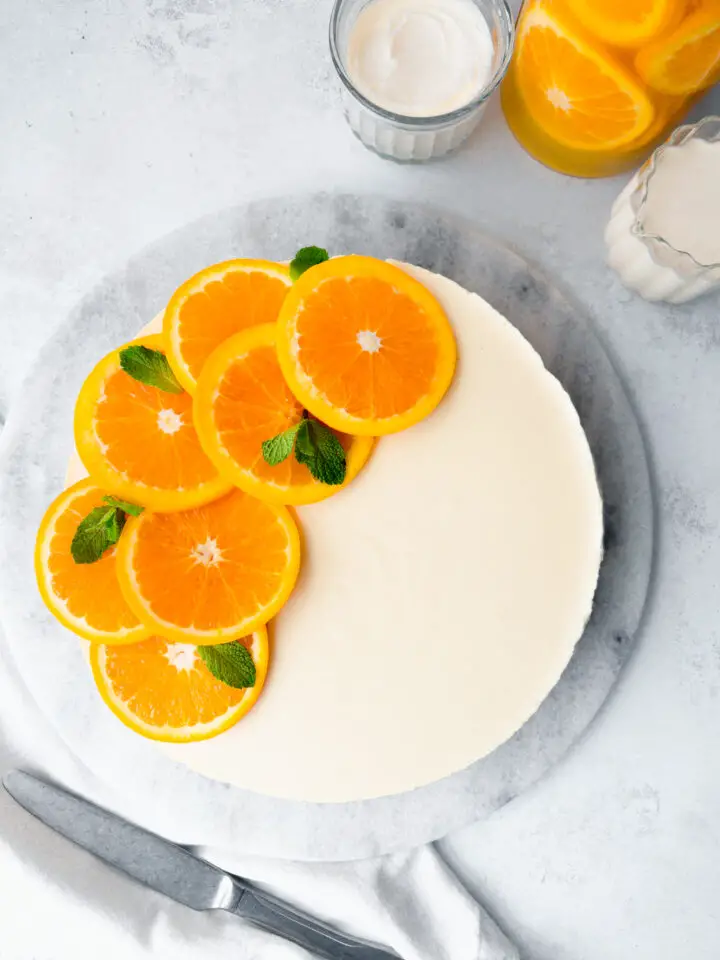
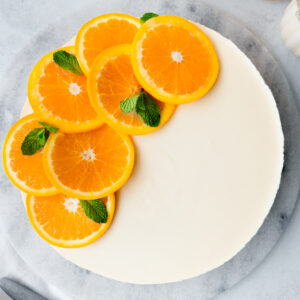
With Orange Slices
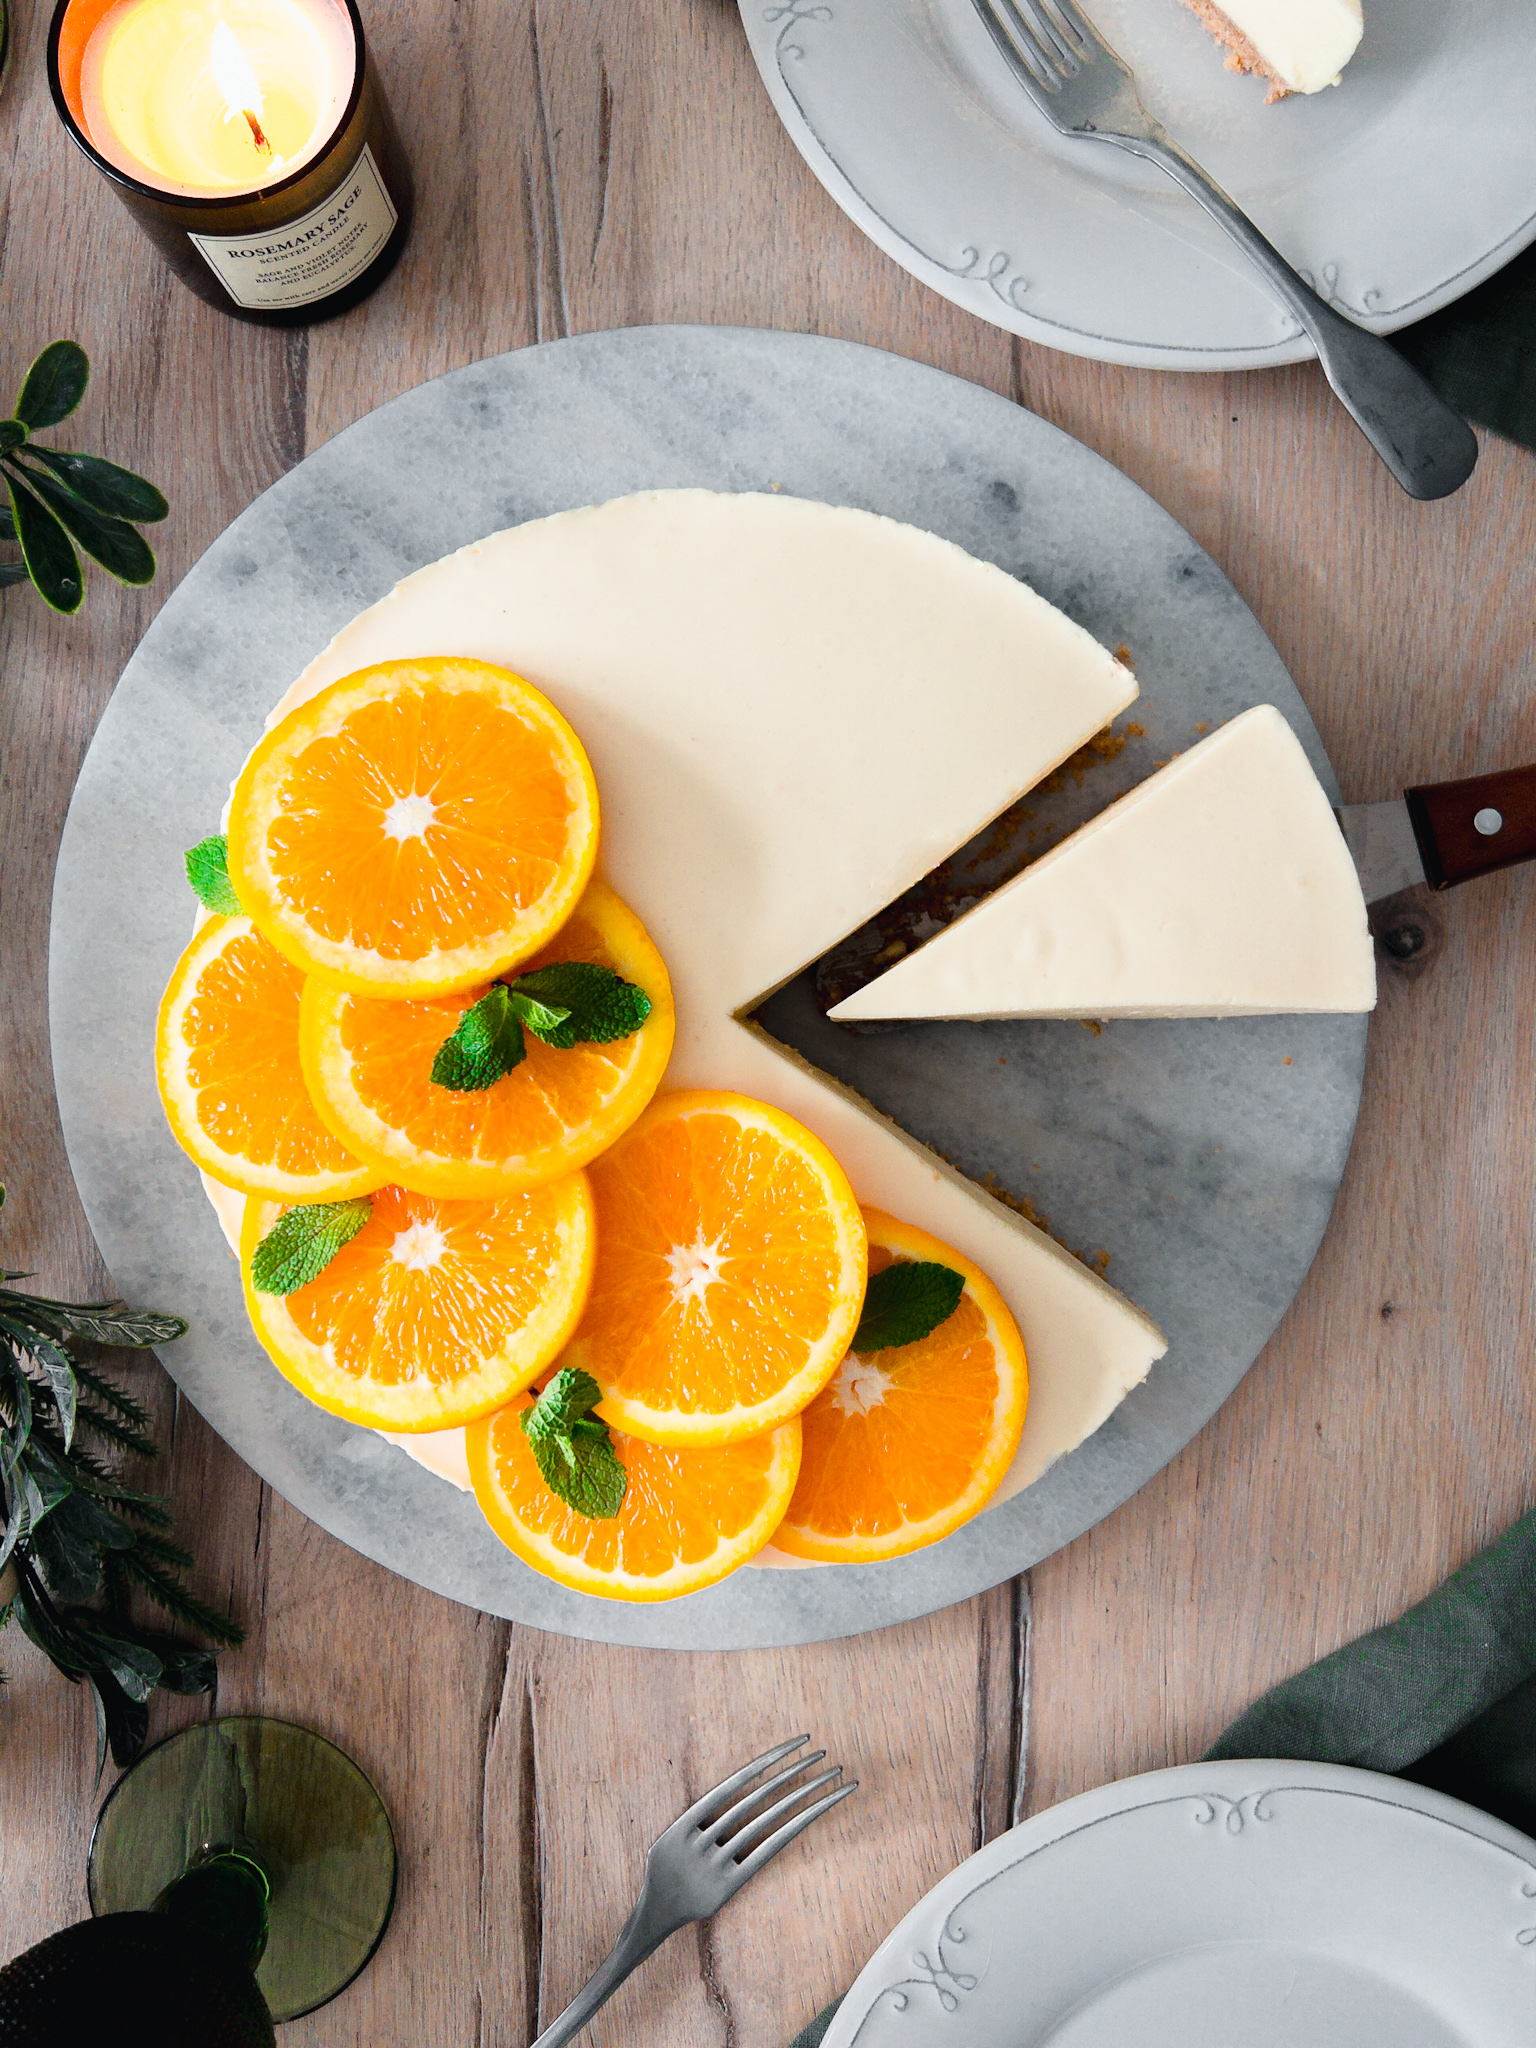
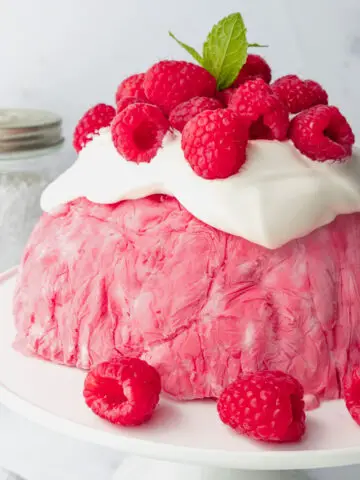
The second way is how you see in the pictures here, topping the cheesecake on one side in a crescent shape, with over-lapping orange slices and then adding a few mint leaves for a pop of green. To decorate the cheesecake that way, you'll need 1-2 oranges and some fresh mint.
THE STARS OF MY No Bake Orange Cheesecake
Jelly / JELL-0
What gives this no-bake cheesecake its panna cotta style consistency is the addition of jelly. Here in the UK, the most common form of jelly to make at home is in cubes that you dissolve in hot water. In the US you have Jell-o instant gelatine mix which is granules you dissolve in water. I have made it both ways, I got my hands on some Jell-o and have included specific instructions in the recipe. The cheesecake actually tastes pretty much the same when made with either jelly or JELL-O, and is delicious with either, but the colour turns out differently.
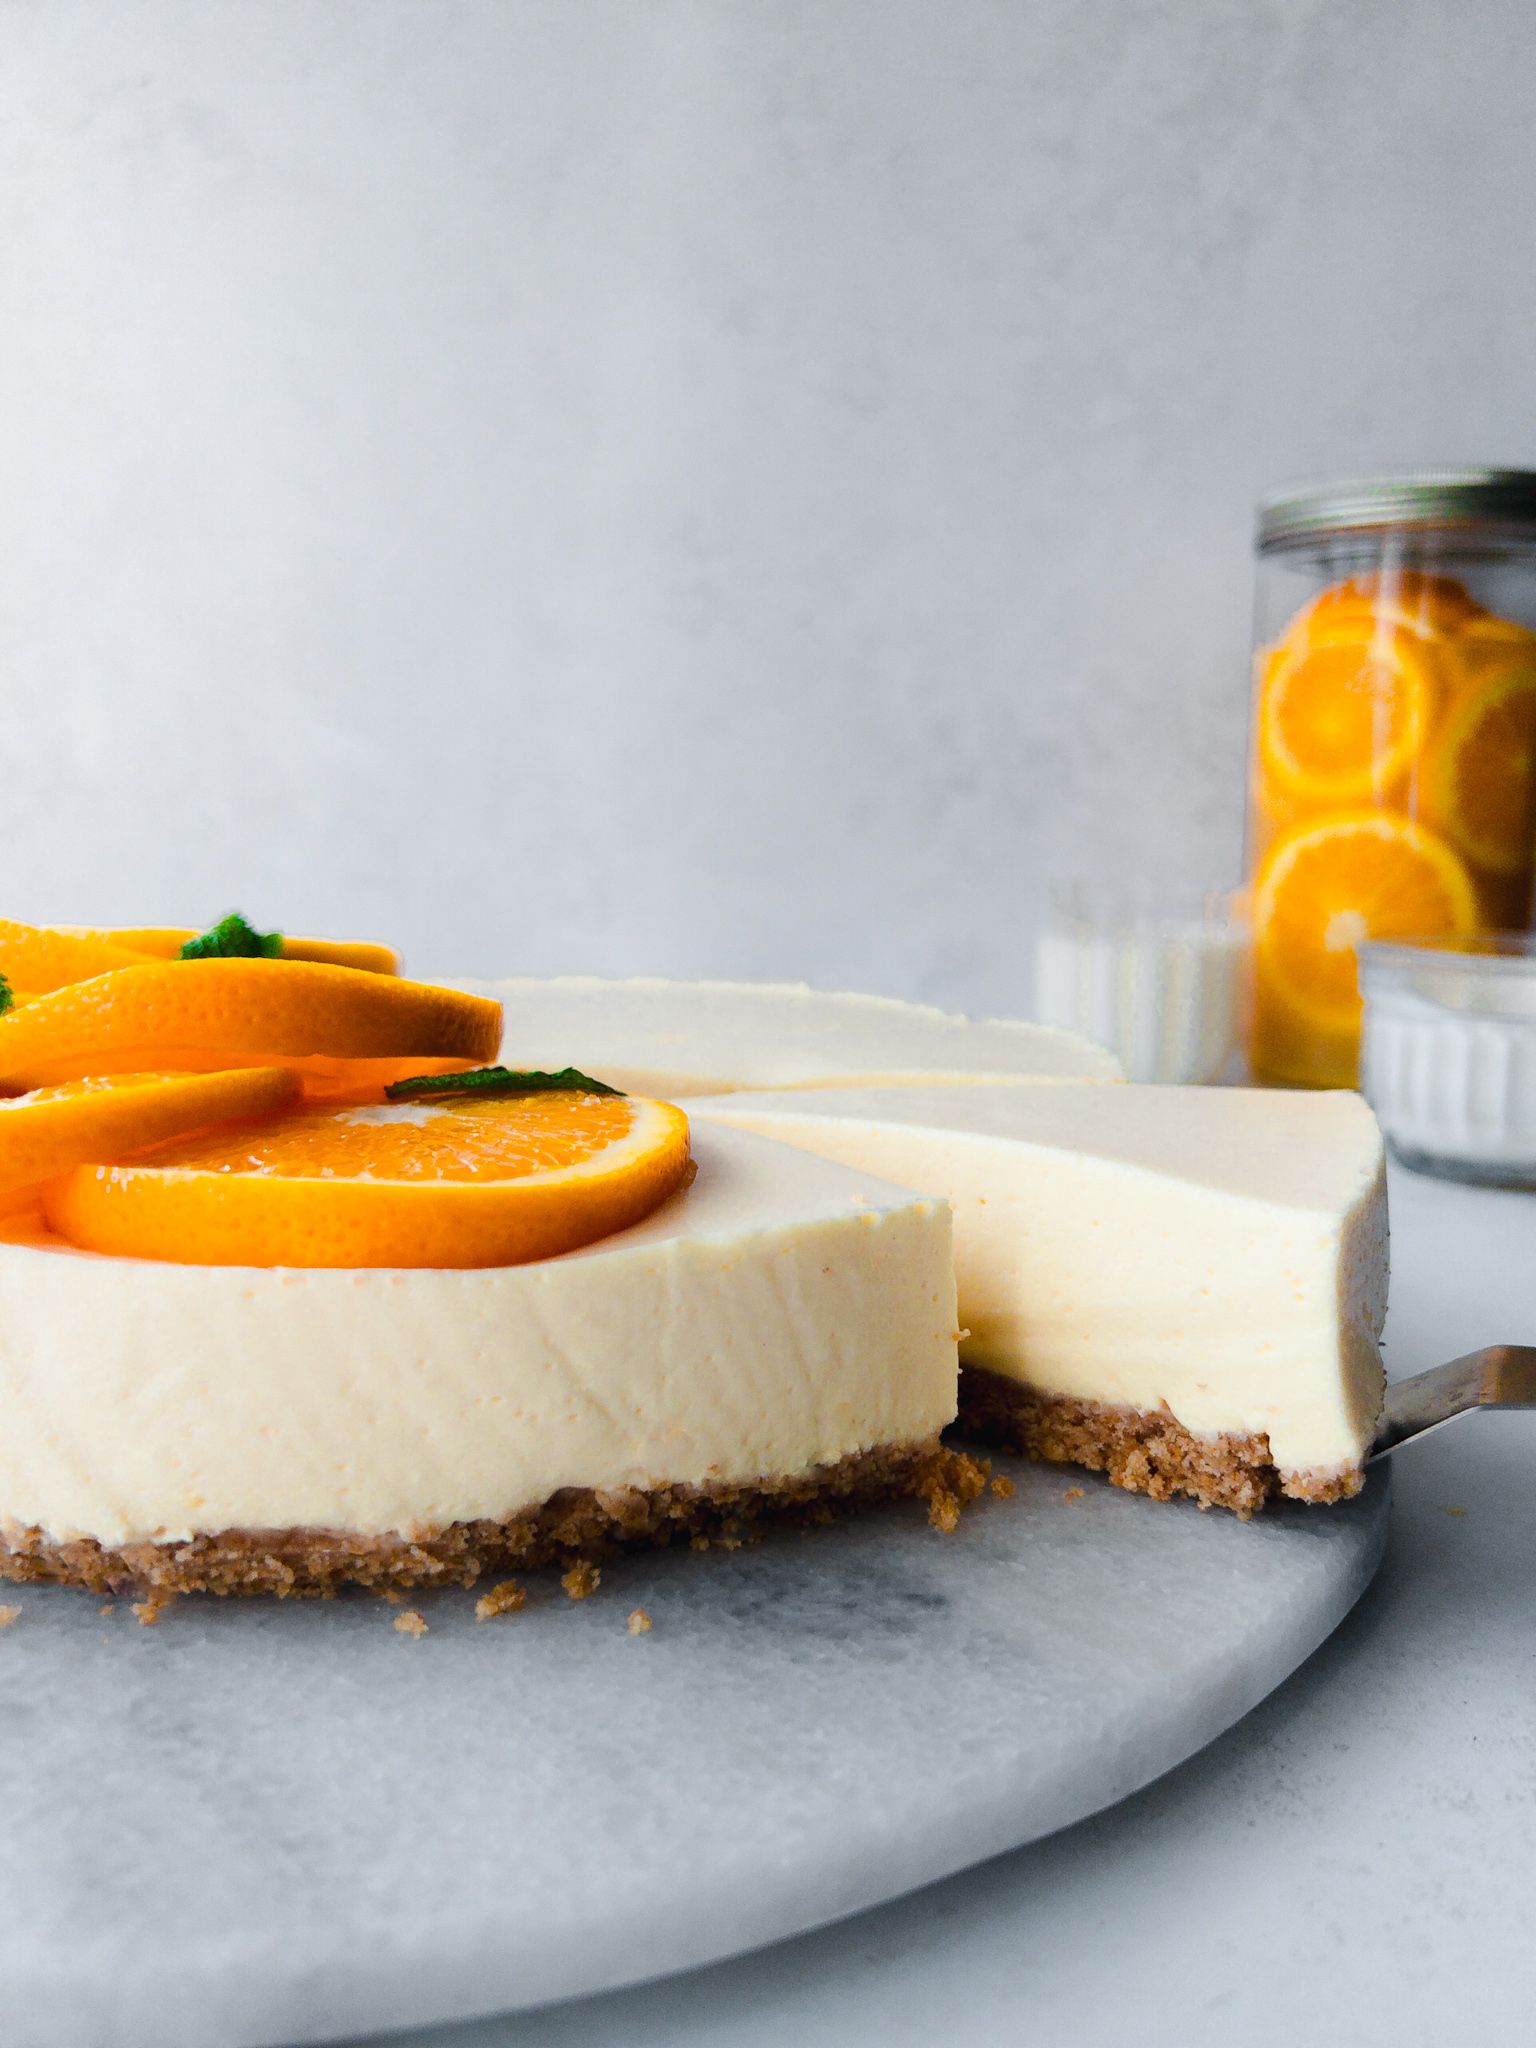
I used jelly cubes to make this cheesecake you see pictured here and it's quite pale and creamy looking. However, if you make it with JELL-O you can expect it to be a vibrant orangey-peach shade. If you are in the UK and would like it to have more colour like the JELL-O version, feel free to add a few drops of natural orange food colouring at step 6.
The Cream Cheese
To make this No Bake Orange Cheesecake, I always use Philadelphia Light Cream Cheese but if you are on a budget, you can use supermarket own brand. I'm sure there any taste or texture difference will be unnoticeable.
The Creams
We will use two types of cream here; sour cream and whipping cream (heavy cream US). We will whip the cream first then add whisk in the sour cream and all the other filling ingredients after.
Why Not Try?
This No Bake Orange Cheesecake with jelly would be delicious as a different flavour also. You could you could use lime or strawberry flavour jelly (or JELL-O).
Norwegian No-Bake Orange Cheesecake Recipe
This No-Bake Orange Jelly Cheesecake is actually one of my Norwegian mother-in-law's recipes that she got from a relative in Norway, over thirty years ago.
In Norway cakes and desserts are a massive deal. It's standard that when you visit a Norwegian's house, they won't have made just one pudding for you, they'll have made an array of sweet treats to welcome you. So needless to say my mother-in-law is an excellent baker and I'll be sharing many more of her delicious Norwegian recipes in the future, watch this space…
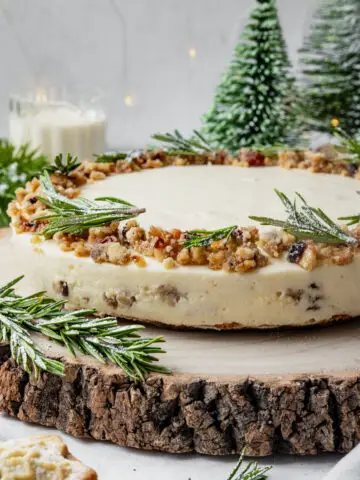
No-Bake Christmas Cheesecake
This dessert also makes a fabulous no bake Christmas cheesecake as it's light and refreshing after a heavy meal and serves up to twelve people. It can also be easily decorated for this festive occasion. You can serve it on a large cake stand or circular board and makes a beautiful centrepiece.
Storing My No-Bake Orange Cheesecake
You can keep this refrigerated for up to 3 days. If you wrap it in clingfilm once it's out of the tin, a little of the top will stick to it unfortunately, but if it's just leftovers that doesn't really matter. Alternatively, store it in a deep food container. You can also freeze it, or the leftovers, just defrost it for 24 hours in the fridge.
For more on safe food storage and reheating read here >
Diet Details
My Orange Cheesecake is nut-free and can be made gluten-free by using gluten-free digestives/graham crackers for the crumb base.
You Might Like…
Together to Eat is reader-supported. I may earn a small commission from anything bought through links found here.
No Bake Orange Cheesecake (with jelly)
Special Equipment
- Food processor or resealable food bag + mallet or rolling pin + medium mixing bowl
- Small prep bowl + teaspoon
- 9 inch spring-form cake tin + baking paper
- Metal spoon
- Electric whisk + large mixing bowl
- Clingfilm
- Large open star nozzle + piping bag (if decorating with cream)
Ingredients
FOR THE CRUST
- 110 g salted butter
- 250 g digestive biscuits / graham crackers
FOR THE FILLING
- 135 g pack orange jelly cubes
- 180 ml boiling water
- 300 ml whipping cream / heavy whipping cream
- 300 ml sour cream
- 250 g Philadelphia Light Soft Cheese
- 125 g icing sugar / powdered sugar
- 1 teaspoon vanilla extract
TO DECORATE WITH ORANGE SLICES, OPTIONAL
- 2 oranges
- A little fresh mint
TO DECORATE WITH CREAM, OPTIONAL
- 300 ml whipping cream / heavy whipping cream
- Tin of mandarin segments in juice
Instructions
- Grease a 9 inch spring-form cake tin with butter and line the bottom. I like to cut out a circle a bit bigger than the tin which I can grip to pull the cheesecake gently off the cake tin base and onto a plate/cake stand.
- Add the biscuits/crackers to your food processor, breaking them up with your hands as you go. Whizz until you have crumbs. Alternatively, add to a food bag, seal and smash them up with a meat mallet or rolling pin until in crumbs.
- Put the butter a small bowl and microwave for 30 seconds (if butter is room temp, bit longer if it's chilled), then stir until fully melted. Pour it into the biscuit crumbs either in the food processor and whizz to combine, or stir into the crumbs in a mixing bowl. Tip the biscuit crumb into the tin. Press it down firmly with the back of a metal spoon, creating an even layer over the bottom. Refrigerate while you carry out the next steps.
- Add the orange jelly cubes (separated) to a bowl and add 180ml of boiling kettle water (or if using Jell-O then add ¾ cup) and stir until dissolved. Set aside to cool a little while you do the next two steps, but don't let it set.
- Beat the whipping cream in a large mixing bowl on a high speed until stiff peaks form.
- Then add in the icing/powdered sugar, then the cream cheese and vanilla extract. Beat on a medium speed until smooth and creamy.
- Next beat in the dissolved jelly/Jell-o on a medium speed until well combined.
- Then add in the sour cream and beat on a low speed until just combined.
- Pour the filling onto the crumb base in the tin. Level out with a silicone spatula if needed. Cover carefully with clingfilm/wrap, ensuring it doesn't touch the top of the cheesecake now or when you remove it. Chill in the fridge for at least 6 hours. Leave it in the tin until ready to serve. If you are going to decorate it ahead of time, also do that while it's still in the tin. When you do come to take it out, use a sharp knife to loosen the cheesecake round the edges before you release the clip. Slide it off the base very carefully and slowly, grabbing onto the baking paper and use a cake spatula if needed.
TO DECORATE (OPTIONAL)
- First drain your mandarins well, this can be done earlier in the day. Then blot any excess liquid away with paper towel. You want to select the smallest firmest segments to decorate with.
- Pour the whipping cream into a medium mixing bowl and beat on a high speed until stiff peaks form. Then add the nozzle to your piping bag, push it down as far as it will go, judge where you need to snip open the piping bag from this, then shift the nozzle back up a little and cut open a hole for the nozzle to then be pushed half out of, ensuring the larger end sits securely in the bag still. Add the cream to your piping bag and pipe rosettes, with a little gap in between each, all the way round the edge of the cheesecake. Carefully top each rosette with a mandarin segment. See video for help.
Notes
Nutrition - per serving


Dagfrid says
Best cheesecake I have ever made.