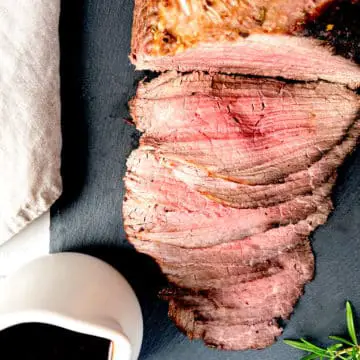
Beef is one of my favourite meats to roast. With good gravy and side dishes to back it up, it makes THE perfect Sunday lunch. I like to add a little extra punch to my beef joint before I roast it, so I slather it in a homemade rosemary and garlic oil which takes only 5 minutes to rustle up.
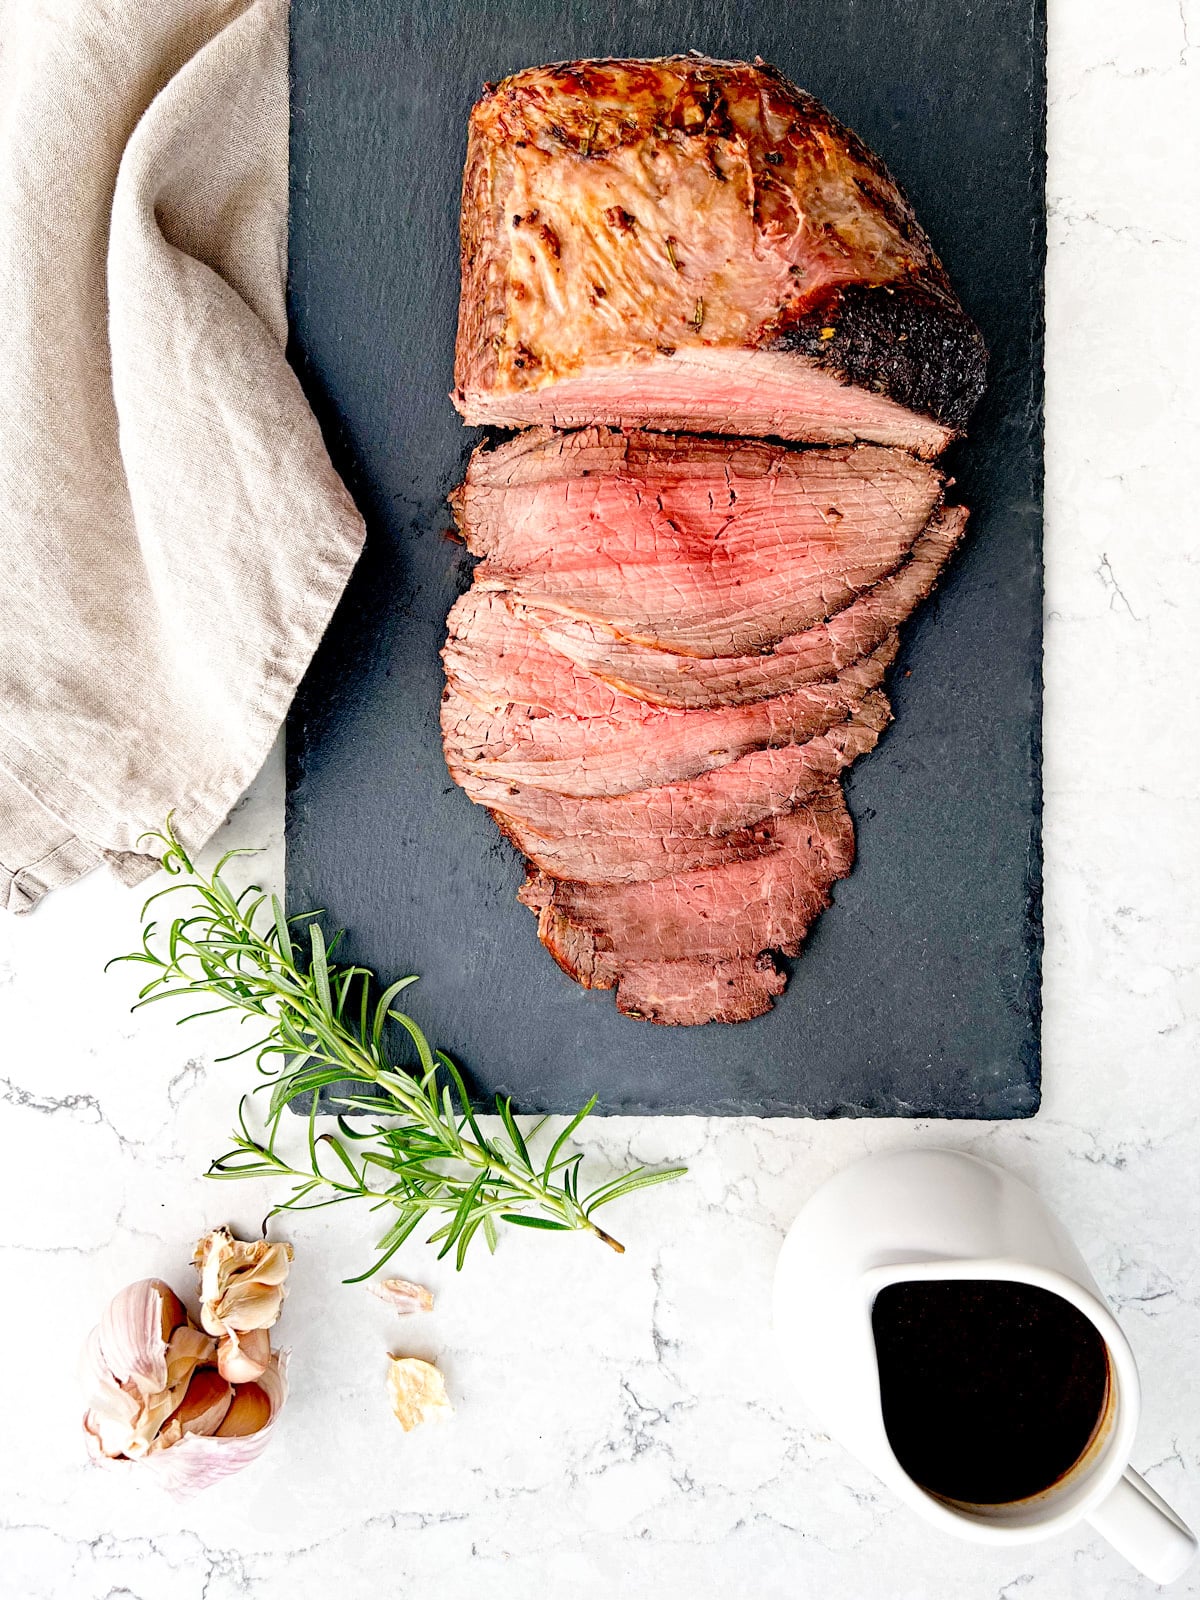
And I like to keep the cook as simple as can be, so unlike what many people will do, I don’t roast my beef joint at a higher temperature to begin with to seal it, then finish roasting at a lower temperature. I roast it at a steady temperature the entire time and still get melt-in-the-mouth meat.
I always opt for a boneless joint as it’s MUCH easier and quicker to carve. The size beef joint I recommend for 4-5 adults is 1.2kg (2.65 lb), but if you are cooking for more or less people, you can use my beef roasting calculation to work out how long to cook different size joints for. Just read my Calculating Beef Roasting Time section below.
Choosing Your Beef
First, we need to select the right beef cut for roasting. In the UK the beef we buy for roasting is commonly called a beef roasting joint. And I always go for the basting joint if it’s available as it stays that little bit more juicy. If you are in the US, look for eye round roast, beef chuck tender roast or Angus rump roast.
I tend to go by the following weights when choosing my beef:
- To serve 4-5 adults I go for a 1.2kg joint
- For 6-7 adults I go for 1.5kg joint
- To serve 8-9 adults I’d go for 2kg joint and
- For 10-11 adults I’d go for a 2.5kg joint
Calculating Beef Roasting Time
Roasting beef IS tricky. There’s not one magic formula that will get it cooked to the “doneness” you want every single time. Joints, even ones that weigh the same as each other, differ in thickness. And some may be much thinner at one end than the other, so the thinner end will cook quicker than the thicker end and they end up being two different temperatures. Having said that it’s tricky, I do have a formula I can share with you.
To a roast beef joint at 200ºc/180ºc fan/400ºf/gas 6 and for a medium-well done temperature I use this equation:
Xg (or lb) beef ÷ 500g (or 1.1 lb) x 25 mins = minutes to roast
So if I had a joint that was 1.2kg (or 2.65 lb), like in my recipe, I would do this following calculation:
1,200g (2.65 lb) ÷ 500g (or 1.1 lb) x 25 mins = 84 minutes (1 hour 12 minutes)
As you can see, for medium-well done beef I roast it at that temperature for 25 minutes per 500g. So if you wanted medium beef (pink) you could use the same calculation but roast for 20 minutes per 500g and if you wanted well done beef (no pink) you could roast it at 25 minutes per 500g.
It’s right to use a calculation to work out an approximate roasting time, depending on the temperature you like your meat, but you can’t rely on it solely. When it’s 20-25 minutes before it’s meant to be ready, check the temperature using a food thermometer at the thickest part of the joint. If it’s not at the temperature you are after, put it back and check again after 5-10 minutes. You want to keep an eye on it, but just be mindful that every time you check it, heat is escaping from the oven and so the beef will take longer to cook.
Beef Temperatures
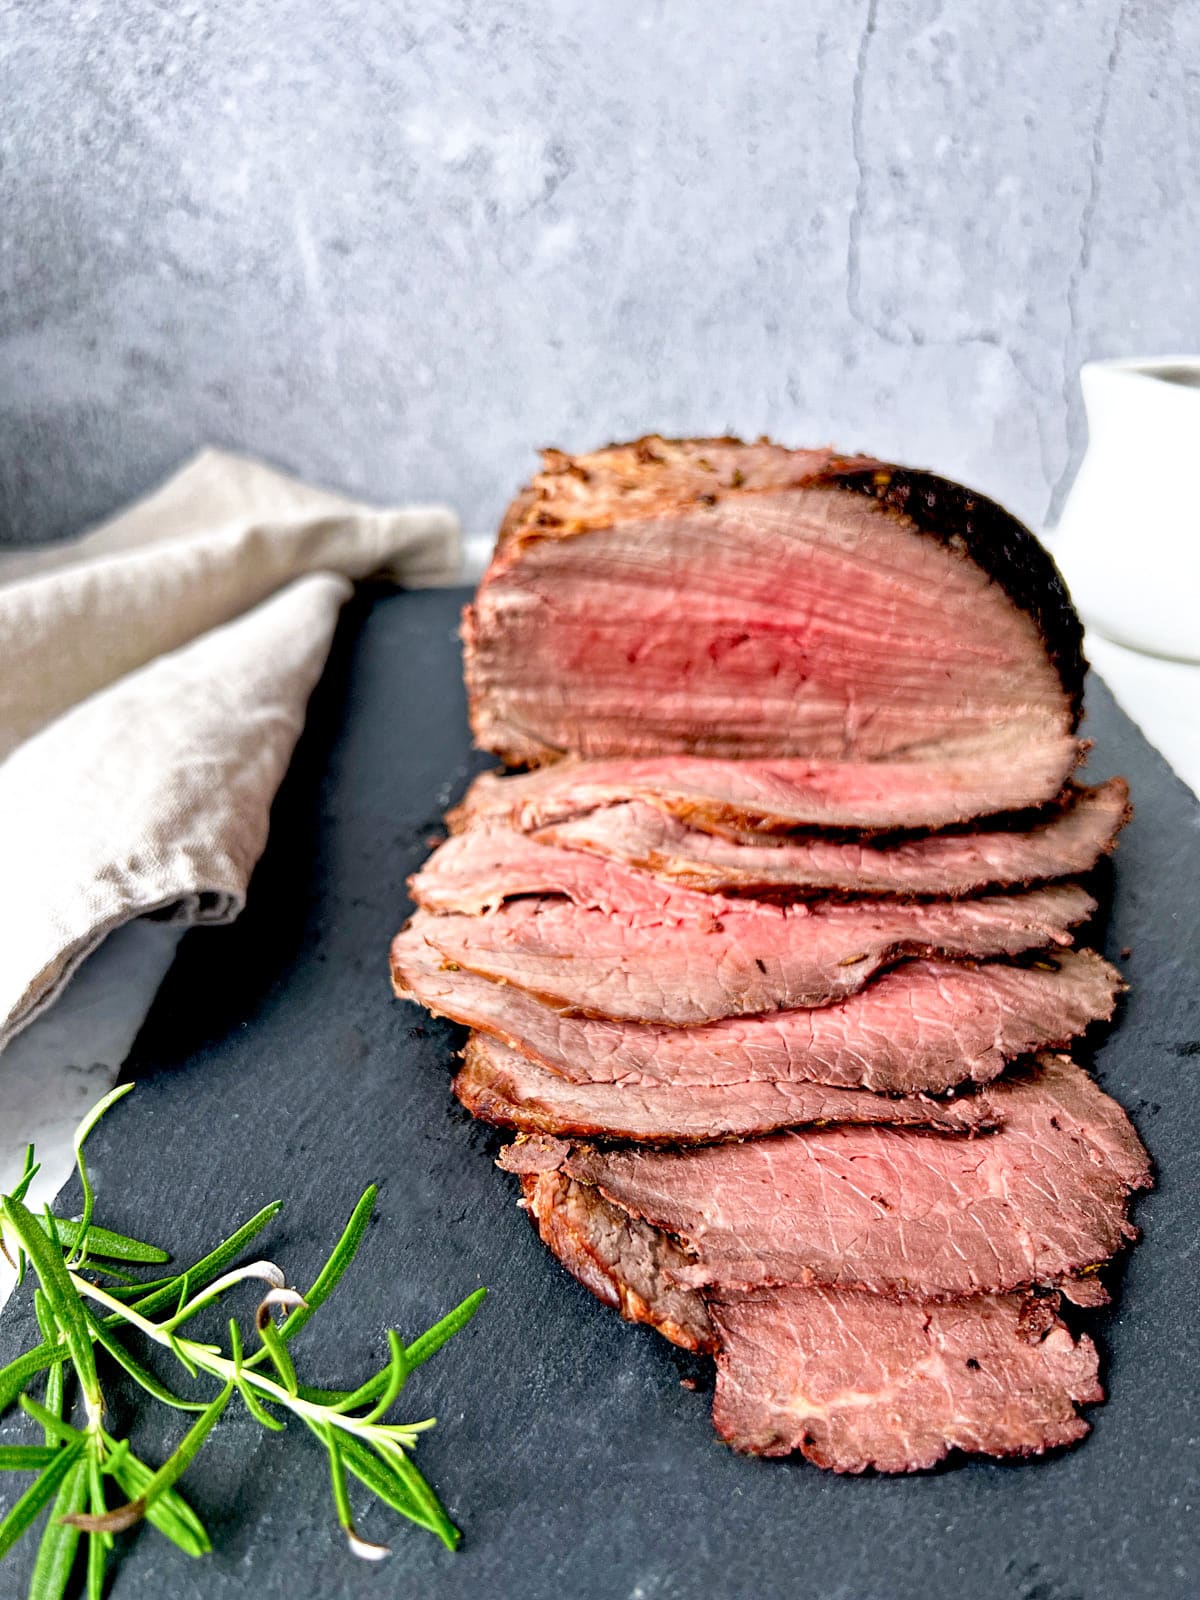
Here are the temperatures for the different levels of “doneness” you are looking for:
- Medium rare (red) 57ºc / 135ºf
- Medium (pink) 63ºc / 145ºf
- Medium well (slightly pink) 66ºc / 150ºf
- Well done (little or no pink) 71ºc / 160ºf
Remember though, the meat will continue to cook a little more while resting, it can cook by a further 5-10ºc (41ºf-50ºf) in the first 10 minutes. Bear this in mind when temperature checking as you may want to take the joint out when it’s just under your preferred temperature. I usually take mine out when its 2-3ºc degrees (35-37.4ºf) below.
When I rest my beef, I leave it uncovered for the first 10 minutes or so but then I like to cover it loosely with foil after. The minimum time you should rest the beef is 15-20 mins, but you can leave it for longer. With that said, sometimes it’s better to put the beef in earlier than you think it may need just incase it doesn’t come up to the right temperature at the time you've calculated. Then if it’s ready earlier, you can just rest it for longer.
Pro Cook Tip
Invest in a meat thermometer with probes that can stay in the beef while it cooks in the oven (or on even on the grill). You programme in the temperature you want the beef to cook too. I do 2-3ºc degrees (35-37.4ºf) below as temp increases a little while resting. Insert a probe into the thickest part of the joint. You then put the beef in the oven and the digital box stays on the outside, and it will beep when the meat has reached the set temperature. It really makes life easier and I always use one now when I cook a beef joint as it just eliminates all that guessing and checking work!
Carving Your Roast Beef
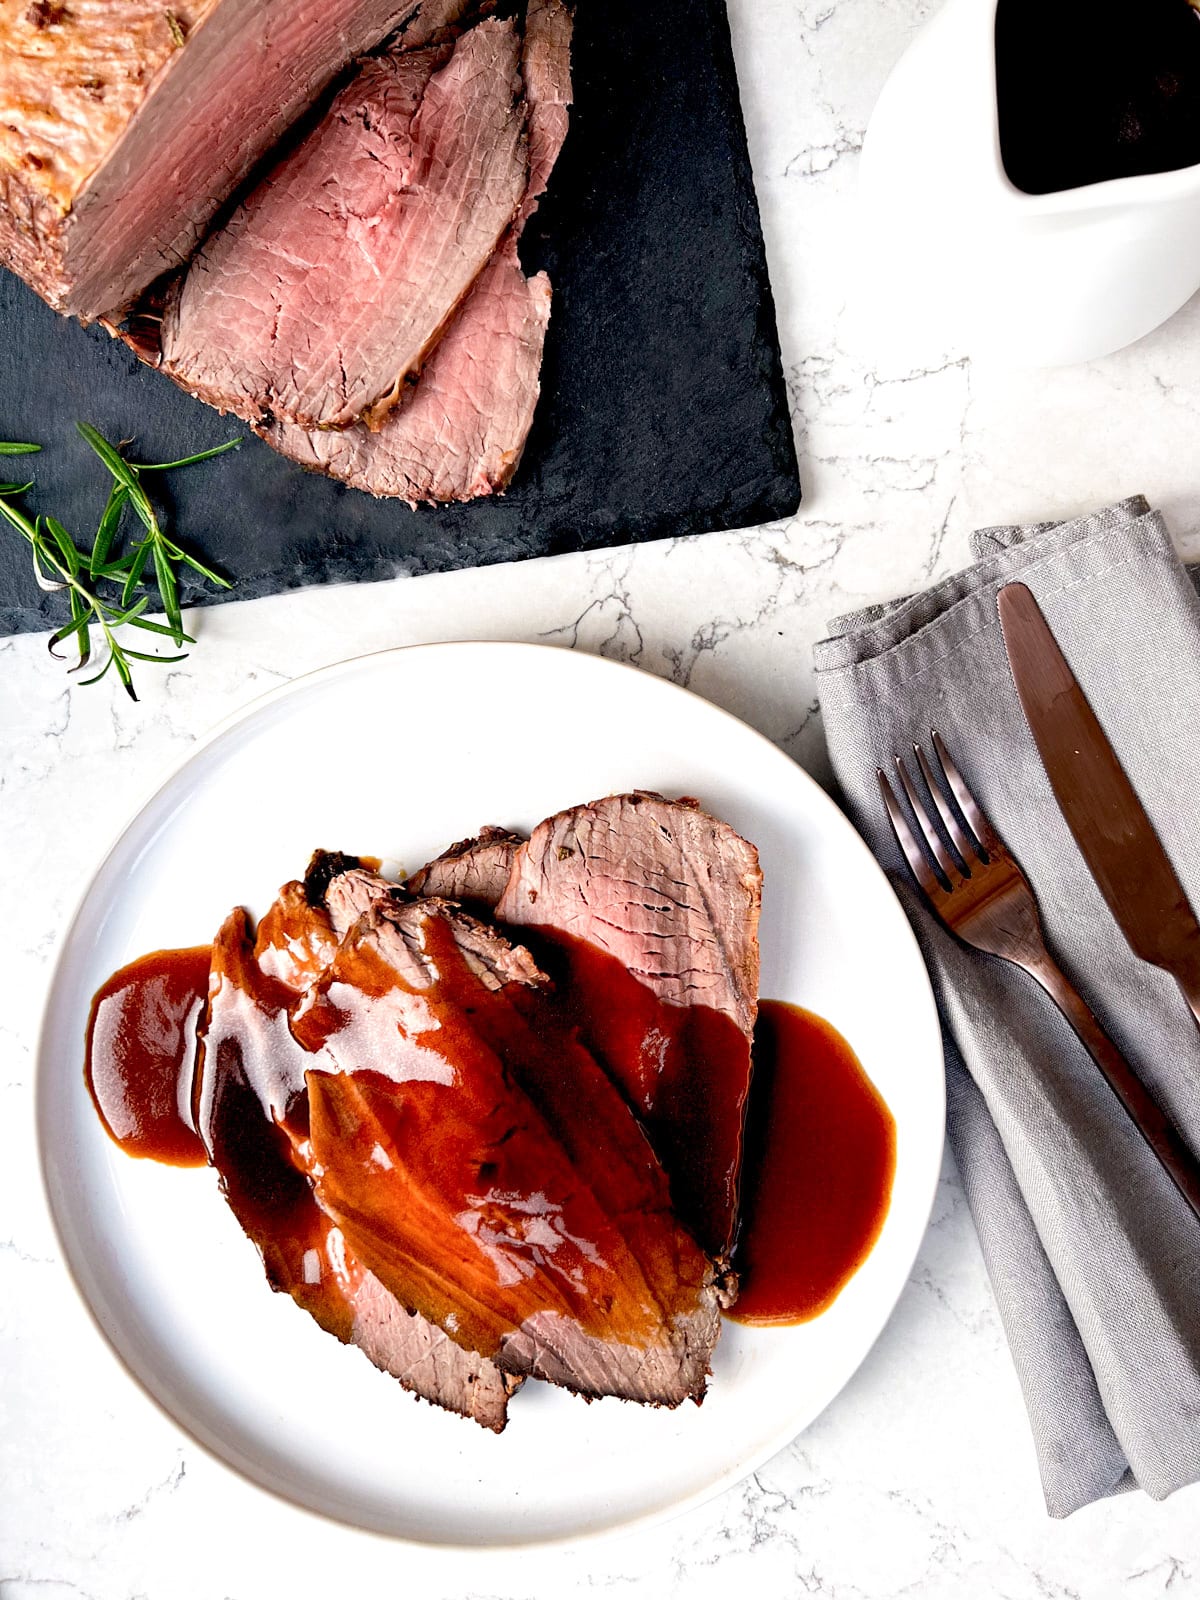
You’ll always get cleaner, thinner slices when you use a large carving knife and cut across the grain (muscle fibres) of the joint. You’ll notice many lines running through your beef joint, and it’s those you want to carve against. So if they are running along one length of the joint, you want to carve down in the opposite direction, not along them in the same direction.
Kids Cook Tip
Younger children can get involved by rubbing the rosemary and garlic oil all over the beef. Just make sure they wash their hands very well before and after.
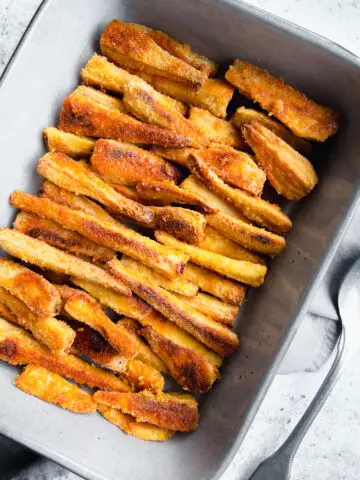
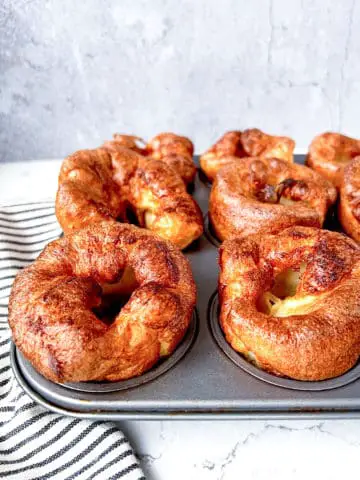
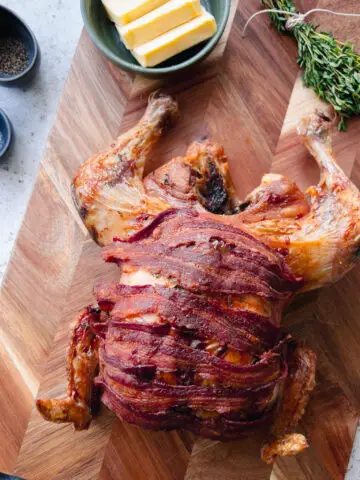
My Roast Beef with Rosemary and Garlic Pairs Perfectly With…
Storing My Roast Beef With Rosemary and Garlic
You can store leftover roast beef in an air-tight container in the fridge for 3-4 days. You can freeze it also, just defrost for 24 hours in the fridge before use.
For more on safe food storage and reheating read here >
Diet Details
This beef is gluten, nut and dairy-free.
Adapting My Roast Beef With Rosemary and Garlic for Your Family
Eating together is beneficial for families of all ages and stages, for a multitude of reasons; nutritional, behavioural, psychological and for healthy family functioning. This section will show you how to tweak this Roast Beef with Rosemary and Garlic recipe for sharing with a weaning baby, toddler or a fussy eater, to help make it easier for you to eat together as a family.
Keeping Picky Eaters Happy
When you are dishing up the beef, make sure that you give your fussy eater fat and gristle-free pieces of beef. A mouthful of that stuff to a picky eater could put them off the entire meal.
See more from me on fussy eaters here >
How to Serve my Roast Beef With Rosemary and Garlic to Babies & Toddlers
As with picky eaters, make sure you don’t give little one any fat or gristle when dishing up their beef.
BABY-LED WEANING
Cut a thicker slice of beef for your baby and then cut that into finger size strips.
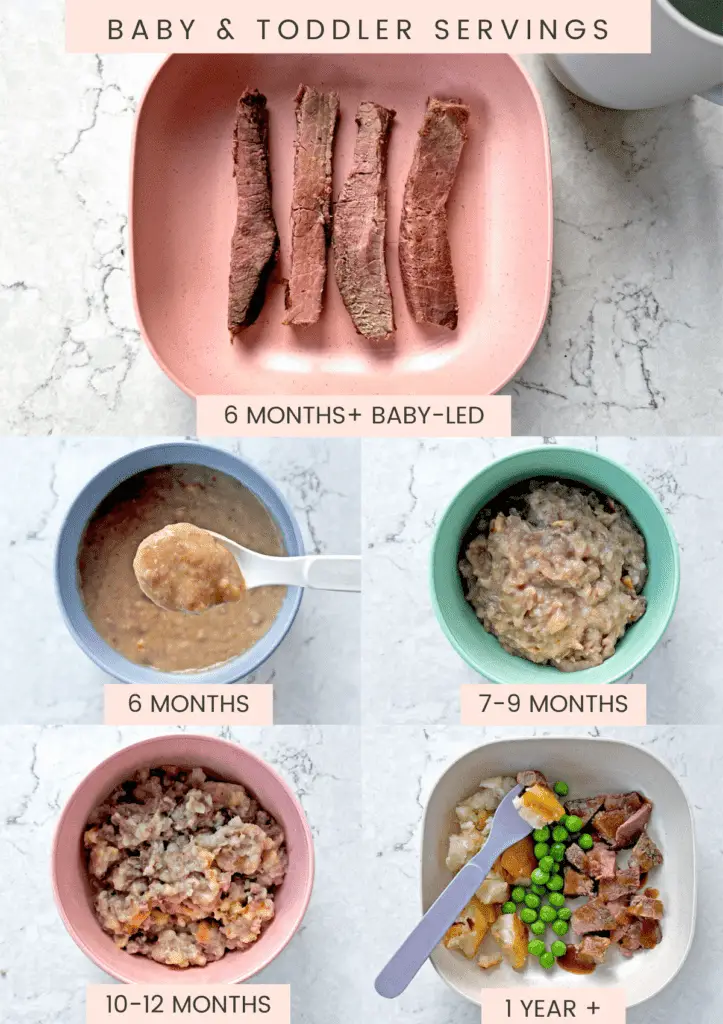
SPOON FEEDING
6 months
Put some roughly chopped beef into your stick blender pot or food chopper (if you have one that purées), along with some roast potatoes (scoop out the inside) and cooked vegetables and whizz into purée. Add a spot of gravy and warm boiled water to loosen, alternatively, add some low-salt stock.
7-9 months
Transfer baby’s roughly chopped beef to your food chopper, along with potatoes (scooping out the inside) and their cooked vegetables and pulse until finely chopped. Add a spot of gravy and warm boiled water, or low-salt stock to loosen as needed
10-12 months
Gradually pulse some roughly chopped beef, along with the vegetables you are serving, in your food chopper, until you reach a lumpy, chopped consistency. Add a spot of gravy and warm boiled water, or some low-salt chicken stock as needed.
1 year +
Chop the beef into bite-size pieces for your toddler using a sharp knife. Serve alongside all the trimmings and a little gravy.
I’ve also added these notes at the bottom of the recipe so you have them to hand when you come to cook.
See more on how I keep my family meals baby & toddler friendly here >
You Might Like…
Together to Eat is reader-supported. I may earn a small commission from anything bought through links found here.
ROAST BEEF WITH ROSEMARY AND GARLIC
Equipment
- Mezzaluna / knife + chopping board (for rosemary)
- Cutlery teaspoon
- Balloon whisk + small saucepan
- Kettle + measuring jug
Ingredients
- 1.2 kg boneless beef roasting joint / USA - eye round / beef chuck tender / Angus rump
- 3 tablespoons olive oil
- 1 tablespoon finely chopped fresh rosemary
- 1 garlic clove minced
- ¼ teaspoon salt
- Pinch black pepper
FOR THE GRAVY
- 6 teaspoons (cutlery not measuring) heaped, of beef gravy granules / beef or brown gravy mix
- 500 ml hot water boiled in kettle
Instructions
- Remove the joint from the fridge 1 hour prior to cooking. Mix the oil, rosemary, garlic, salt and pepper together in a small bowl (do earlier in the day to really infuse the flavours). Put the beef into a medium/large roasting tin, keeping the netting on if there is any. Then, using your hands, rub the rosemary and garlic oil all over the joint.
- Preheat the oven to 200ºc/180ºc fan/400ºf/gas 6. Transfer to the middle of the oven and roast for 1 hour or until the internal temperature of the thickest part reaches around 66ºc/150ºf (for medium-well done beef, see notes for other temperatures) or just 2-3º below, as the temperature can go up 5-10º while resting. Test with a food thermometer from about 20-25 minutes before cooking end (see notes) as all joints and ovens vary and it could be ready sooner.
- Rest the joint for 15-30 minutes, covered loosely in foil after 10 minutes. Then slice thinly, against the grain, and serve.
TO MAKE THE GRAVY
- Carefully pour the juices from the beef in the roasting pan through a sieve and into a small saucepan. Turn the heat to low, add in the gravy granules and stir well using a balloon whisk to dissolve. Pour in the hot kettle water and stir in well. Taste and add more gravy granules/mix or more water accordingly. Then leave the gravy to come to a simmer and bubble away for 3-5 minutes or until thickened to your liking. Don’t forget to also add the juices that have gathered under the resting beef into the pan.







Comments
No Comments