Who doesn’t love a galette? Especially when it’s blackberry season. And when you make one using a shop-bought pastry dough, it’s such an easy crowd pleaser. THIS blackberry, strawberry galette is also studded with dark chocolate which melts and marries into the berries in just the best way. And chocolate and pastry?! SO good! Think homemade pop-tarts with a decadent chocolate filling and berries thrown in. I just can’t tell you how good this Berry Galette is - you have to try it for yourself.
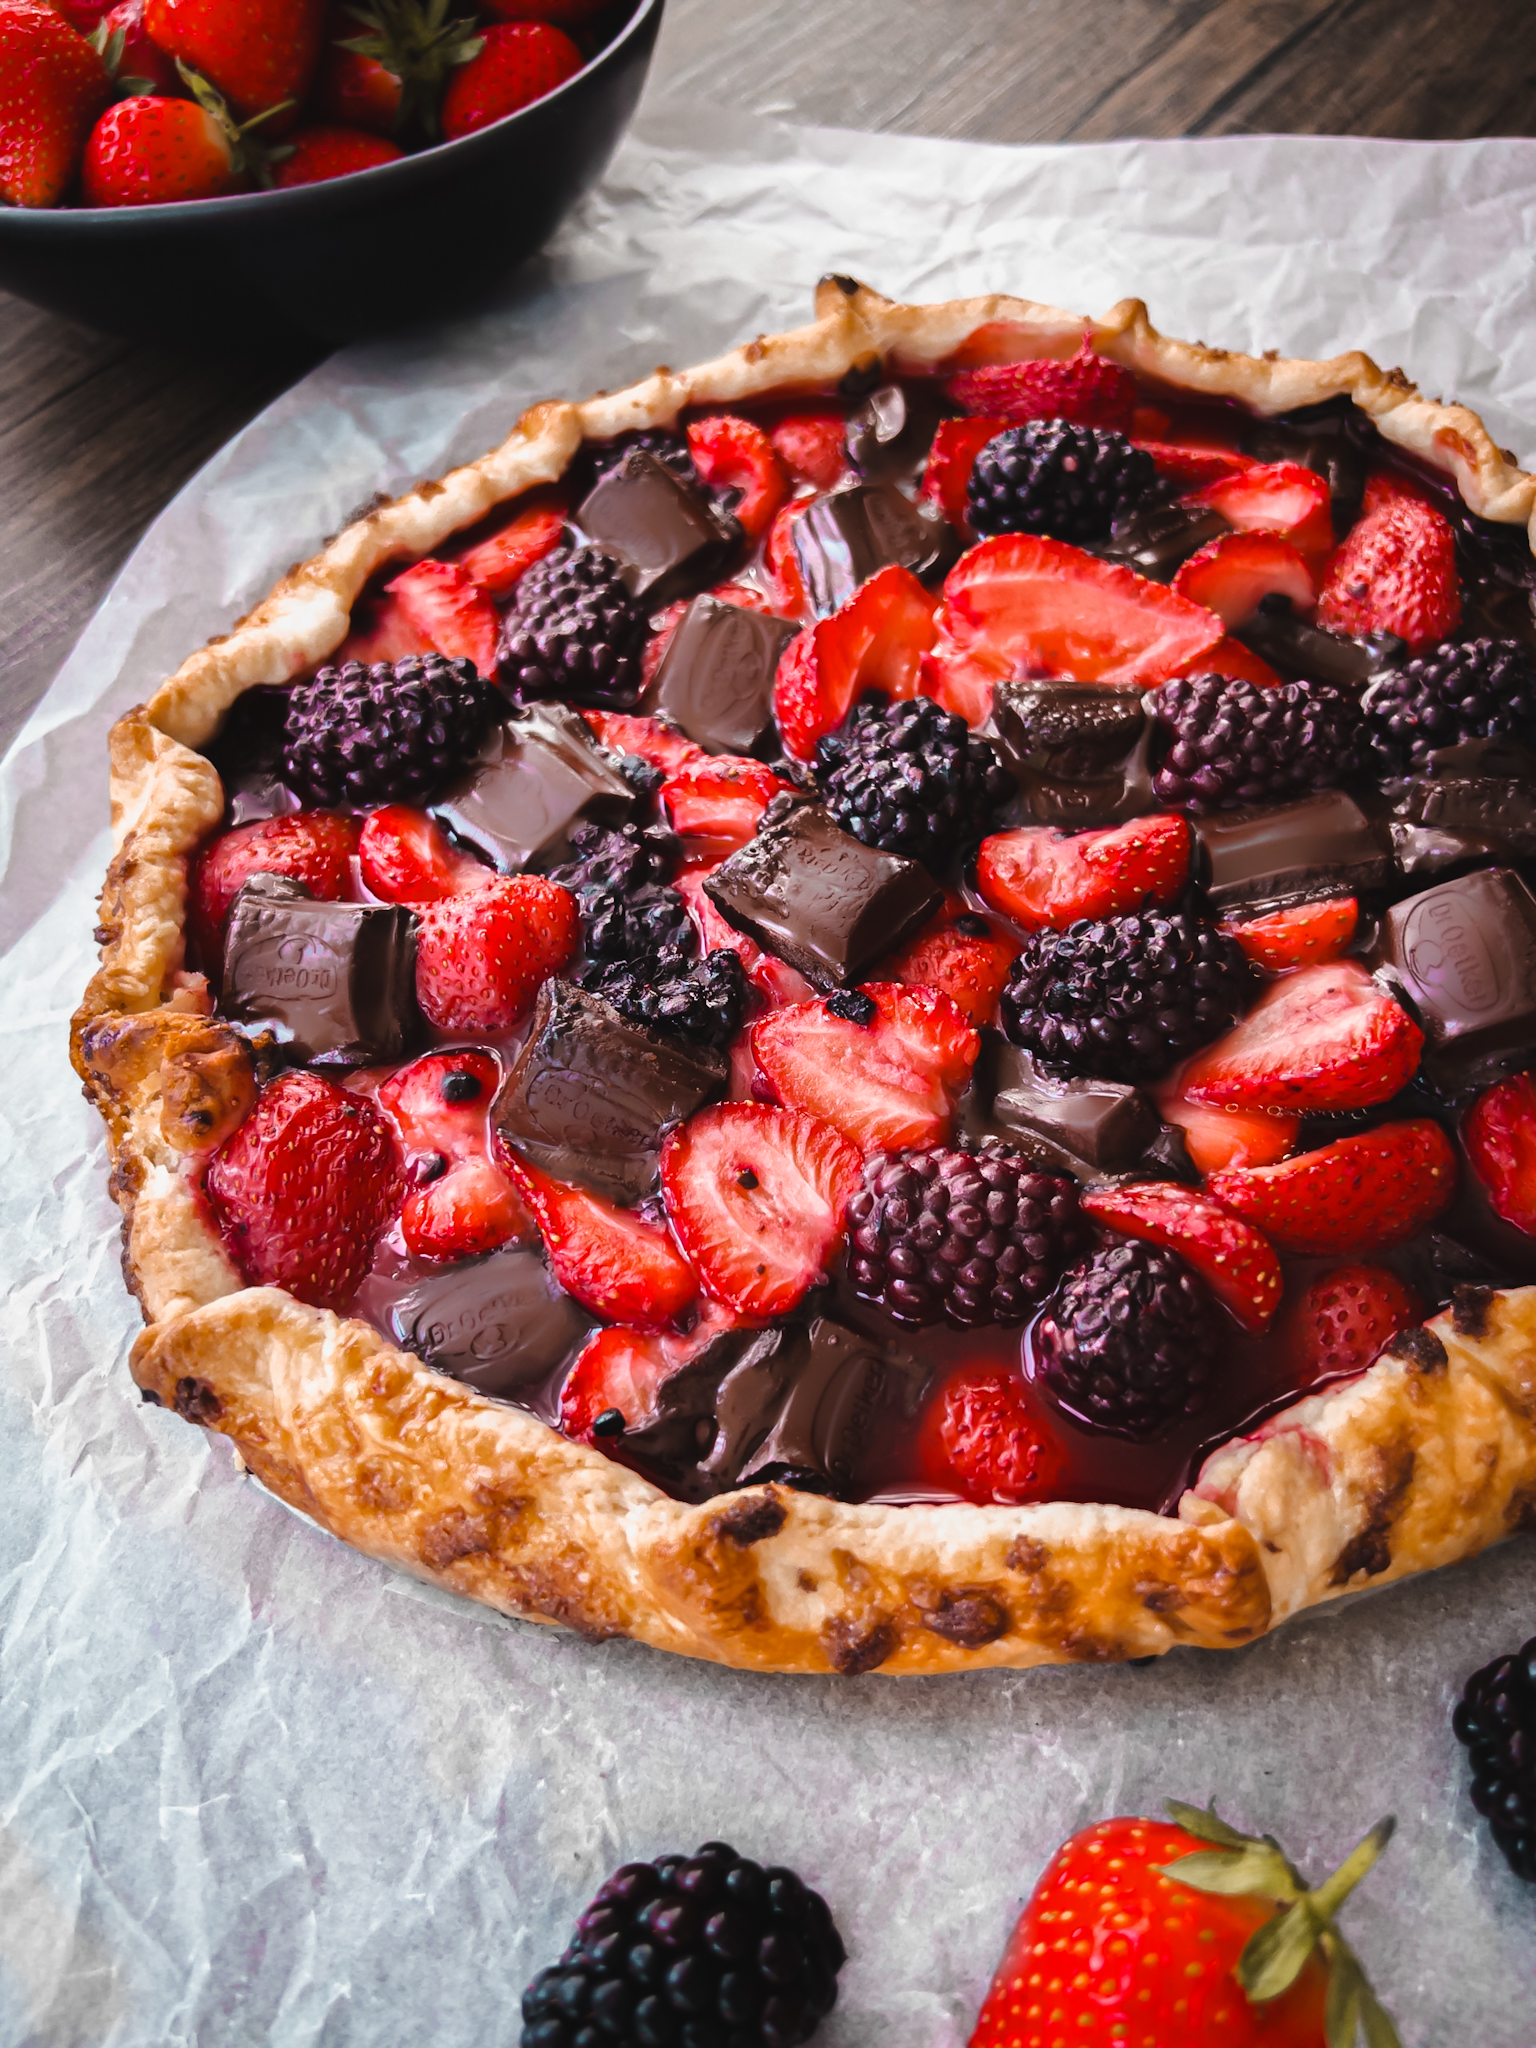
The Stars of my Berry Galette with Chocolate
THE BERRIES
Baking with berries is always best when they are in season and you can buy locally sourced produce. Blackberries are in season in the UK during August and September and even through until October in some places. In the US, peak season for blackberries is July and August. For strawberries, in the UK they are in season from May until the end of September. For the US, June is peak season in most of the country.
THE PASTRY
I prefer a round(ish) galette so I buy a block of shortcrust pastry, roll it with my hands into a ball and then using a rolling pin, roll it out into a rough disc shape. You can use a ready rolled pastry sheet to be even quicker, but you’ll need to go for a rectangular galette shape - which is fine too. You’ll want to fold the edges over and still pinch round the edges. You can also use a puff pastry sheet if you like, instead of shortcrust, although I do personally prefer it with shortcrust.
THE CHOCOLATE
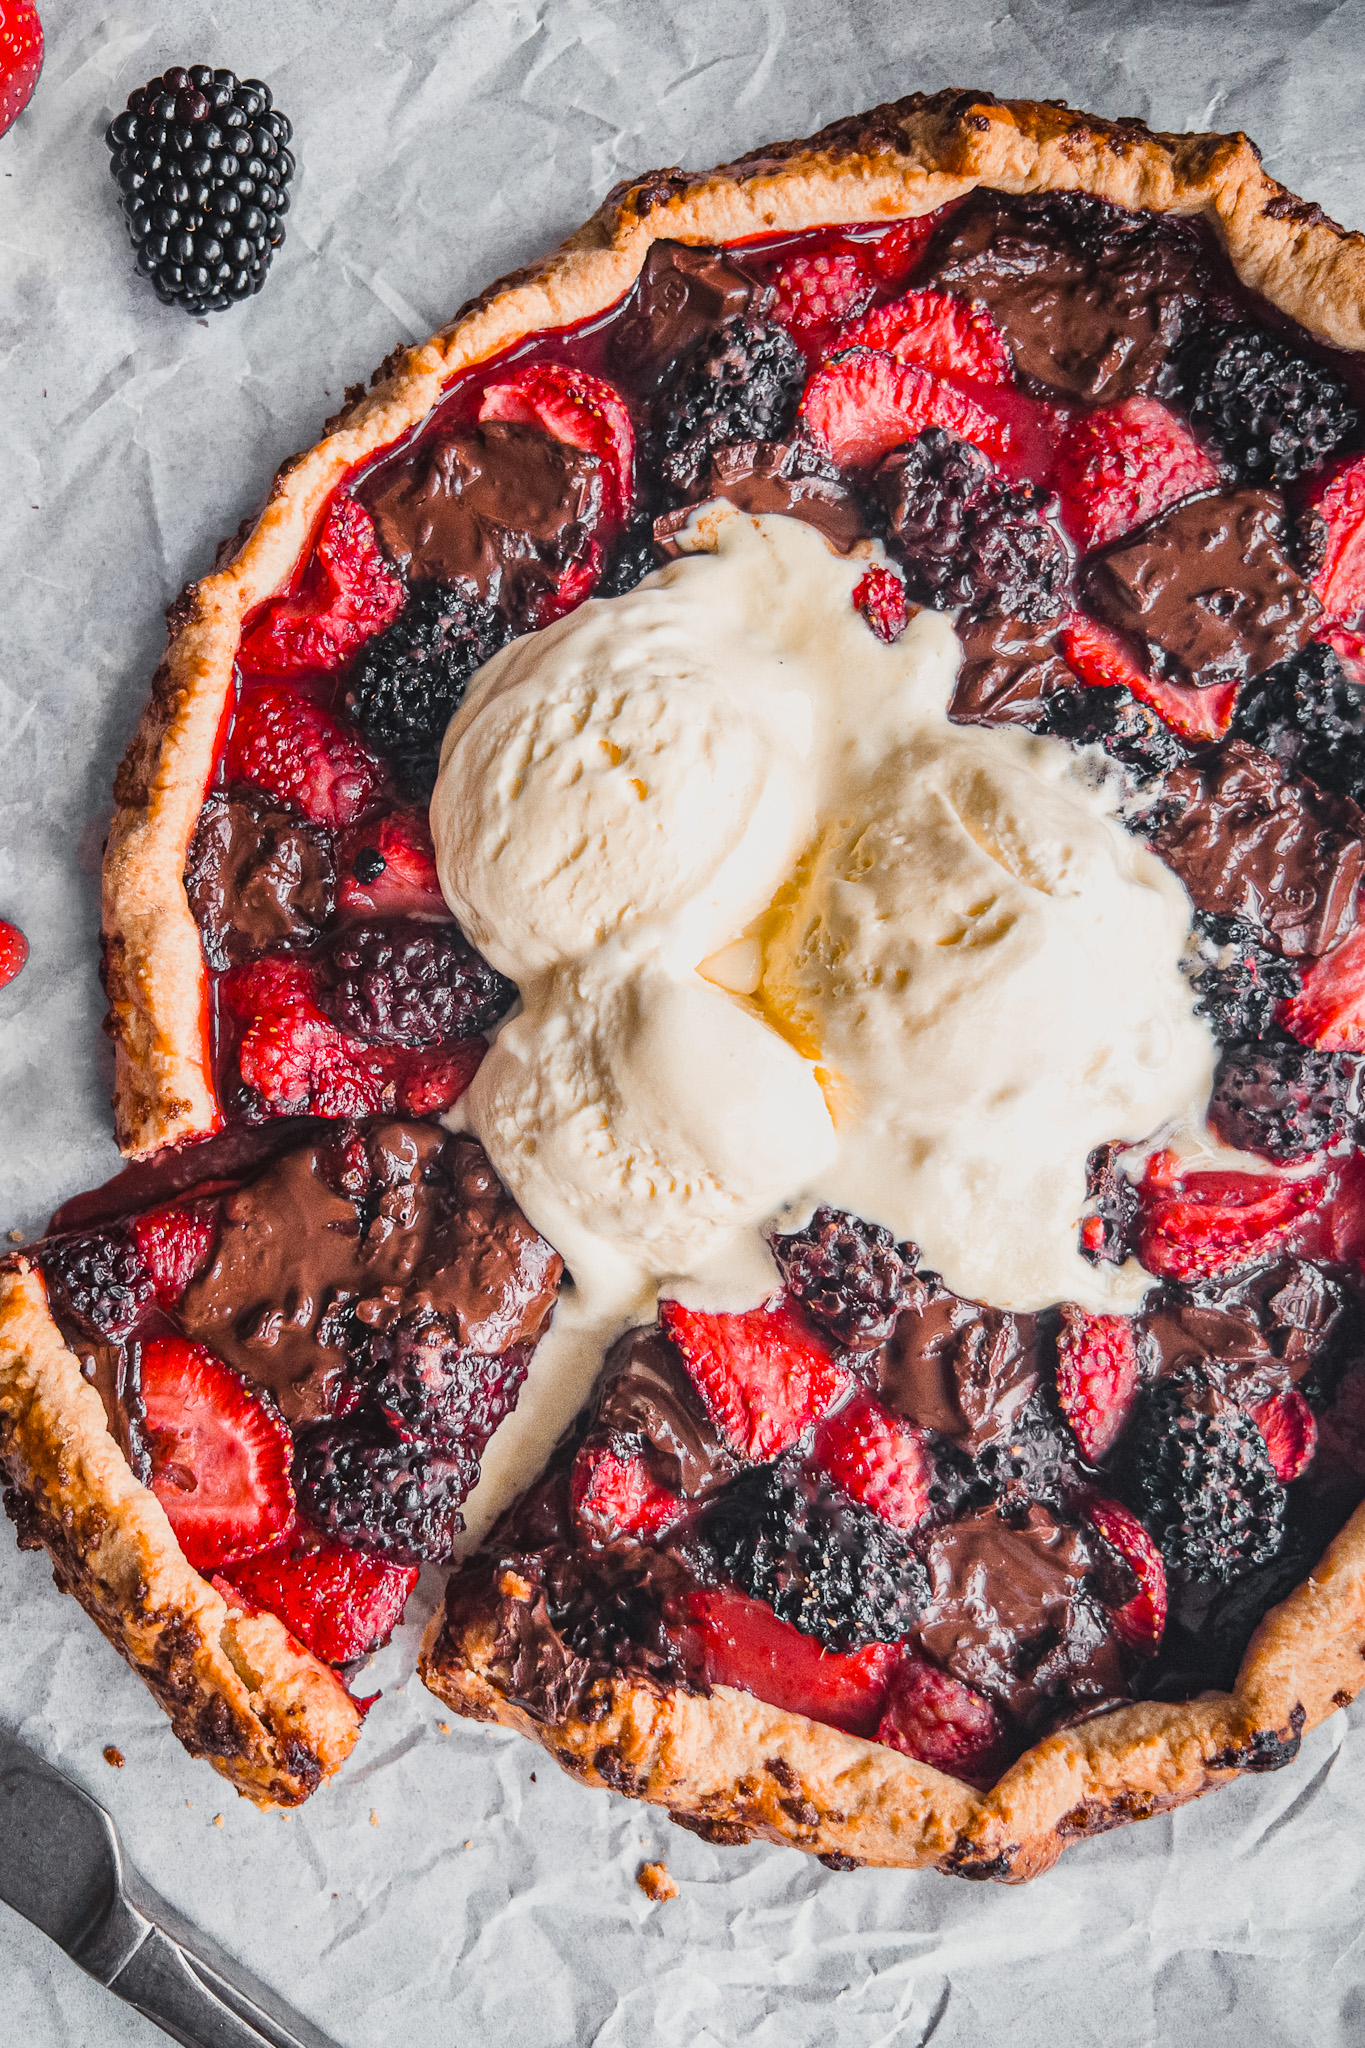
Go for dark cooking chocolate, one with 54-56% cocoa solids. If you use one that is higher in cocoa solids, the flavour the chocolate will bring to the galette will be more savoury and bitter. Going for a bar with the solids range in the mid 50% range will give you the perfect balance of sweetness - not too sweet and not too bitter. I always use Dr Oetker 54% dark chocolate but you can go for a cheaper option own brand version. If the chocolate is still in chunk shape (see below) when baking time is done, it’s still not melted don’t worry. You can either leave it like that or use the back of a teaspoon to flatten them out like I did for most these pictures.
Serving my Chocolate Berry Galette
My Berry Galette is best served about 20 minutes after you’ve baked it. This allows it to cool to the perfect temperature to enjoy it, plus allows time for any juices from the berries to thicken. As mentioned above, if the chocolate still looks like blocks don’t worry, it is melted. If you like you can flatten them with the back of a teaspoon when you take the galette out of the oven.
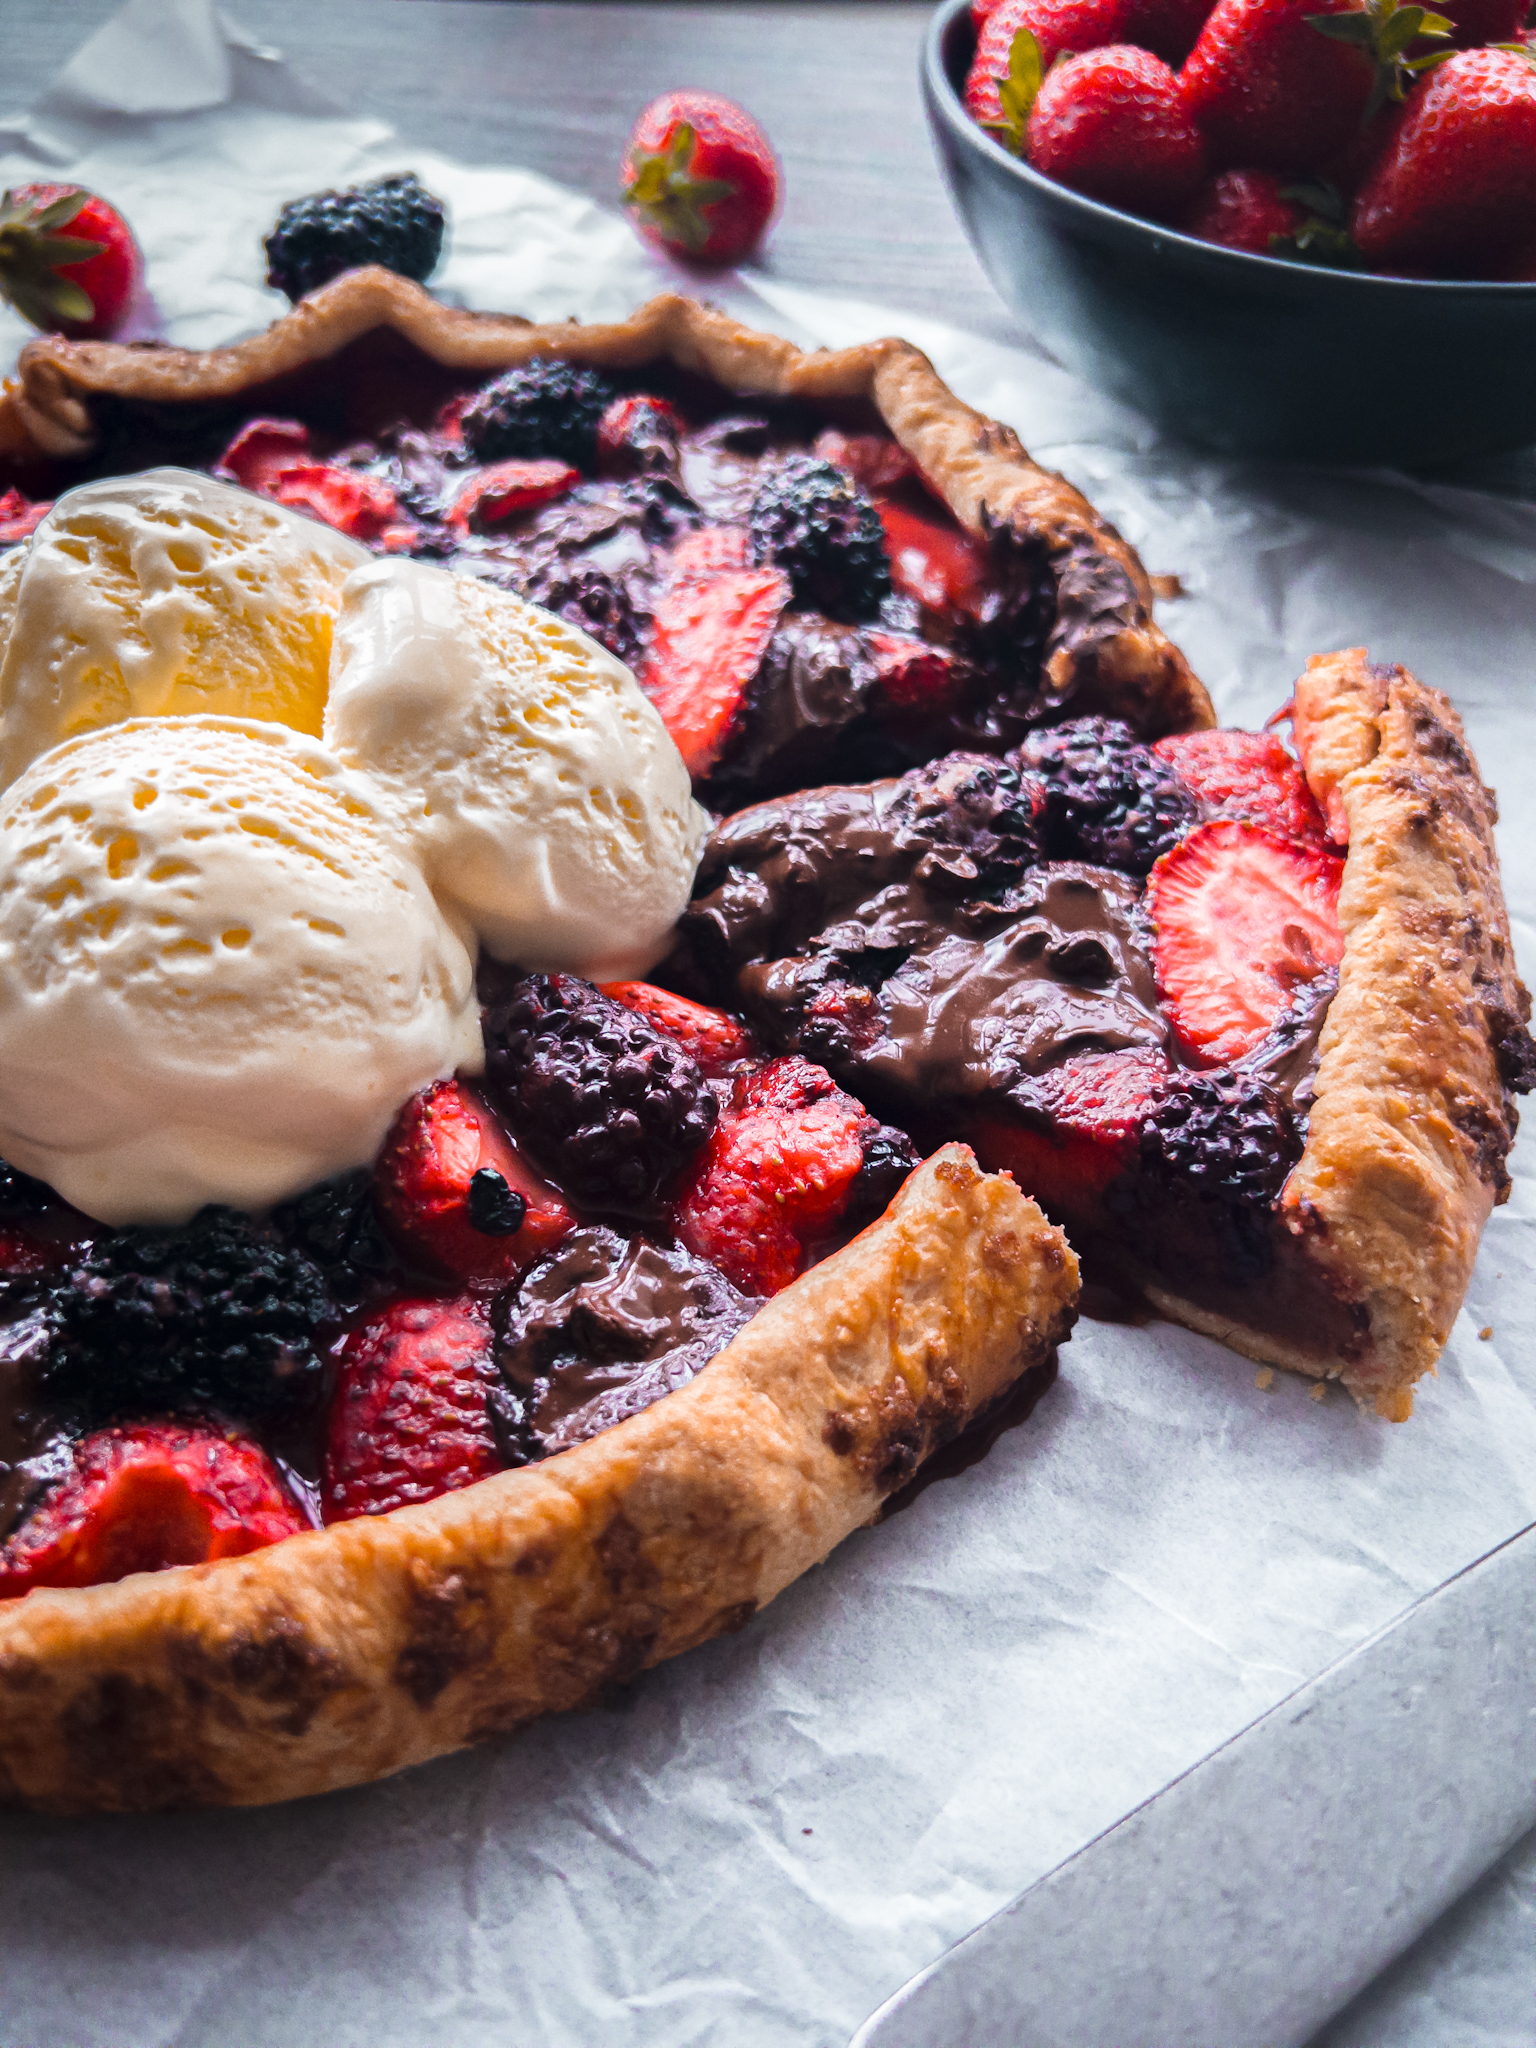
You can serve this galette just as it is - it’s delicious enough to stand on its own, but it’s also lovely with ice cream or cream. If you’d like to serve it with ice cream, vanilla of course is perfect with it but also clotted cream ice cream makes a great pairing. One thing I would say is that this needs to be eaten warm so the chocolate is in its melted velvety glory. Once it’s cold or been stored in the fridge it will turn back into its hard state. See my Storing section below for how to reheat.
Kids Bake Too
This is the perfect pud for little ones to help with. If you cut the strawberries, they can help with all the rest!
Feed a Crowd
This serves 7-8 people and you could easily make two in tandem if you needed it to stretch further.
Storing my Berry Galette
You can store leftovers in an air-tight container in the fridge for up to 3 days. You’ll want to reheat it before you serve it again because the chocolate will have solidified. You can do that on a lined baking tray at 180ºc/160ºc fan/350ºf/gas 4 for 10 minutes. You can also freeze the cooked galette, just defrost for 24 hours in the fridge and reheat until steaming hot all the way through. If you want to freeze the entire galette however, I’d recommend making it and then freezing it in an air tight container or bag before you bake it, then defrost it for 24 hours in the fridge and bake when needed.
For more on safe food storage and reheating read here >
Diet Details
My Berry Galette is nut-free and vegetarian. You can make it gluten-free by using gluten free pastry but be aware that the cooking time may not be the same. You’ll also need to swap the flour you add to the berries to cornflour.
You Might Like…
Together to Eat is reader-supported. I may earn a small commission from anything bought through links found here.
BERRY GALETTE WITH CHOCOLATE
Equipment
- Baking paper
- Pairing knife + chopping board
- Medium mixing bowl + large metal spoon
- Flour shaker + rolling pin
- Small prep bowl + fork
Ingredients
- 400 g strawberries halved
- 150 g blackberries
- 2 tablespoons granulated white sugar
- 2 tablespoons plain flour / all-purpose flour
- 500 g shortcrust pastry block or ready rolled pastry sheet (see note 1)
- 100 g dark chocolate 54-56% cocoa solids, broken into squares
- 1 egg lightly beaten
- 1 teaspoon dark brown sugar
Serve on its own or with
- vanilla or clotted cream ice cream or cream
Instructions
- Remove the pastry from the fridge, let it sit at room temperature for 45 minutes (or according to packet instructions). When ready to make the galette, preheat the oven to 200ºc/180ºc fan/390ºf. Line a large baking tray/sheet with baking paper, alternatively use a baking stone. Then start by adding the fruit to a medium-large mixing bowl, along with the flour and sugar. Stir gently with a large metal spoon to combine.
- Lightly flour a clean surface and roll the pastry block into a ball with your hands. Then use the rolling pin to roll it flat into a rough disc shape of about 3mm thickness (the thickness of a British pound coin). Carefully transfer to the pastry the baking sheet.
- Tip the berry mix into the centre of the pastry sheet and level out, leaving about a 1 inch border. Dot the chocolate pieces throughout the berries. Start folding over the edge, in about 1 ½ inch sections, pinching them together with your fingers as you work your way round (see video below for how to). Brush the folded pastry border with the egg and then sprinkle over the brown sugar.
- Transfer to the oven and bake for 25-30 minutes, or until the crust is deep golden brown. Leave to sit for about 20 minutes, for the juices to thicken and the pie to cool a little. If you want to lift it off the tray with the baking paper, just grab hold of each side and pull it taught and carefully lift. Then cut and serve as is or with cream or your favourite vanilla or clotted cream ice-cream.




Comments
No Comments